
Inventory
You can view the inventories made in the Stock as well as create new inventories in the Inventory view.
View the Inventories of a Stock
Click Stock Handling in the Back Office menu.
Select a Stock from the list.
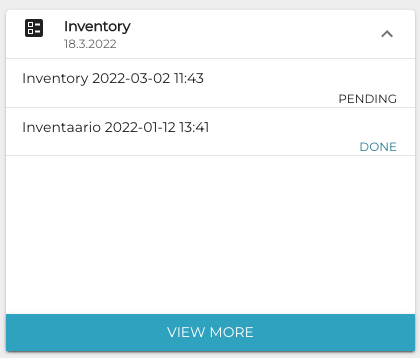
Click View more in the Inventory section.
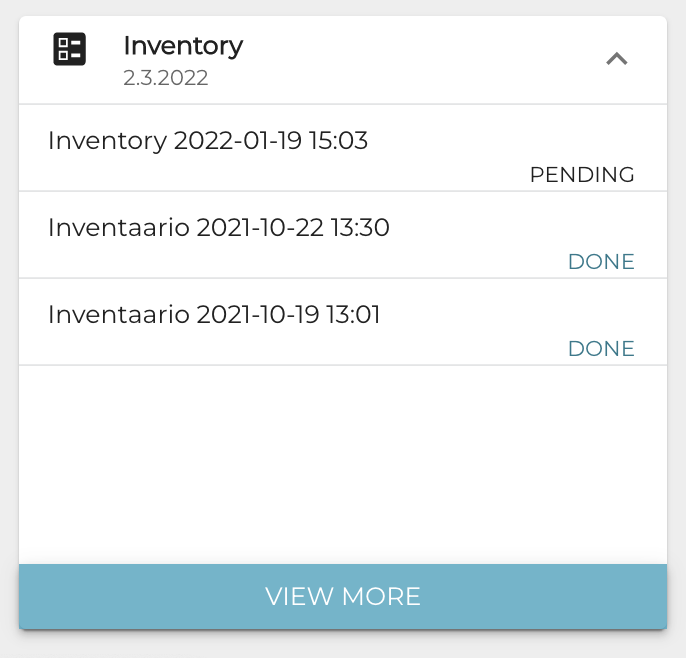
Inventory section
The Inventory view is displayed.
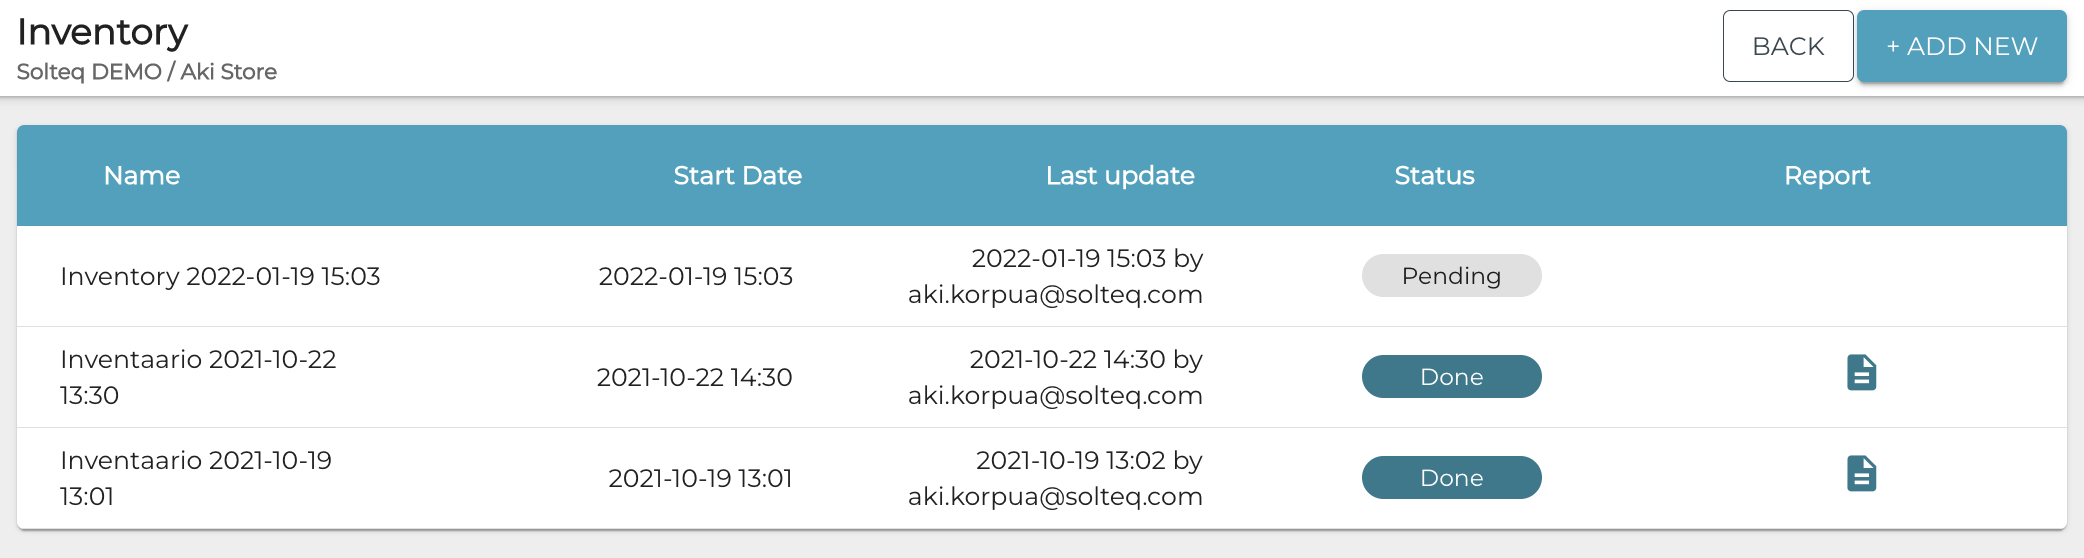
Inventory view
To view an inventory, click its row. Inventory details are displayed.
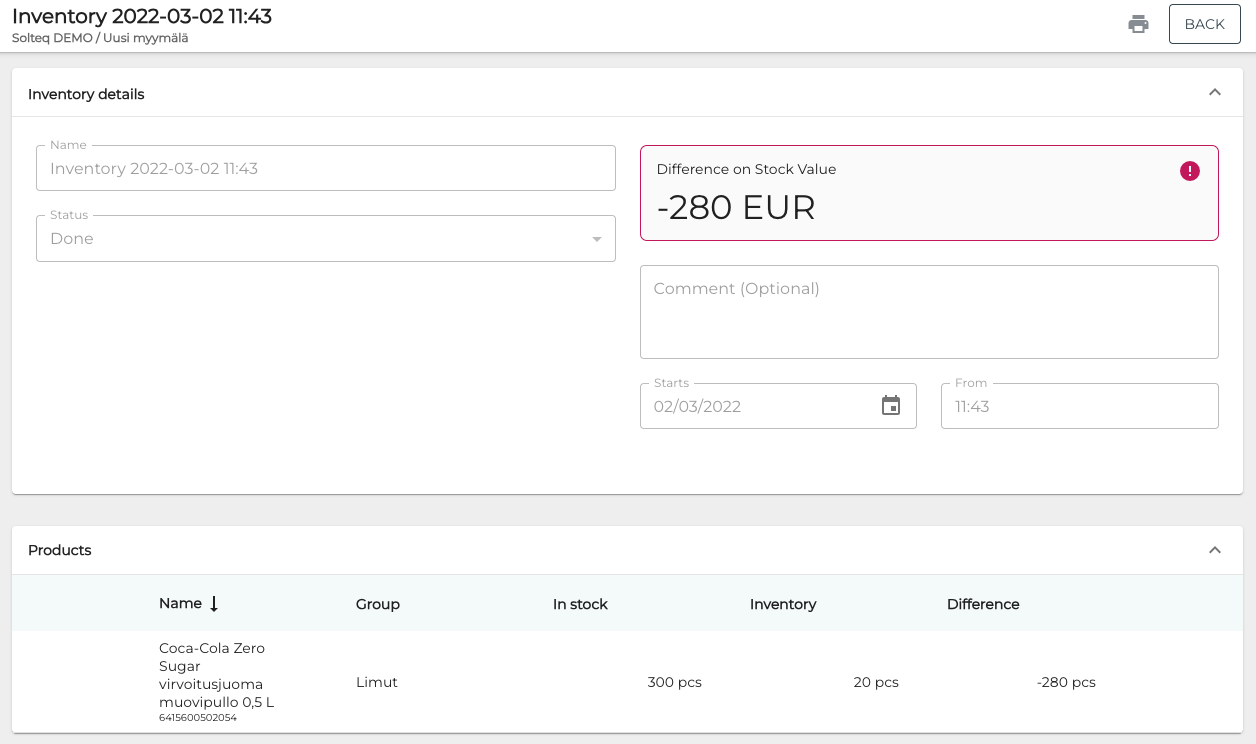
Example of inventory details
You can sort the contents of the list in the Products section:
The arrow icon next to the column header (A.) indicates that the column is used as the sorting criteria. Click on the arrow icon to sort the information in either ascending or descending order.
To select another column header to be used as the sorting criteria, click on the column (B.).
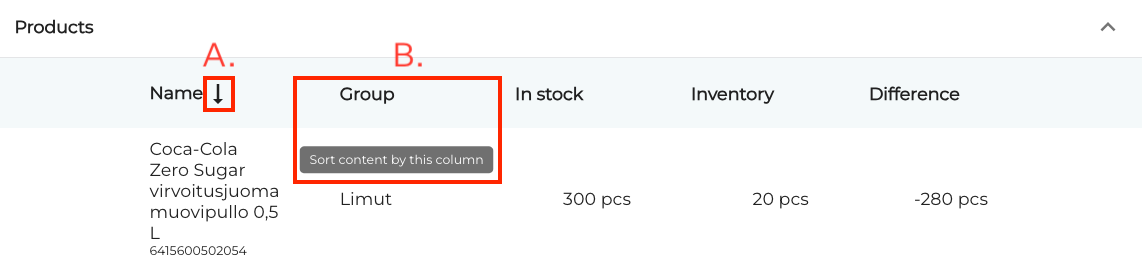
Using sorting in the Products section
Create a New Inventory
In the Inventory view, click +Add new.
Enter details for the new inventory:
Name
Comment (optional)
Starts: Starting date for the inventory
From: Starting time for the inventory
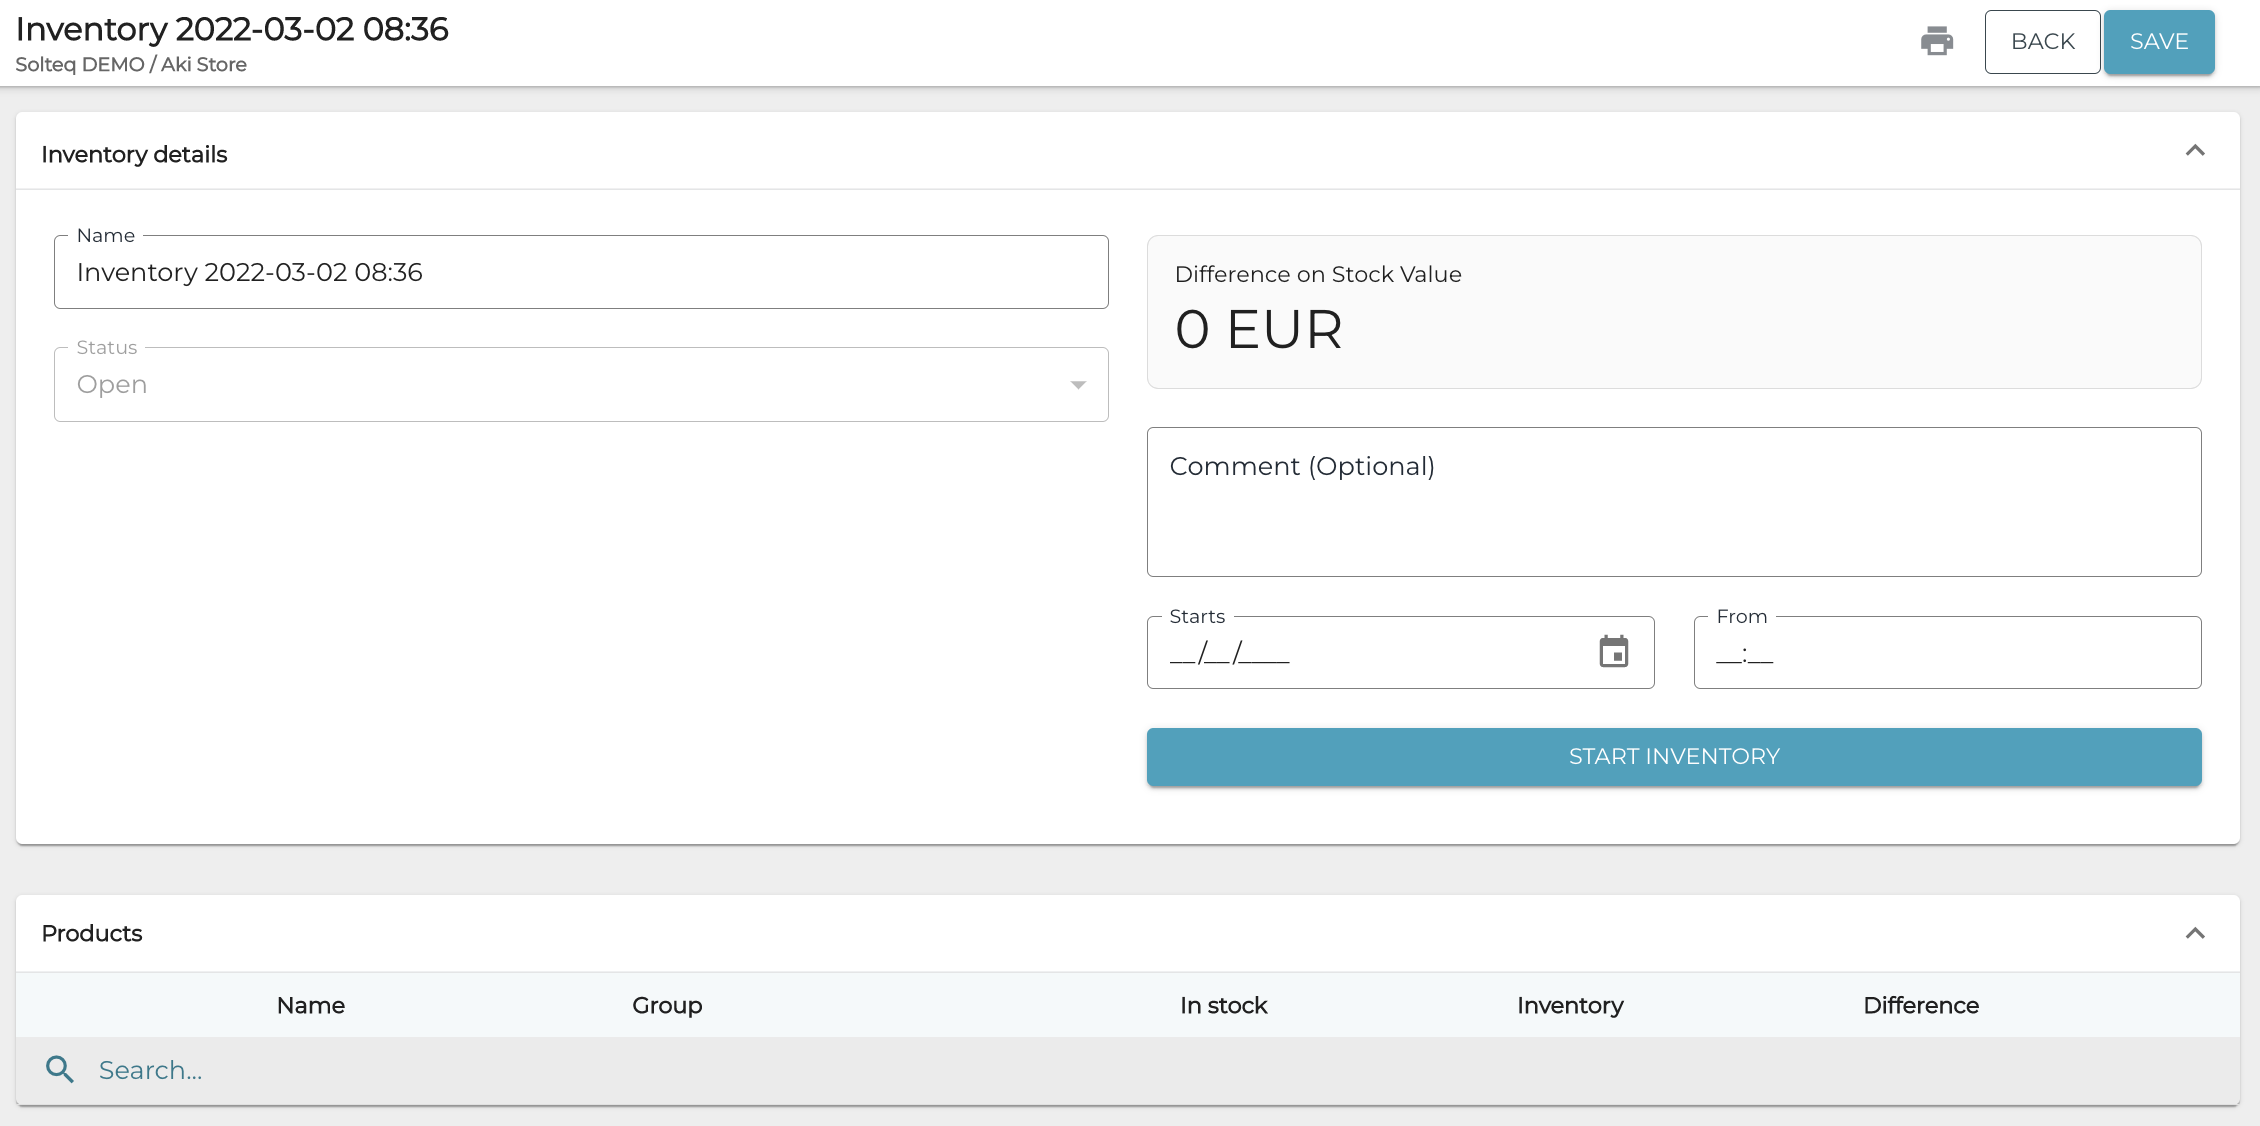
Inventory details
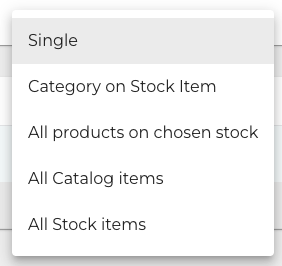
(Optional) You can select that inventory will be done for only certain products or categories for the inventory:
Click the drop-down menu in the Products section and select from the options:
Single product: Enter a search term for the product into the Search… field.
Category on Stock Item: Select the stock item categories to be added to the inventory.
All on Stock: Add to the inventory list all the products (SKUs) found in the selected Stock (the same list as in Stock Insight).
All on Catalog: Current functionality (get all products with an SKU from Catalog).
All Stock Items: Add to the inventory list all the products (GKUs) found in the Company's Stock Item list.
Select a product or category by clicking the checkbox on its row.
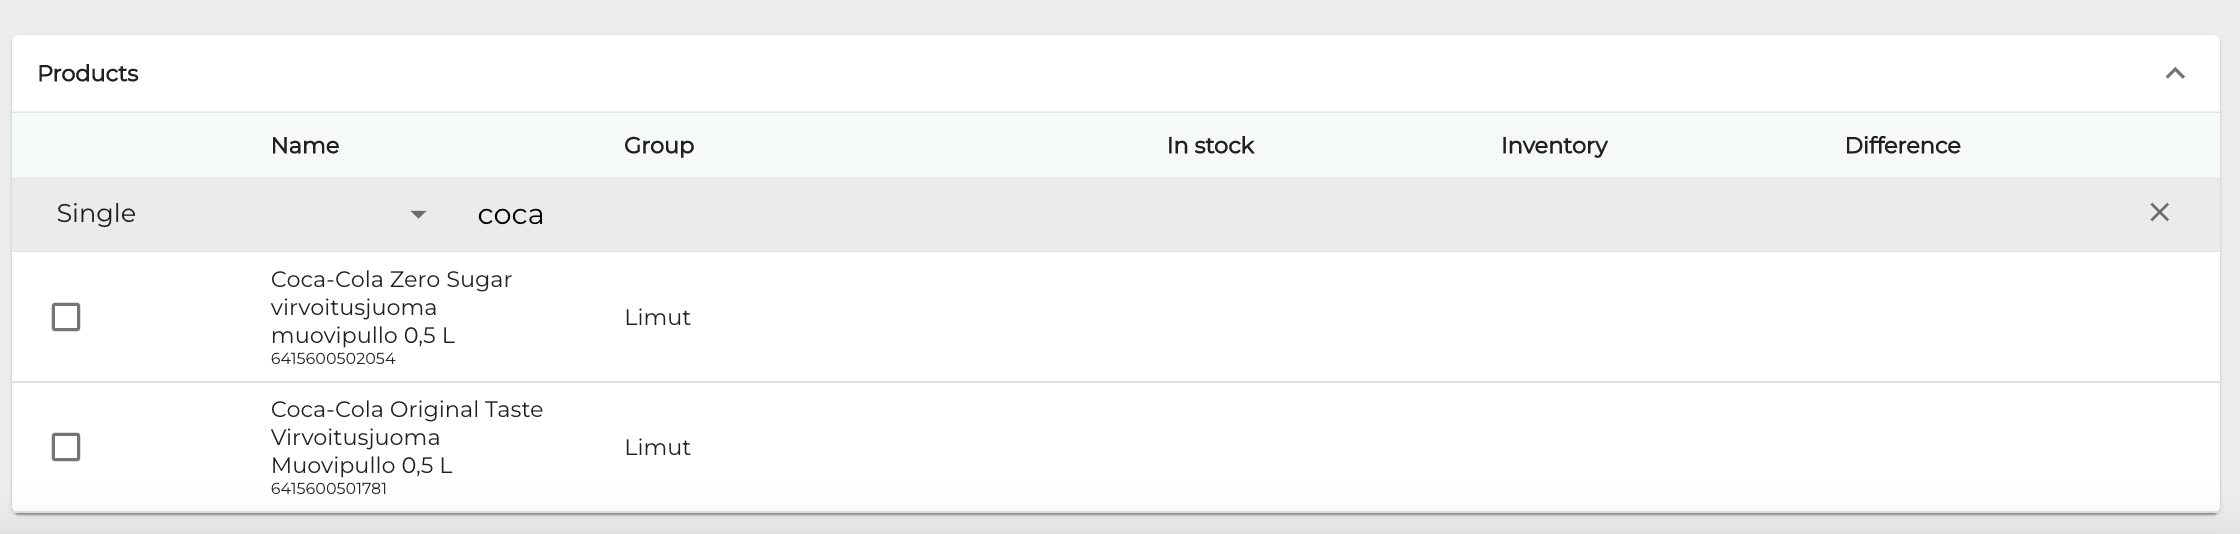
Selecting a product or a product category for inventory
The product or category has now been selected for the inventory.
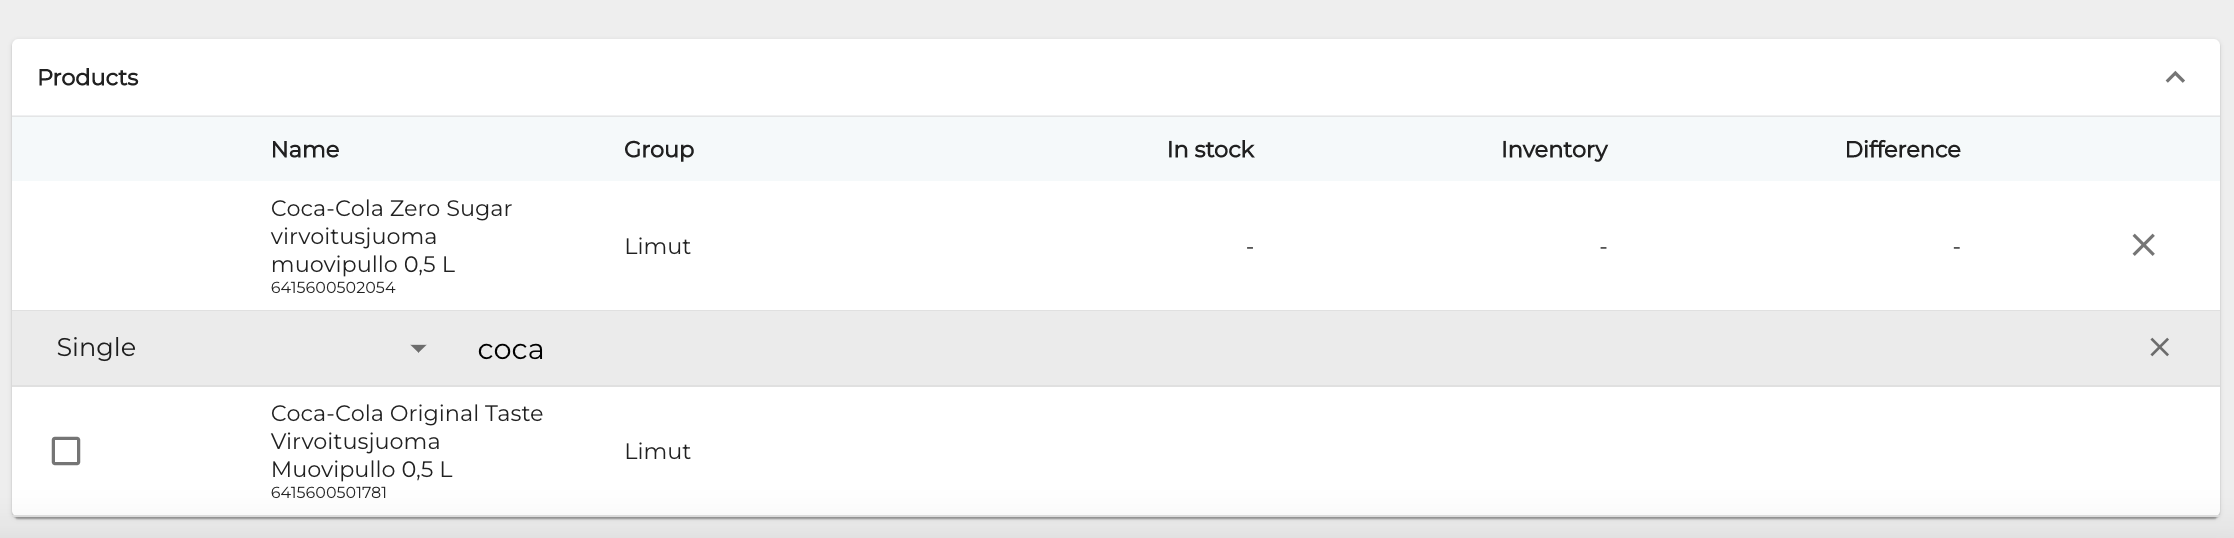
Product selected for inventory
When you have entered all the required information for the inventory, start the inventory by clicking Start Inventory. The inventory can now be seen in Pending state in Stock.
Inventory list in Stock
(Optional) If you selected certain products or categories for inventory in Step 3, you can print out a checklist of inventory items to facilitate the inventory. To do this, click the Print icon in the inventory’s details.
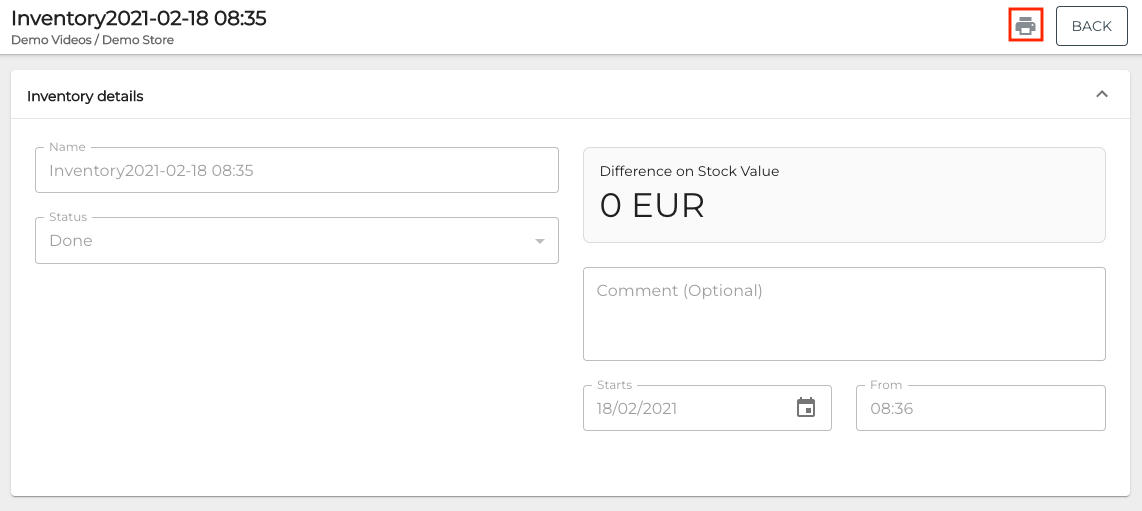
Print icon in the inventory details
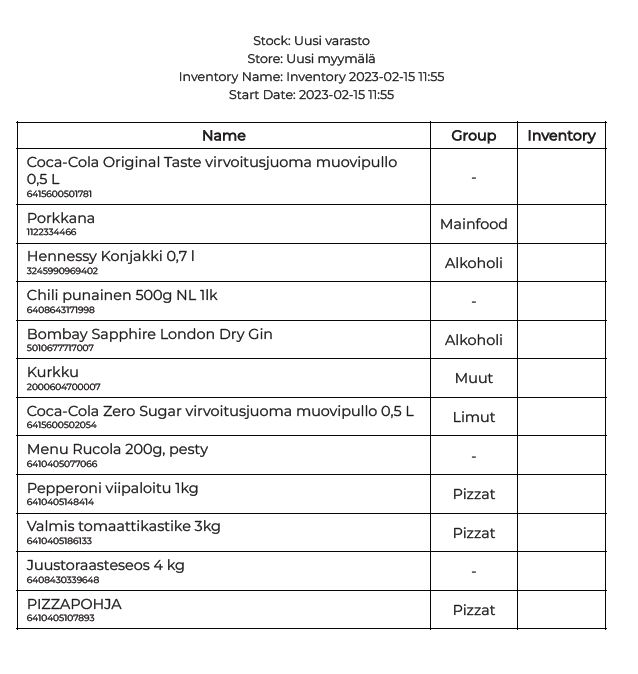
Example of an inventory checklist printout
Enter the inventoried product quantities in the Inventory column.

Entering the inventoried quantities
Typically certain products may have both Base Unit and Net Content defined; for example, a wine bottle may have pcs/btl as its base unit and 75 cl as its net content. It is possible to use either one in inventory.
For example: If there are 4 whole bottles (= pieces) and one opened bottle which is not full, this can be input to inventory as 4 btl, 25 cl rather than 4.33 btl.

If the quantity of an inventoried product is 0, leave the Quantity field empty.
When the inventory is ready, click Finish Inventory and confirm this by clicking Finish. The stock balances of products are updated, and the inventory status is updated to Done.
You can download the inventory report in Excel format by clicking the Report icon on the row of the inventory.

Report icon in the inventory list
As an alternative for searching products manually, you may also use the global barcode scanner to read barcodes in this view. To do this, simply read a barcode with your physical scanner while this view is open. If the scanned product has already been added to the inventory, it is not re-added, but highlighted instead.