
Private Customer's Profile Information
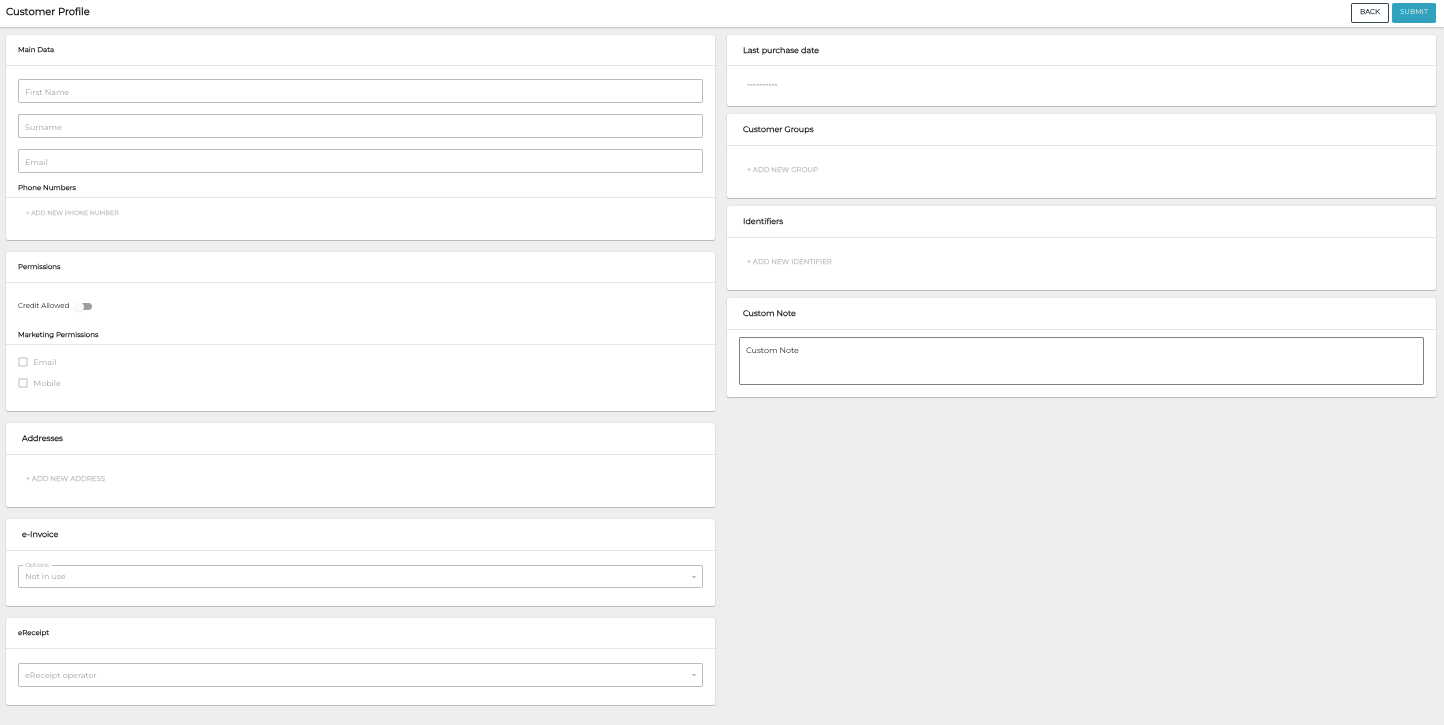
Profile information for a new private customer
Customer Profile of a private customer contains the following information.
Main Data
Customer's First Name and Surname (mandatory)
Customer's e-mail address
Permissions
Customer's permission information:
Credit allowed: Yes or No
Marketing permission: Email and/or Mobile
Addresses
Customer's address information.

Customer’s address information fields
e-Invoice
If Solteq Connector is in use, this data can be used for sending e-invoices.
Select one of the options:
Not in use (default)
In use (enter Broker Id and Address)

e-Invoice information for the In use option
Send email (enter Email)
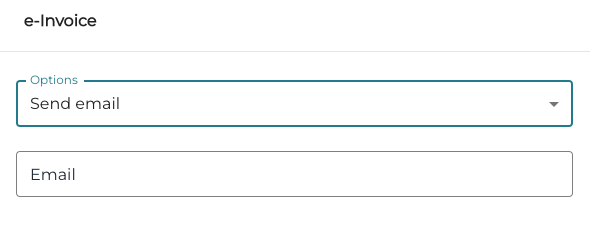
e-Invoice information for the Send email option
eReceipt
If eReceipt is in use for the customer, select the eReceipt operator and enter eReceipt ID.
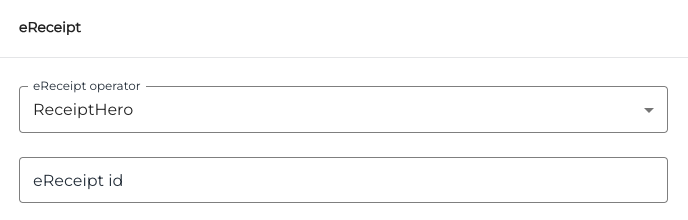
eReceipt information
Customer Groups
You can add customers to customer groups or create new customer groups, if a suitable group does not yet exist.
To remove the customer from a customer group, click the Remove (trashcan) icon next to the group.
Add the Customer to an Existing Customer Group
Click Add new group for the customer
Select the group from the drop-down menu
Selecting an existing customer group for a customer
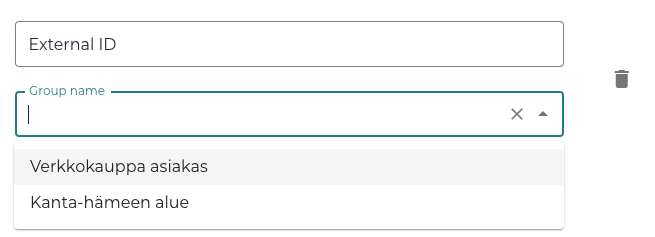
Create a New Customer Group for the Customer
Click Add new group for the customer
Enter External ID and Group name for the new group, and then click Create [name of the new customer group].
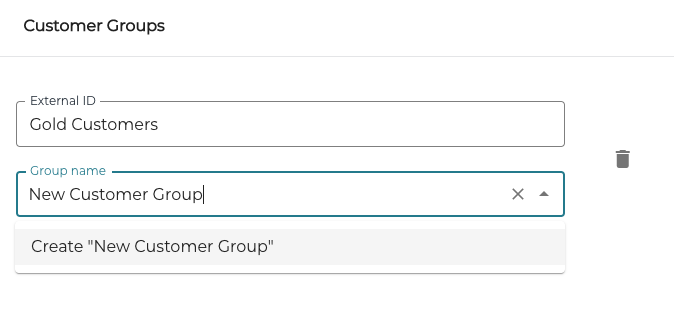
Creating a new customer group for a customer
You can remove the customer from a customer group by clicking the Remove (trashcan) icon next to the group.
Identifiers
You can add, modify or remove identifiers for a customer.
Add a New Identifier for the Customer
Click +Add new identifier.
Select Identifier Type from the drop-down list.
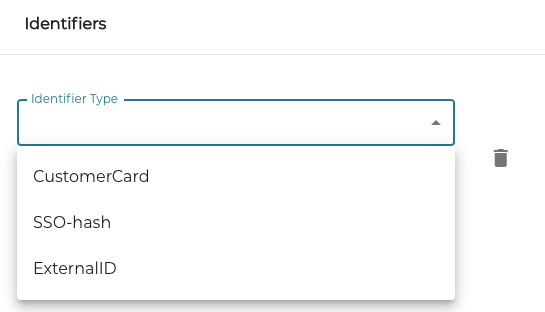
Selecting an identifier for the customer
Enter the Identifier information.
Custom Note
You can add a free text note here (maximum length: 300 characters). The note will be displayed in the POS when customer row is pressed.