
Utilizing Recipes: Video Tutorials
On this page we show via examples how you can gradually start utilizing the wide range of recipe-related features of Solteq Commerce Cloud. This method is fundamentally different than having Open Food products and free texts that you can send to the kitchen. In the end you will see how all of work is finally linked with Stock and Webshop functionalities, which brings the real added value. In addition, Kitchen will always have clear guidelines on what to do with the order.
Creating a Custom Product
Create a basic custom product with simple options for customizing it. This acts as the baseline for recipes, without any exact data, stock handling or cooking instructions.
The recipe of the custom product has the bare minimum data needed to sell the product and provide options for customizing it.
Selling a Custom Product
Sell the custom product with customizations made in the Basket, and display the meal order in Kitchen.
Adding a Combo-Meal Option for a Custom Product
Create a combo-meal option for a custom product by adding drink and side dish options for the product
Excel file used for drink options in the example:
Selling the Combo Meal
Sell the meal, with changes made in the Basket and displayed in Kitchen.
Modify Recipe with Extra Ingredients and Dips
The pre-requirements for using this functionality are the following:
Creating the default ingredient category (in the video: Choose Ingredient category)
Creating the dosing group(s) (in the video: Dips and Burger extras)
A large amount of data is possibly required to cover all the possible options; creating the data in Excel format and then importing it to Commerce Cloud is recommended. Take note of the dosing:0:id of the ingredients.
Excel files used in the example:
07_Dips.xlsx 07_All_Tuning.xlsx
When creating a new category type, enter a short name for it (as seen in the figure below). After you have saved the category, modify its name to a longer, more descriptive one. The short original name will be used as ID in fields of the imported/exported Excel files.
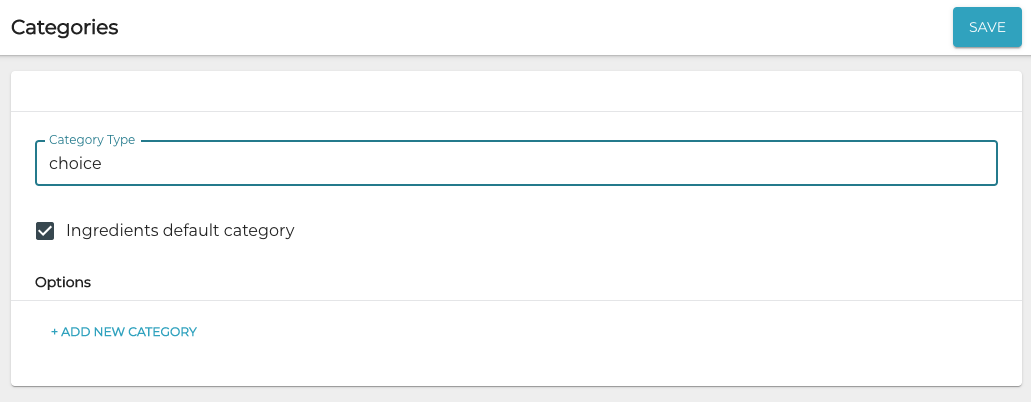
New category type
Selling a Custom Product with Extra Ingredients
Sell the custom product with added extra ingredients and display the order in the Kitchen.
Stock Handling and Custom Products
Create a stock item.
Create a new ingredient for it.
Add the ingredient to a custom product and make it mandatory.
Managing Dosing and Waste.
Adding Ingredients to Stock with Purchase Order; Making Sales on POS; Viewing Stock Transactions; Checking Quantity of Individual Stock Items
This step introduces some of the real benefits of using detailed recipes for custom products.
Selling a Custom Product in Webshop
Sell the custom product in Webshop, using the rules created in the Solteq Commerce Cloud Back Office.
Display the status of the order in the Webshop.
Display the order in the Kitchen; accept the order.
Display the updated status of the order in the Webshop.
This functionality is the key issue why the rules regarding recipe modification in the Back Office are so detailed: you can easily publish the same product on Webshop instead of having to use Open Food products and free texts.
Adding Cooking Instructions
Add step-by-step cooking instructions for a product, and display them (including ingredients) in the Kitchen.
Adding Options to Mandatory Ingredients
Transform a mandatory ingredient (hamburger bun) to two different options: regular bun and a gluten-free bun with an extra cost.
Selling a Custom Product with Mandatory Ingredient Options
Sell the custom product containing a mandatory ingredient with options, and display the order in the Kitchen.