Create a New GS1 Product in the POS & Add It to Stock Handling
To perform this action, you must be logged in to the POS as a user with Product creation on POS permission.
When you scan the barcode of a product which does not yet exist in the system, the process starts automatically, and the following steps depend on the combination of two variables: having GS1 data and Stock Handling status. Once the process starts, it is not possible to switch between these different product creation flows; however, the required steps will adapt automatically, depending on the data which needs to be filled out.
Scan the barcode which is not assigned to any product in the system.
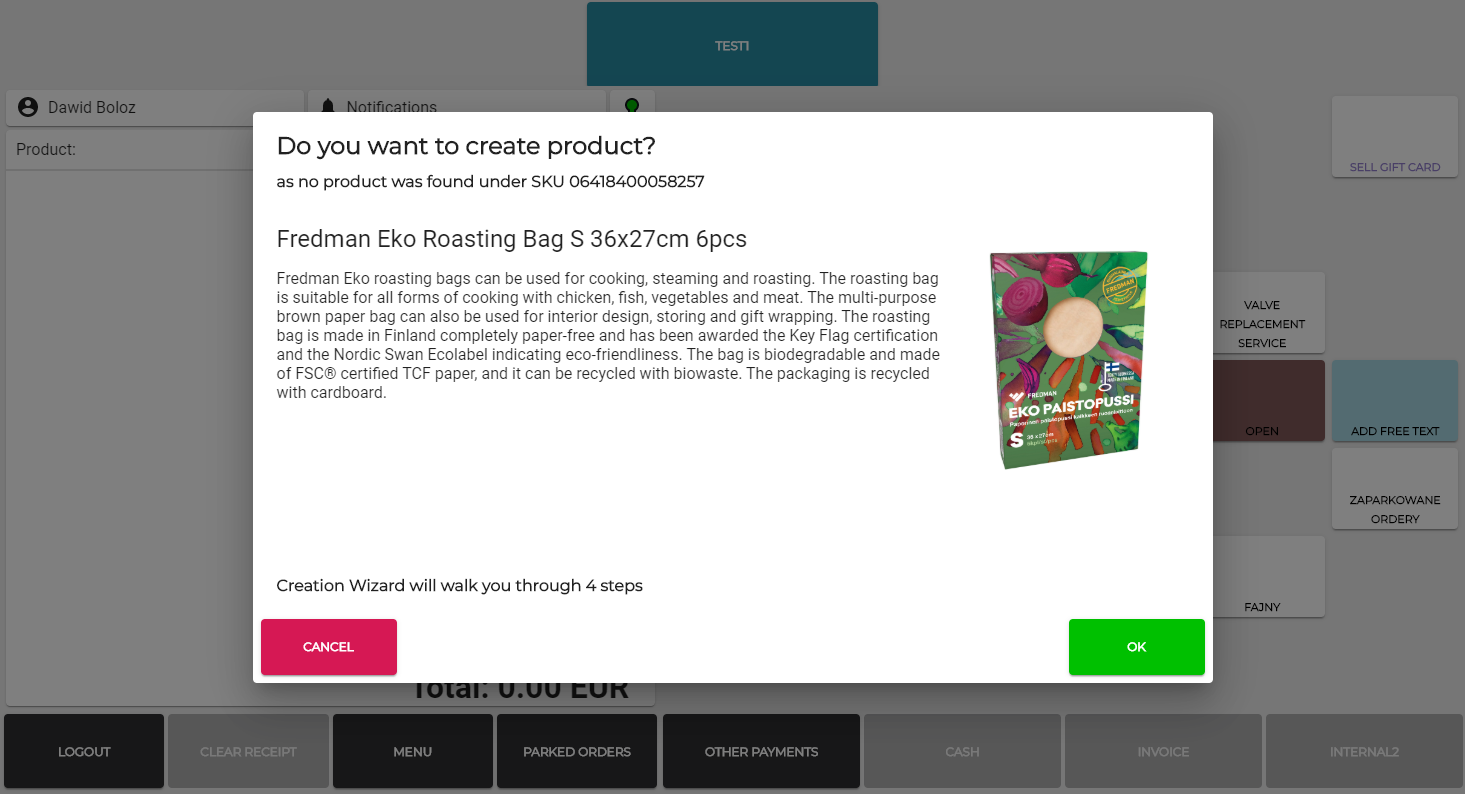
If the product was found in the GS1, the basic information (Name, Vat rate) will be filled in, and system will ask for your confirmation for the creation of the product. Click OK.
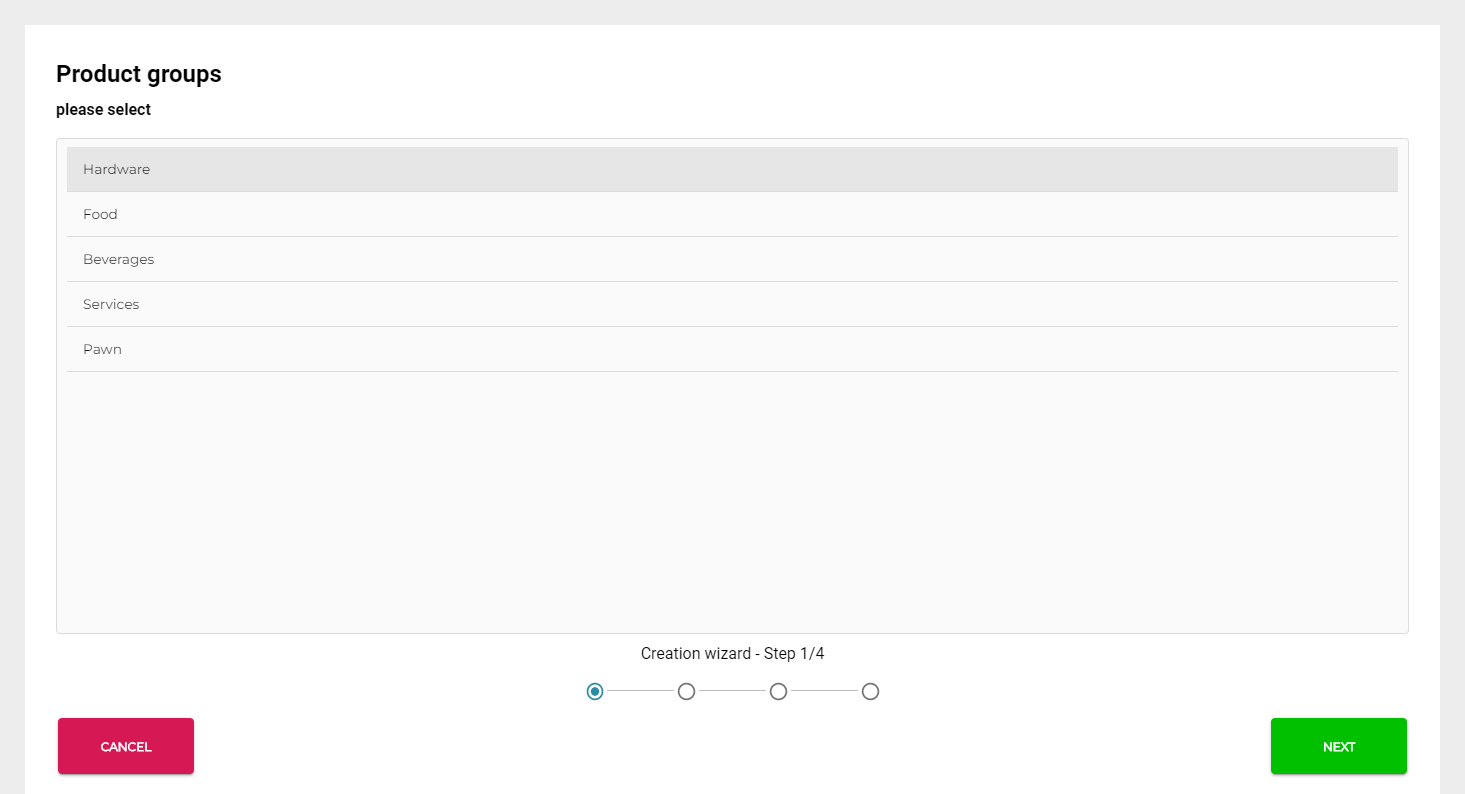
Select the Product groups (categories) for the product and click Next.
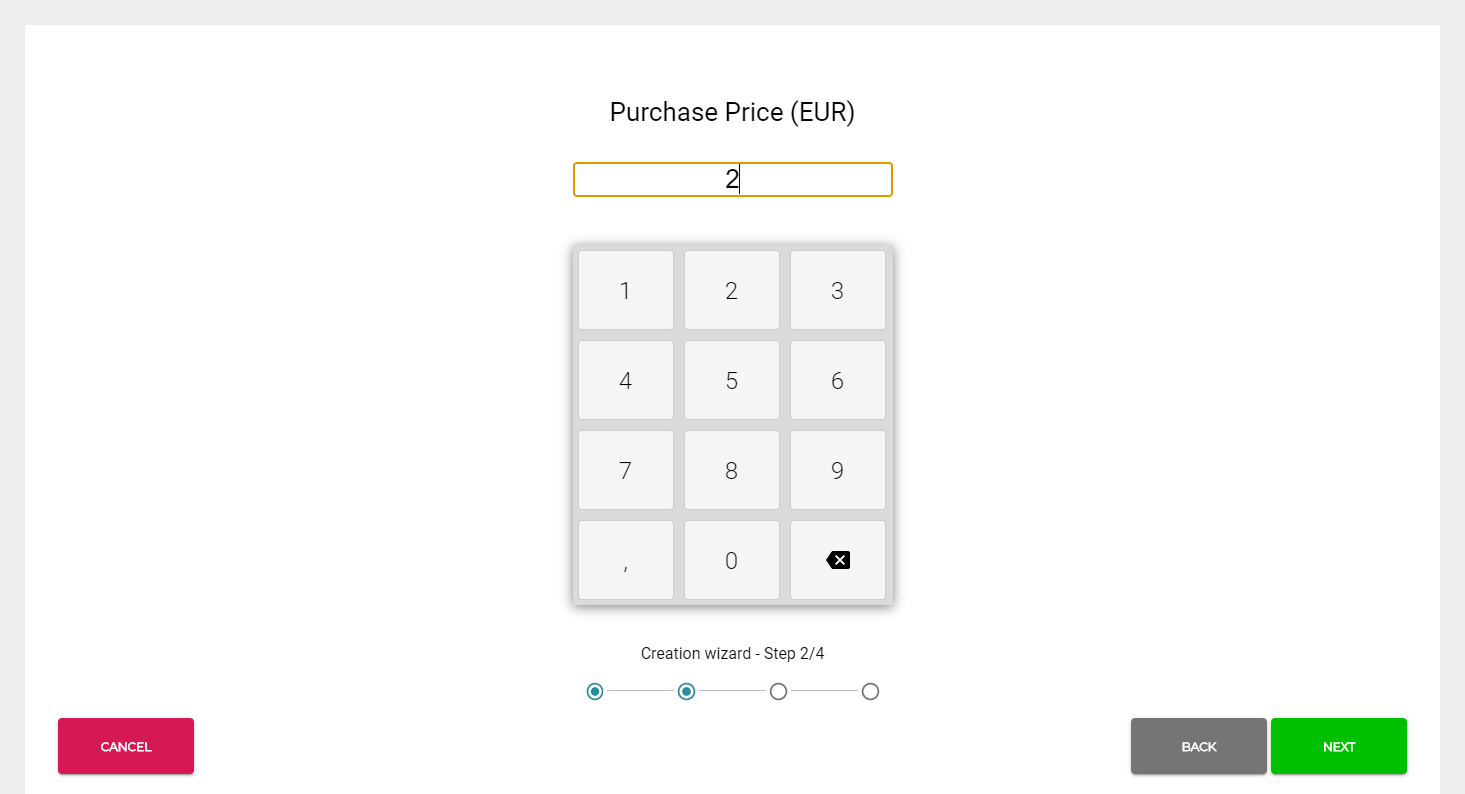
Enter the Purchase Price for the product and click Next.
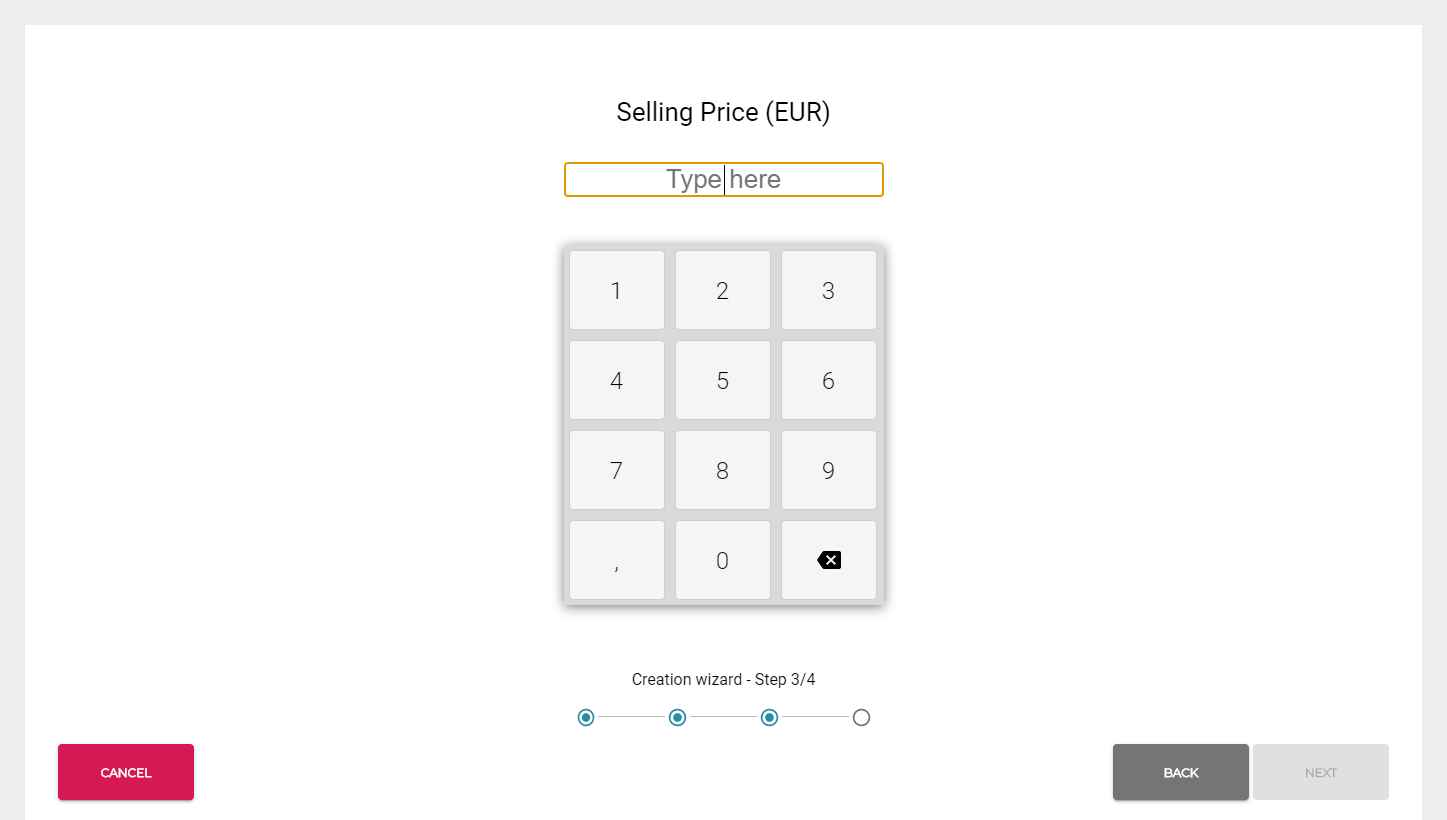
Enter the Selling Price for the product and click Next.
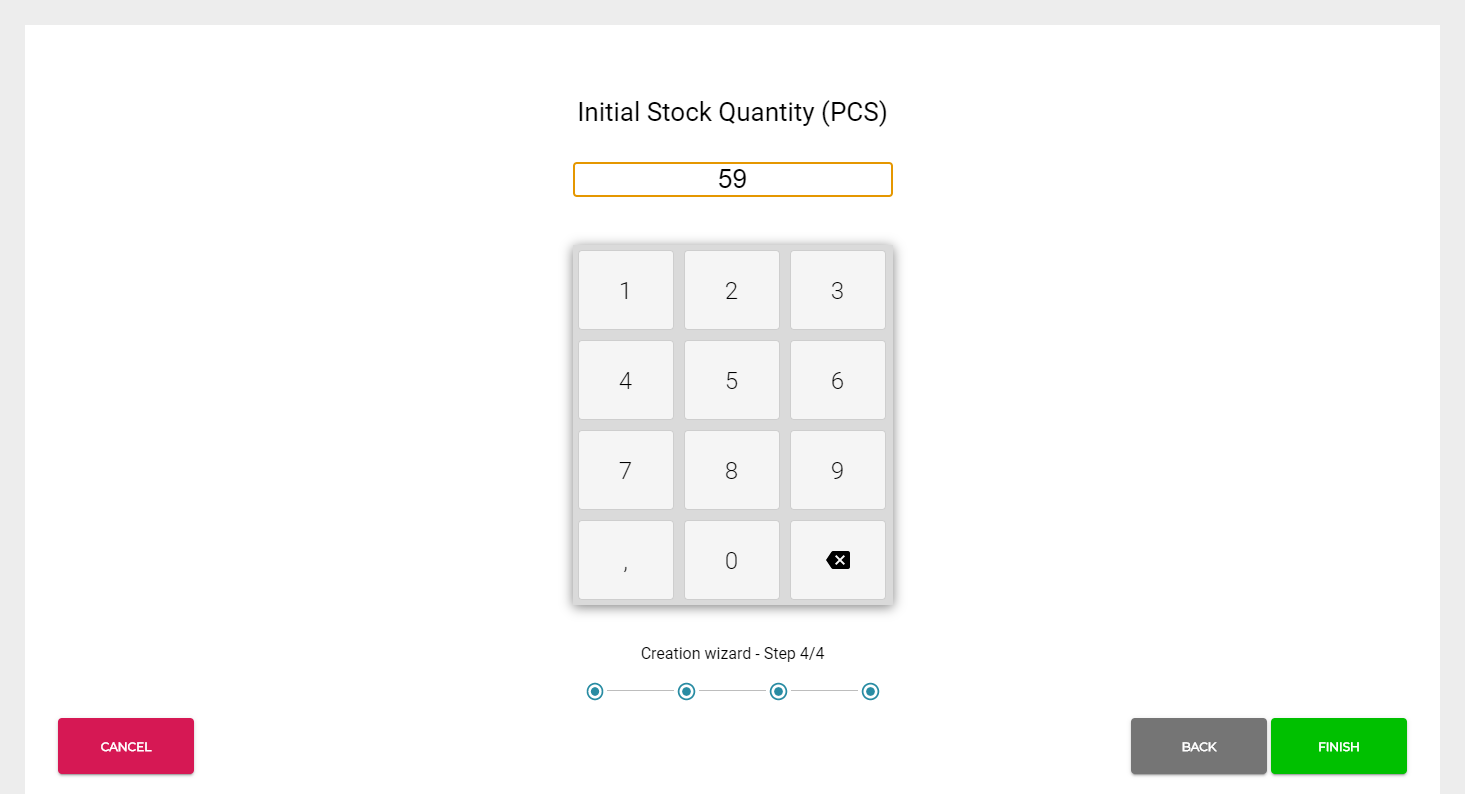
Enter Initial Stock Quantity for the product and click Next.
After completing all required steps a Product Summary page is displayed. It contains a list of all the data from GS1 (Name, VAT Rate) and entered in the previous steps.
To edit the items on the list click on the row of the item.
If needed, you can also add additional categories for the product in Product Summary.
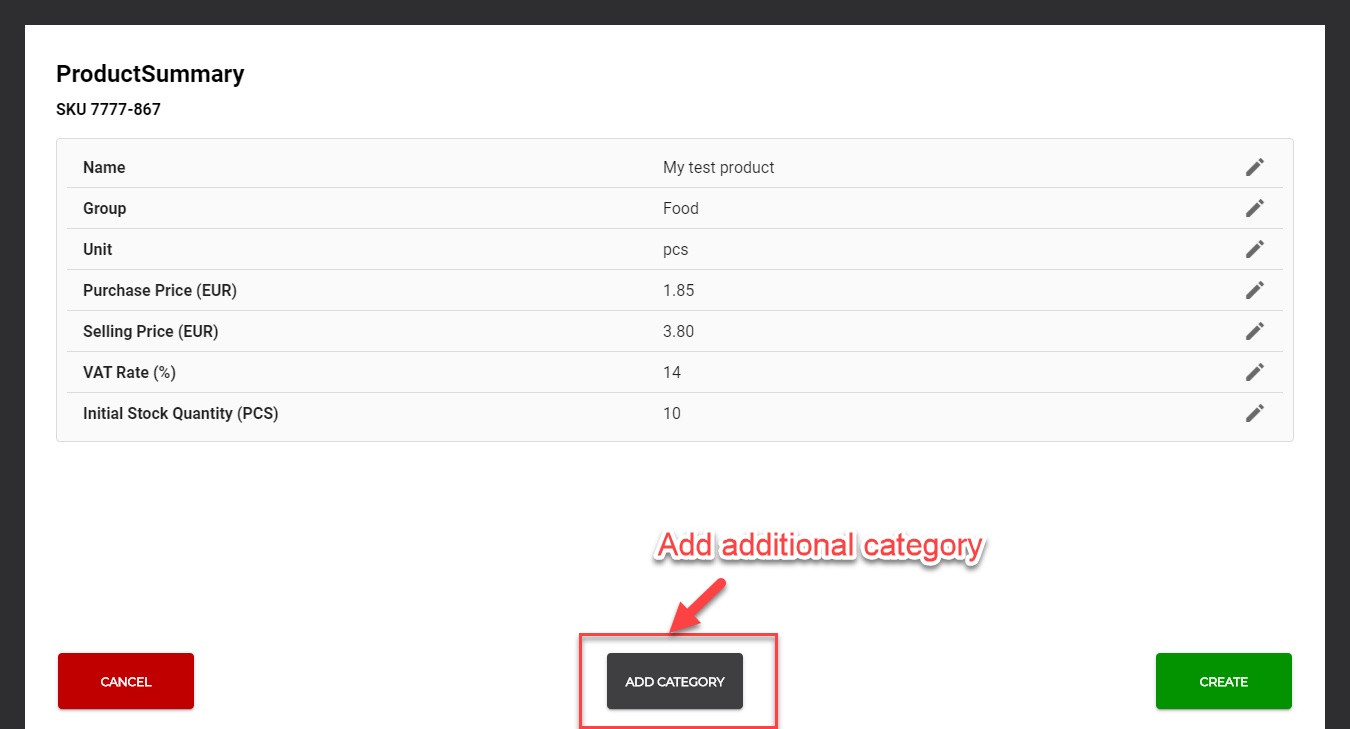
Click Create to send the request for creating the product to Commerce Cloud.
When the product creation is successful, the notification Product has been created is displayed in the POS notification area.
After the success notification is displayed, the synchronization of the product list starts. This may last for a short period of time (1 to 5 seconds, depending on the Internet connection).
You can now scan the barcode again and proceed with the payment.
If the success notification was displayed, but scanning the same product barcode again triggers the Product Creation Wizard, click Cancel action and wait a bit longer.
