
Creating POS Tabs
You can create new tabs for the POS by clicking the Add New Tab icon on the top row of the layout.
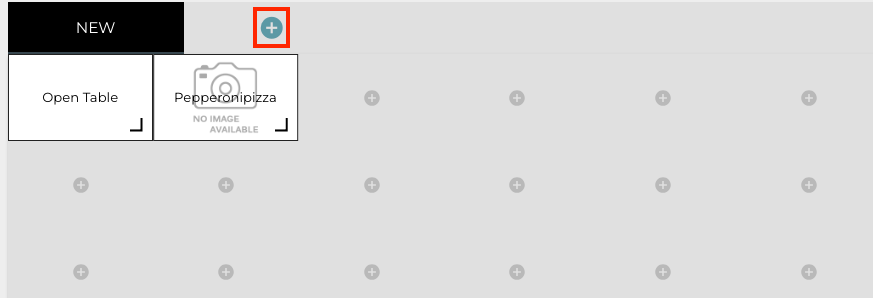
Add New Tab icon in POS Layout Designer
The name of the layout will be visible as text in the tab. The following settings can be defined for a tab:
Background colour
Text colour
Grid width (minimun width is 6)
Grid height (minimum height is 5)
There is no maximum value for grid width or height, but using up to 10 x 10 grid size is recommended.
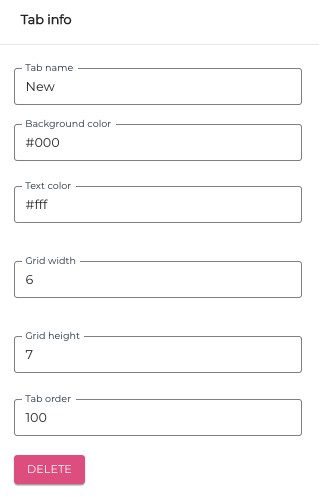
Tab info
You can delete tabs by selecting a tab and the clicking Delete.
The currently active tab is displayed in black in the layout designer. You can add products, actions and links to the grid as function buttons.

Tab selection
Ordering Tabs
The order number of a tab defines the position of the tab in relation to other tabs. The leftmost tab has smallest order number, while the rightmost has the highest number.
As a default the order number of the leftmost tab is 99; this way it is easy to switch the position of new tabs to the left side of the default tab, without needing to change the order number of the default tab. This can be done by setting an order number that is smaller than 99 for the new tab.
Numbering the tabs in increments of 10 is recommended. This way it is easy to insert new tabs in relation to the existing ones: the new tab can be given order number 115 if you want it to be inserted between tabs 110 and 120, for example. In this case there is also room for new tabs on both sides of the newly created tab, and there is no need to change the order numbers of the existing tabs.

Example of tab order numbering