Currency
You can view and manage currency information, as well as add new currencies in the Currencies view of Back Office. You can access the Currencies view by clicking Configurations and selecting Currency in the Back Office menu.

Currencies view, with one Main currency and two additional currencies
Additional currencies which are added in the Back Office can be used as payment methods in POSs; to enable this, you need to add these currencies as separate payment methods in the Payment Service settings of each applicable workstation (see the instructions below).
You can also add and manage currencies in Solteq Commerce Cloud via the currency management API interface.
Add a New Currency
In the Currencies view, click + Add new.
Select the currency to be added from the drop-down-list, and enter Rounding rule and Exchange rate to main currency.

Entering the currency settings
Click Save to save your changes.
Click Configurations in the Back Office menu and select the workstation you want to use with the new currency.
Go to the Payment Service settings of the workstation and click New.
Select Type: Cash for the new currency payment method, and enter a Name for it.

New currency in Payment Service settings
Click Add Payment Method.
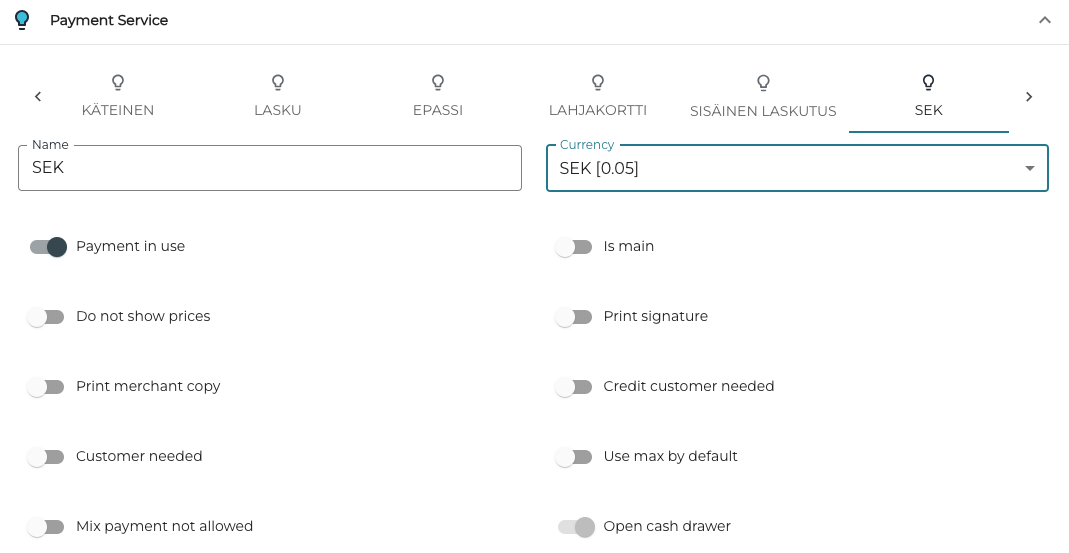
Select the Currency, and modify the other settings as needed.

New payment method settings
Click Save to save your changes.
Repeat steps 5 to 9 for each workstation you want the currency to be available as one of the payment methods.
Payment in the POS Using Other than the Default Currency
Add products to the Basket, and when ready, press the Start Payment tile.
Select the new currency payment method.
Selecting the payment method
Enter the sum and press Accept.
If the amount the customer pays with the currency is greater than the total sum of the Basket, the cashback amount will be displayed in Main currency.
Entering the amount paid in currency
Basket after payment, with cashback amount displayed
If the amount the customer pays with the currency is less than the total sum of the Basket, the rest of the sum that needs to be paid with the Main currency will be displayed in the Basket.
Entering the amount paid in currency
Basket after payment, with rest of the sum which needs to be paid displayed
Select another payment method (Cash, Card…) so that the rest of the total sum will be paid.
