Skip table of contents

Stock Tool

The Stock Tool of Solteq Commerce Cloud enables you to perform quick stock-related actions.

To access the tool, click Stock Tool in the Back Office menu.

You can change the stock whose balance you want to view or modify by clicking on the current stock’s name, and then selecting a new one.

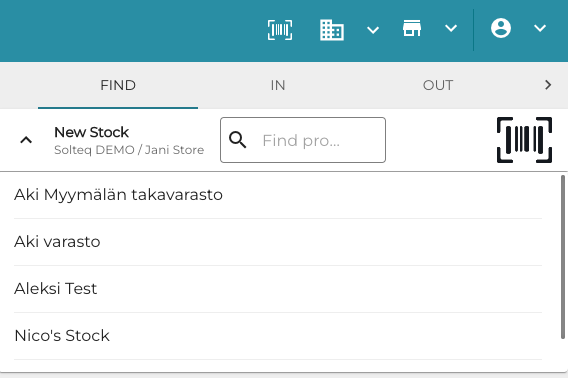
Selecting a new stock in Stock Tool

To search for products in the Stock Tool, you can use the global barcode scanner; simply read a barcode with your physical scanner when a Stock Tool tab is open.

Check the Quantity of Product in Stock

  1. Select the Find tab and select the Stock whose information you want to view.

  2. Click the barcode icon and scan the barcode of the product, or enter its name or SKU in the Find Product by Name or SKU field.

    Find tab in Stock Tool

  3. The product name and its quantity in the selected stock are displayed.

    Found product and its quantity

Receive Products

  1. Select the In tab and select the Stock which will be receiving the products.

  2. Click the barcode icon and scan the barcode of the product, or enter its name or SKU in the Find Product by Name or SKU field.

    In tab in Stock Tool

  3. The product name is displayed. Enter the Quantity of the product you wish to add to stock.

    Entering product quantity

  4. Click Send to create an automatically approved purchase order and add the products to the Stock.

Create Loss

  1. Select the Out tab and select the Stock you want to create loss for.

  2. Click the barcode icon and scan the barcode of the product, or enter its name or SKU in the Find Product by Name or SKU field.

    Out tab in Stock Tool

  3. Enter the loss Quantity for the product.

    Entering loss quantity

  4. Repeat steps 4–6 to add more products, if needed.

  5. Click Send to save your changes.

Add Products to Inventory

To use this feature, an inventory needs to first created and started in Stock in the Back Office.

Note that this feature will add product to the selected inventory; multiple users can do the same inventory in the Store at the same time. For example, if two users scan and add the same product to Stock from different areas of Store, the quantities will be combined, as in 1 + 2 = 3.

  1. Select the Inventory tab and select the Stock whose inventory you want to modify. Pending inventories in the Stock are displayed.

    Inventory tab in Stock Tool

  2. Click the barcode icon and scan the barcode of the product, or enter its name or SKU in the Find Product by Name or SKU field.

  3. The product name is displayed. Enter the Quantity of the product you wish to add to inventory.

    Entering product quantity to inventory

  4. Click Send to send the product quantity to the inventory.

Perform Stock Correction

This feature will create a finished inventory with corrected quantity of the product; the correction can be checked later from the Back Office, creating an audit trail which shows why the Stock quantity was changed.

  1. Select the Correction tab and select the Stock whose product quantity you want to be corrected.

  2. Click the barcode icon and scan the barcode of the product, or enter its name or SKU in the Find Product by Name or SKU field.

    Correction tab in Stock Tool

  3. The product name is displayed. Enter the Quantity of the product you wish to correct in the Stock.

    Entering corrected quantity

  4. Click Send to create the finished inventory with corrected product quantity.

JavaScript errors detected

Please note, these errors can depend on your browser setup.

If this problem persists, please contact our support.