
Media
You can add and manage images in the Media view of the Back Office. Images can be grouped into folders.
The images added to the media library can be used as:
product images
tile images in the POS layout
rotating media library for customer displays.
In order to access the view and manage media in the Back Office, users need to belong to a user group with Read and Modify Media permissions.
To access the view, click Media in the Back Office menu.
Media view
Deleting media is currently not possible.
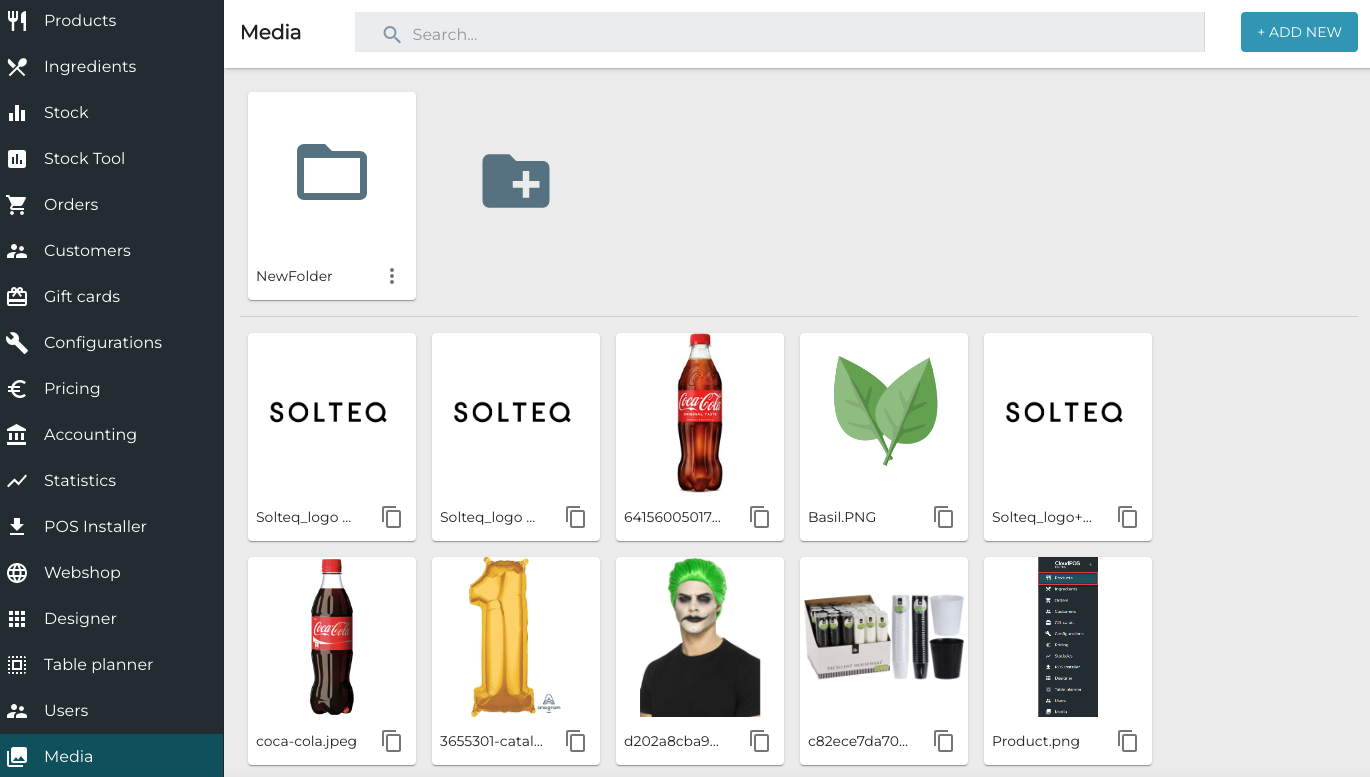
Create Image Folders
Click the New folder icon
Creating a new media folder
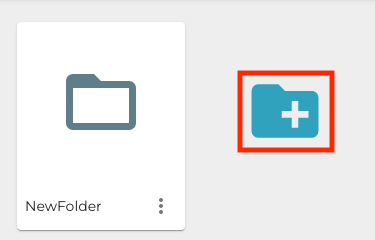
Click the three dots in the lower right corner of the new folder.
Media folder tools
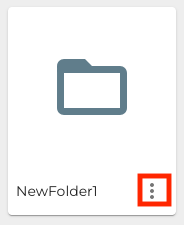
Select Rename folder.
Rename folder
Enter a new name for the folder.
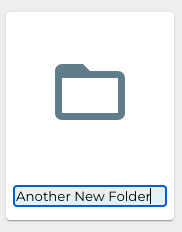
Entering a new name for a folder
Import Images to Back Office
The supported image formats are PNG and JPG.
The maximum allowed size for media is 2.00 MB.
(optional) Select a folder by clicking it.
Click +Add new
Select the image
Click Open.
Use Images from Media Library on Product Information and/or POS Tiles
Copy the URL address of an image by clicking the Copy icon in the image card.
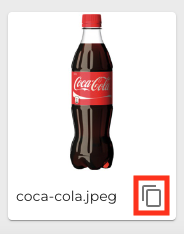
Copy icon in image card
You can now paste the image URL in
Select a Media Folder for Customer Display
Click Configurations and select the workstation you are using with the customer display.
In the Workstation Configurations, go to Interaction Service and click New.
Click the media icon in the Media library folder field.
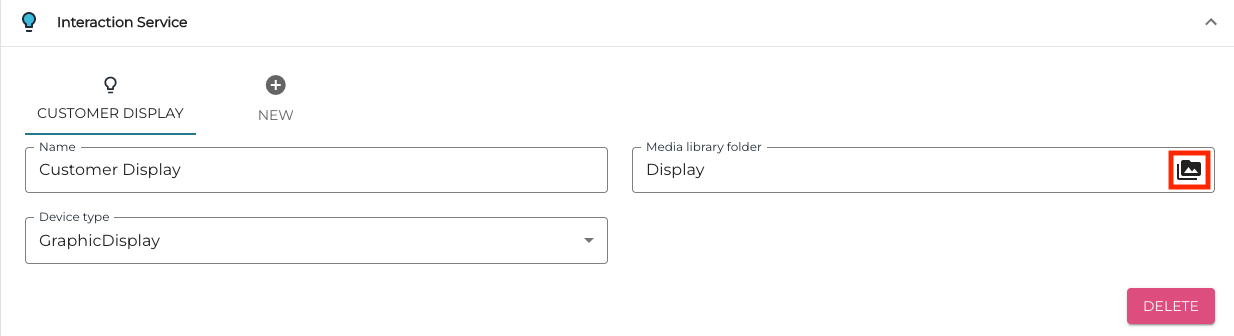
Media icon
In the Choose file window, either select an existing folder (A.) or create a new one (B.)
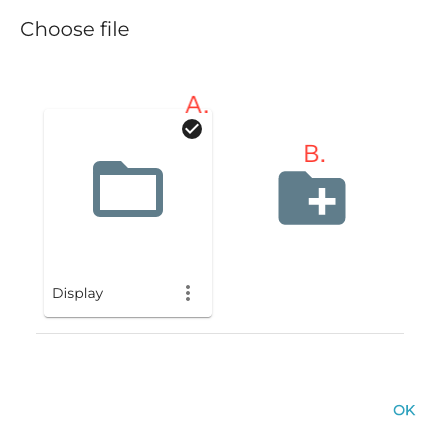
Selecting an existing folder or creating a new one
Click OK to save your changes.
Refresh the data in the workstation. After this the media library is in use in the customer display.