
Activating Vipps MobilePay POS Payments
Payment with Vipps Mobilepay is possible in Solteq Commerce Cloud POS. To enable MobilePay payments, your company must first sign the contract with Vipps MobilePay and enable the MobilePay Point of Sale product.
You can register your company to use MobilePay here.
After signing the contract, your company will get access to the Vipps MobilePay Portal, which can be used for configuring the brand and stores. There must be exactly one corresponding store configured in the Vipps MobilePay Portal (called Sales Unit) for each Commerce Cloud Store where Vipps MobilePay payments are used. To link the stores, you must enter the MSN (Merchant Serial Number) in the Back Office Store Configurations when enabling Vipps MobilePay POS payments (described below).
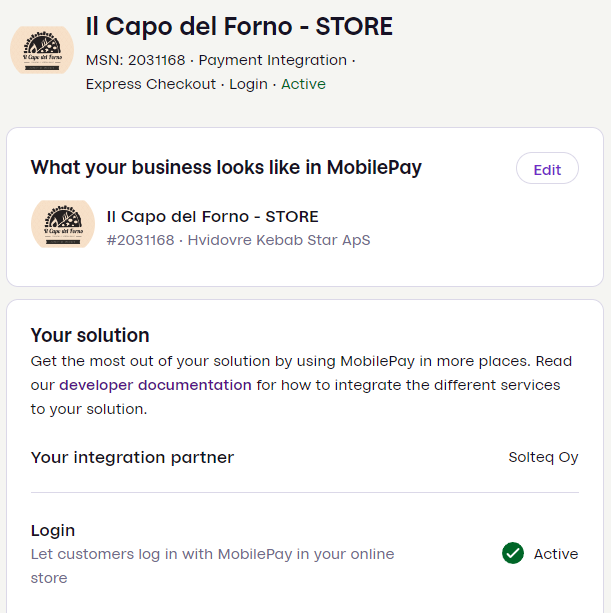
Example of a Vipps MobilePay sales unit
Enable Vipps MobilePay POS Payments in the Back Office
Click Configurations in the Back Office Menu and select Payments. The Payments view is displayed.
Click Vipps MobilePay POS in the Mobile Payment Brokers section.
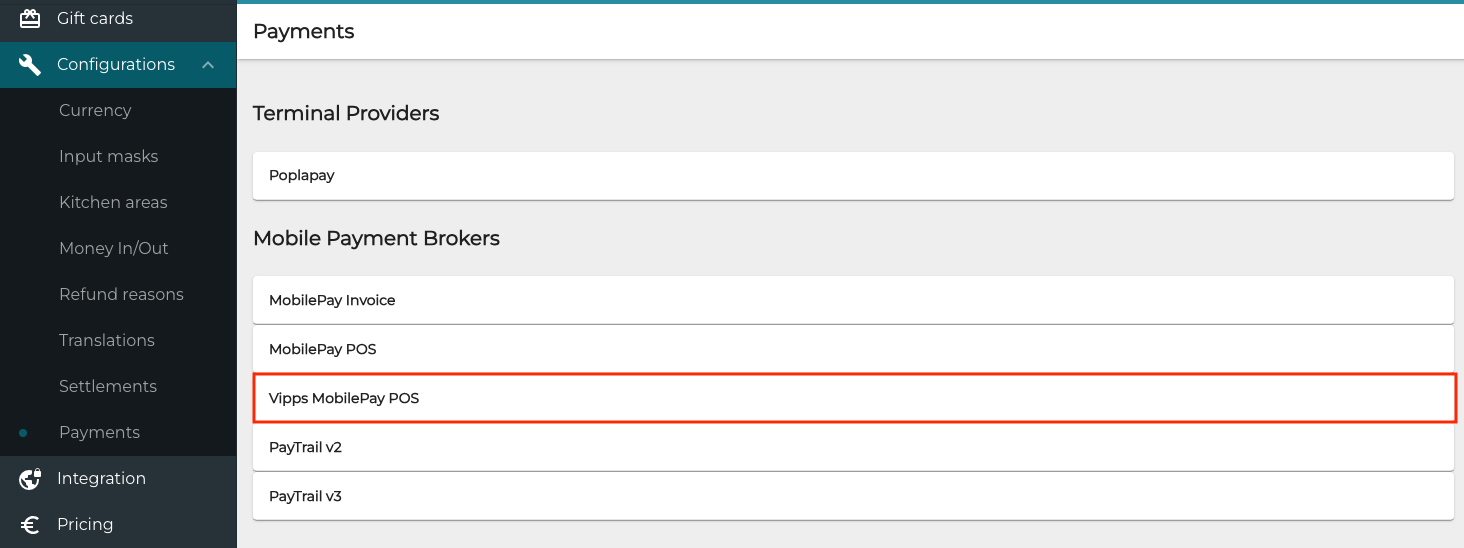
Vipps MobilePay POS in the Mobile Payment Brokers section
Click the Enable Vipps MobilePay POS switch to ON position and enter the URL for payment callbacks from POS.
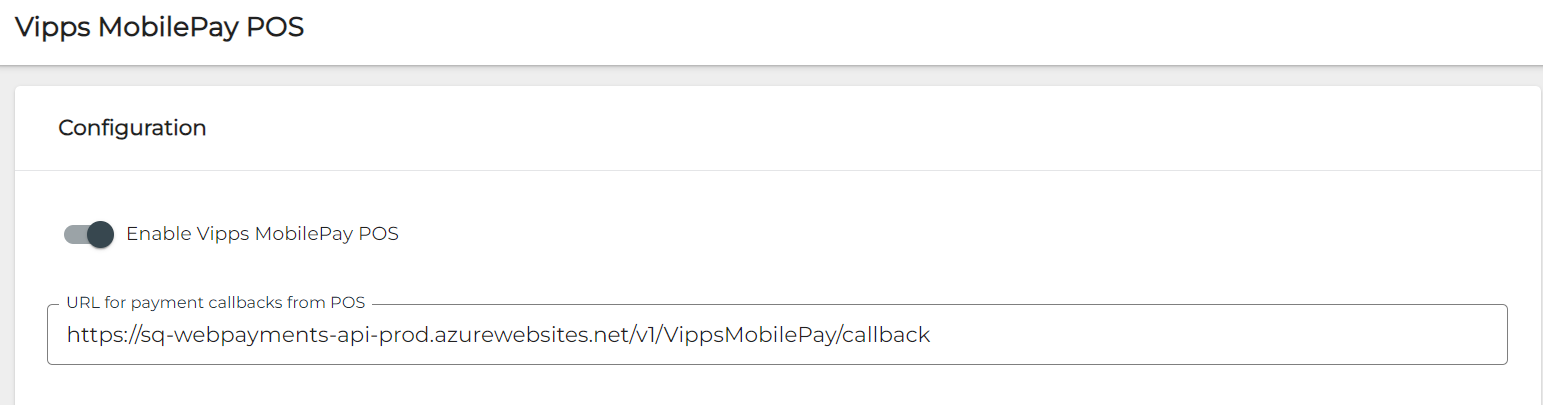
Configuration for Vipps MobilePay POS
Click Save to save your changes.
Next, go to the Store Configurations and click to expand the Vipps MobilePay POS section.
Enter the Vipps Merchant Serialnumber.
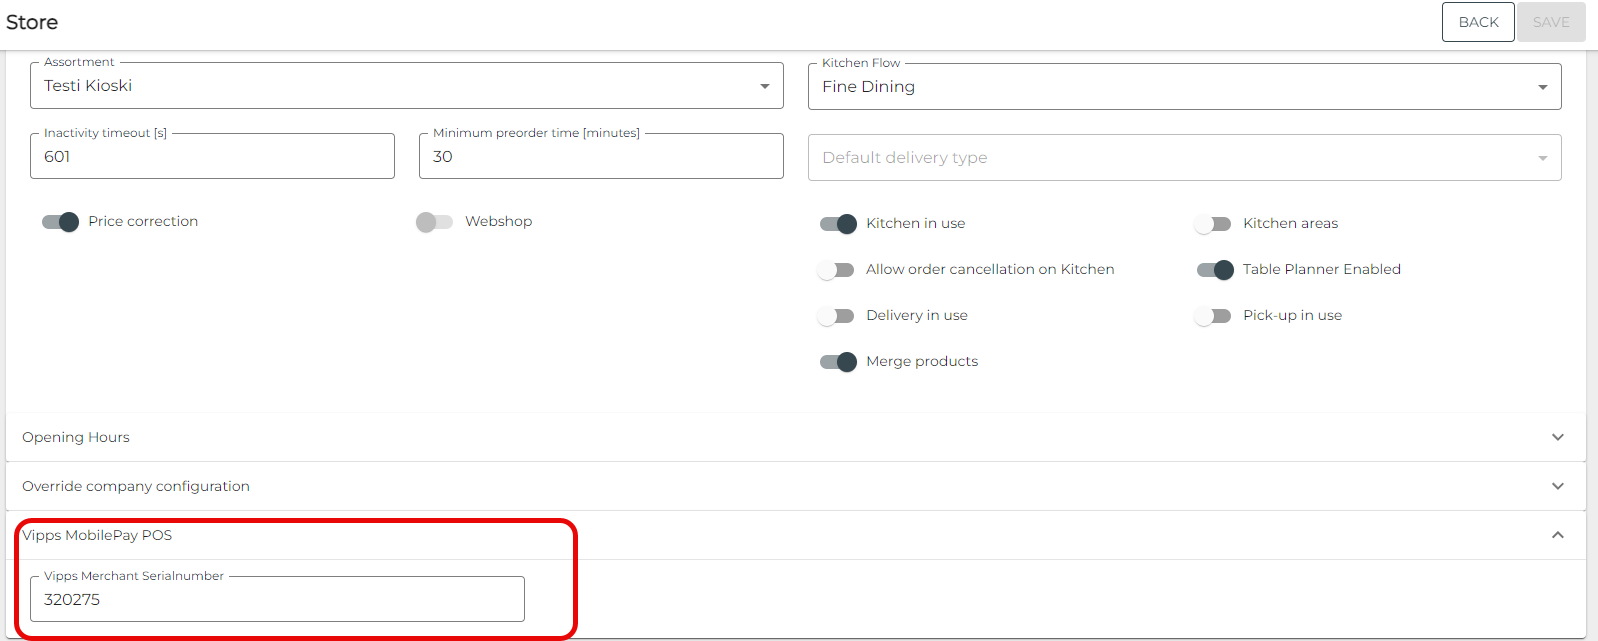
Vipps Merchant Serialnumber (example) in Store Configurations
Click Save to save your changes.
Next, go to the Payment Service settings of each workstation you want to use with Vipps MobilePay Payments, and add a new payment method separately for each workstation (all of the following fields are mandatory to fill):
Type: Mobile Payment
Name: Vipps
Mobile Payment Provider: VippsMobilePayPOS
Enter the QR-Code ID:
If your company has already been using MobilePay, and you want to continue to use same Beacon ID you have used previously in your QR codes (including stickers), click the Is migrating from MobilePay switch to ON position.
If your company has not yet used MobilePay, enter the QR-Code ID you have received from MobilePay.
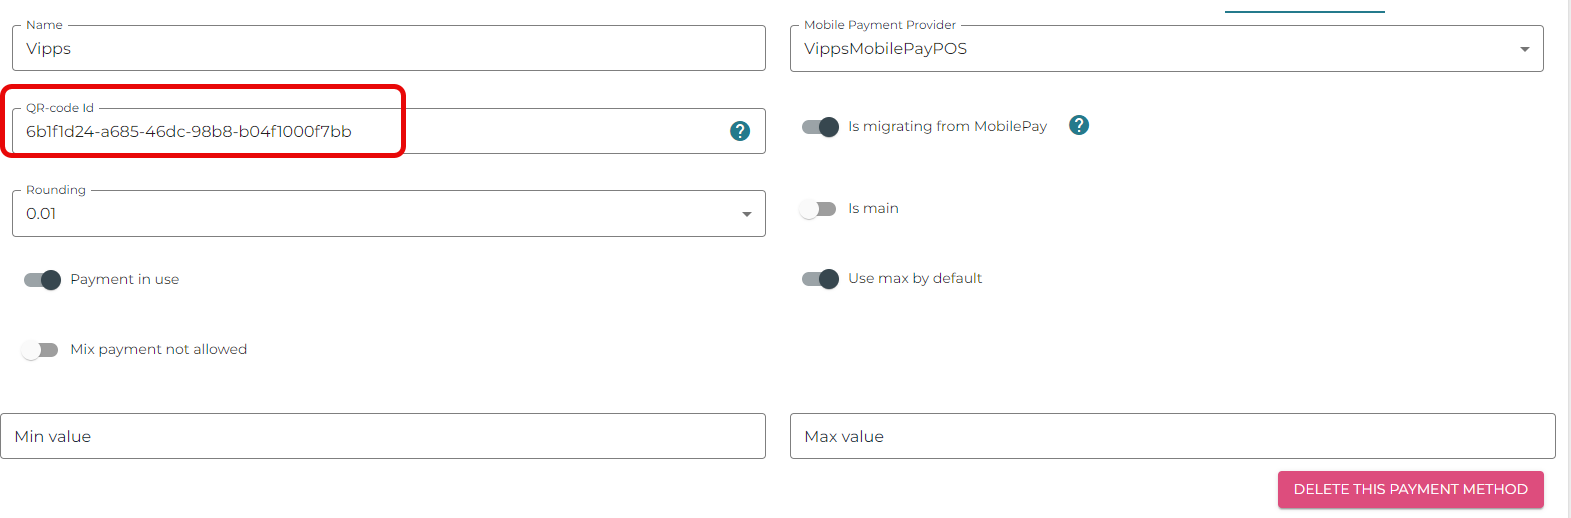
QR-Code ID (example) in Payment Method settings
See QR Codes below.
Click Save to save your changes.
QR Codes
A QR code is required for the customers to check in and accept/reject the payment via the Vipps MobilePay App. There are three possibilities for providing the QR Code, as described below.
Way of providing the QR code | Description | ID used for generating QR codes |
|---|---|---|
Order the stickers with the code | Order the stickers from the MobilePay webshop. The sticker must be associated with the workstation, by entering the QR code into the QR-Code ID field in the workstation’s Payment Service settings. The sticker should be placed next to the terminal so that the customer can comfortably scan the code. | Vipps MobilePay -generated QR code ID only. |
Create your own sticker with the code | The format of the QR code is For example:
In this case the QR code must also be available for the customer to check in. | Vipps MobilePay-generated QR code ID or workstation ID. |
Display the code on customer display | QR code is displayed automatically on customer display when a front display is used. | Vipps MobilePay-generated QR code ID or workstation ID. |
In the last option, the QR code is displayed automatically on a customer display and the user may scan it.
Payment statuses used with Vipps MobilePay are the following:
Waiting for customer: The customer has not yet scanned the QR code.

Waiting for customer screen in POS
In Kiosk, the QR code is displayed as soon as the customer chooses Vipps MobilePay as the payment method for the order.

Waiting for customer screen in a Kiosk
Payment created, waiting approval: The customer has scanned the QR code. The payment has been created, and customer needs to approve it in the app.

Payment created, waiting for approval screen in POS
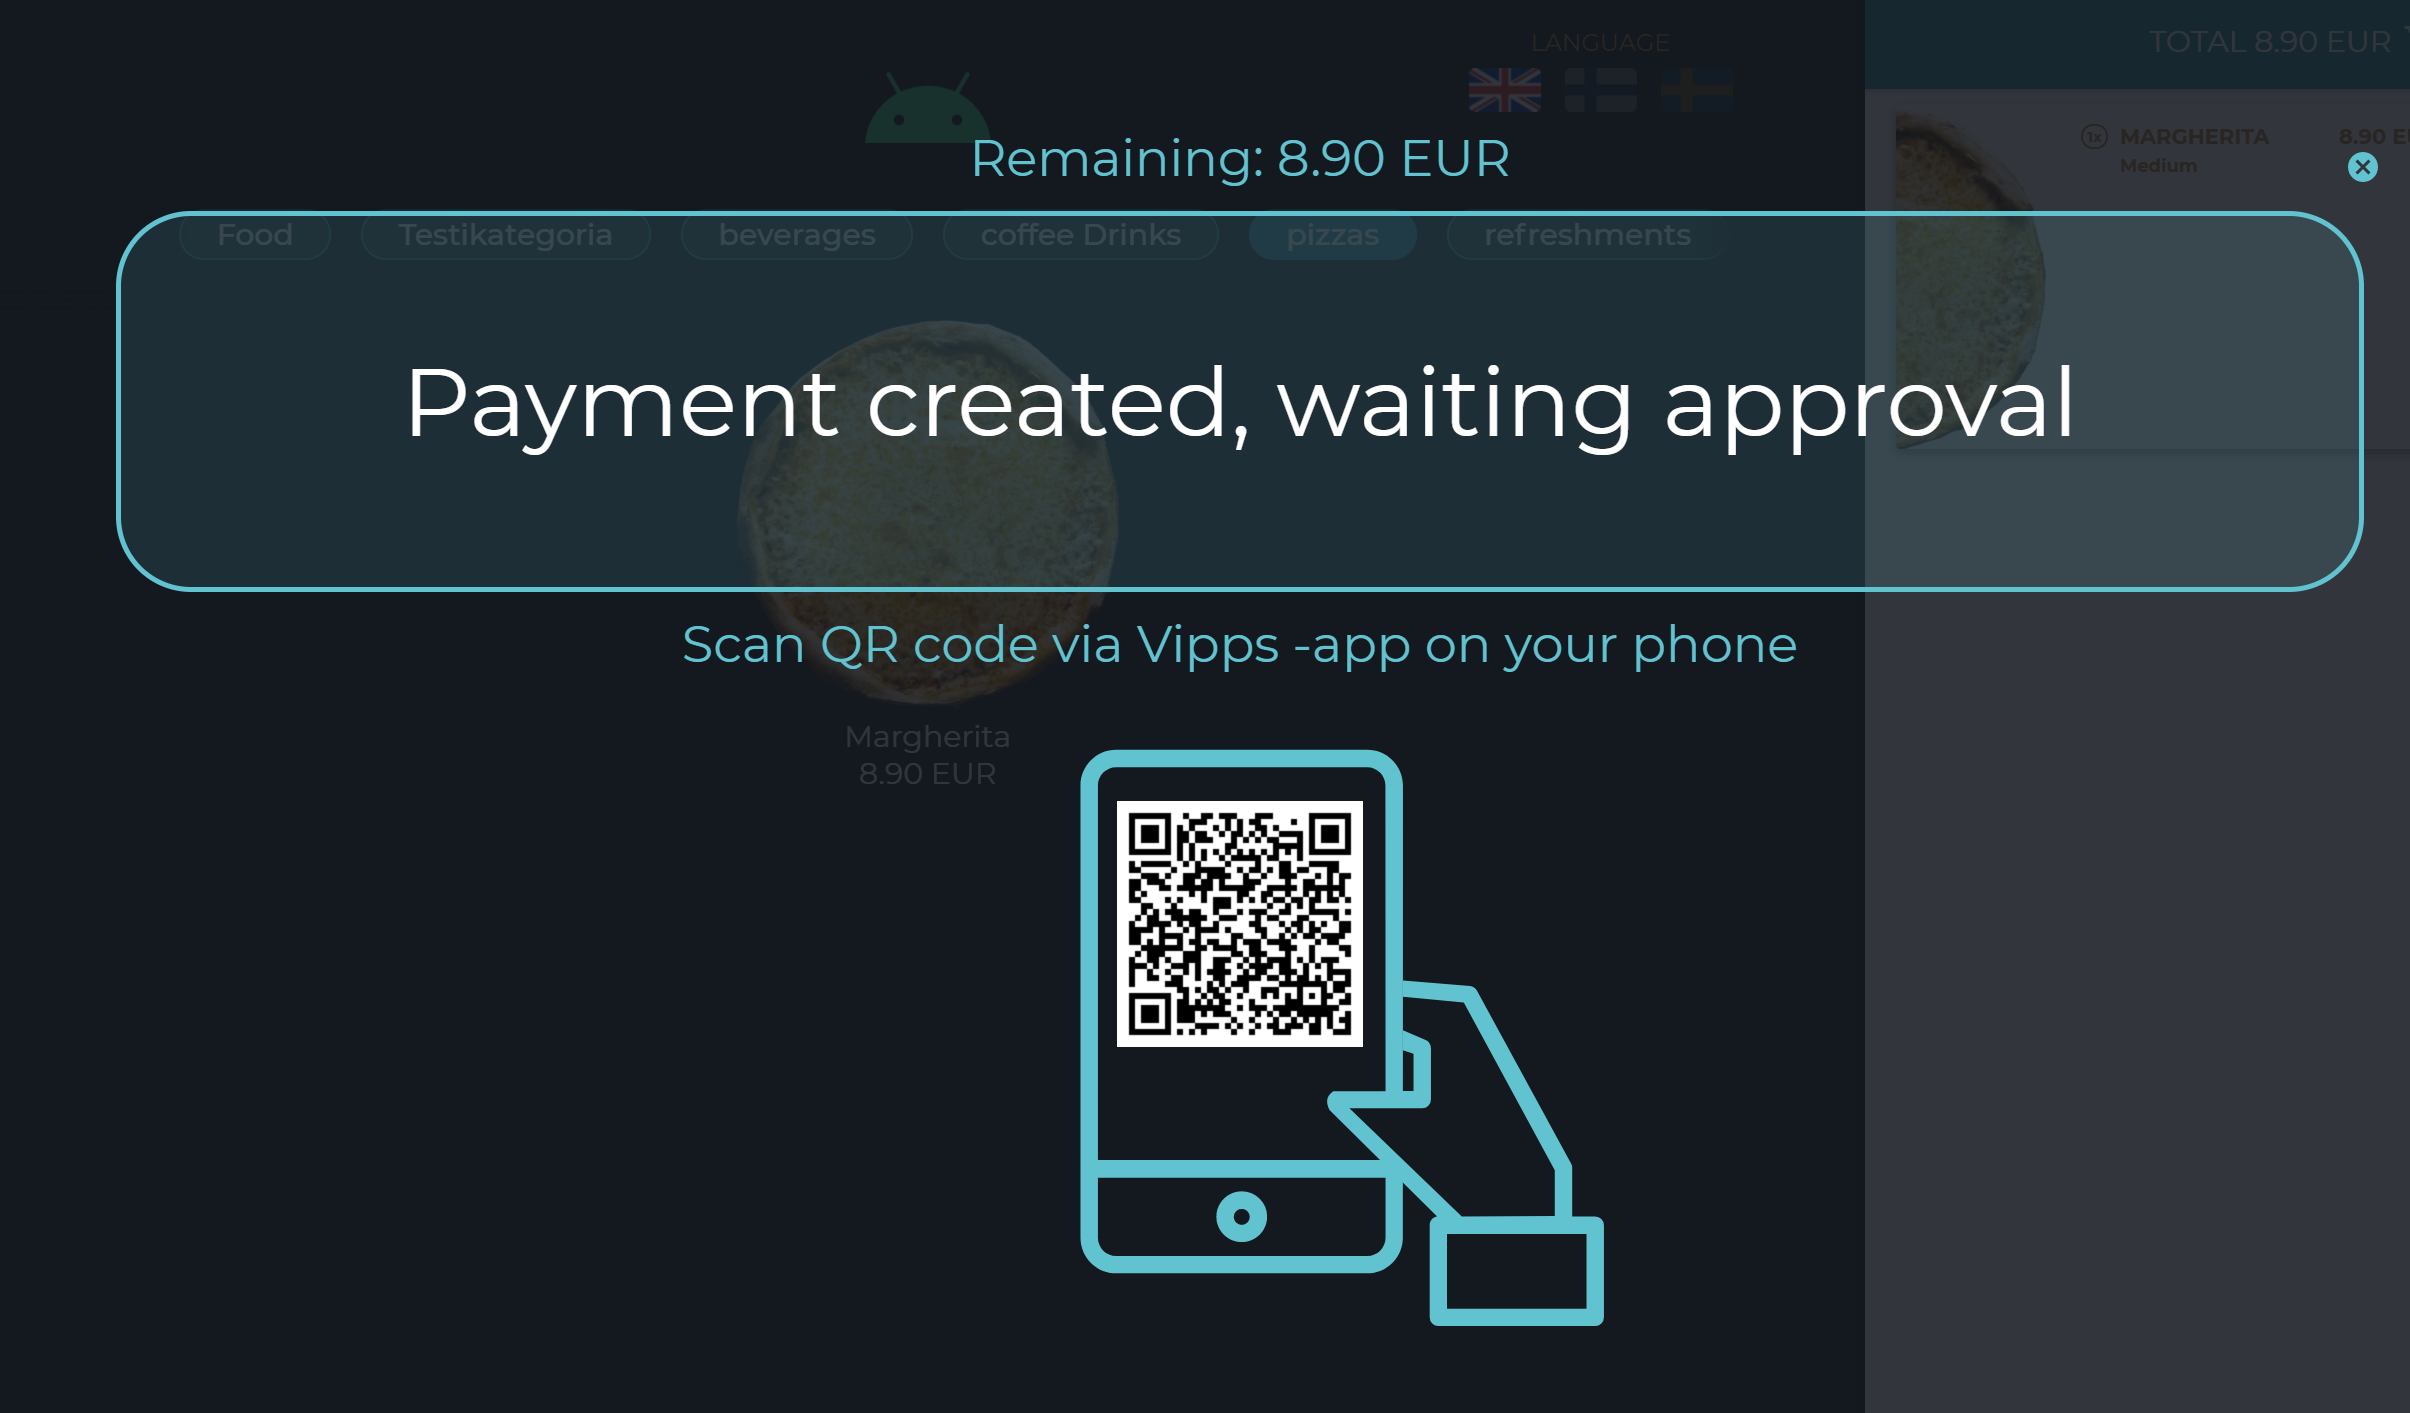
Payment created, waiting for approval screen in Kiosk
The following limitations apply when using Vipps MobilePay:
There should be only one Vipps MobilePay POS Payment method configured for a single workstation.
Refunds are not yet supported when using Vipps MobilePay POS payment; refunds for such payments are included on Solteq Cloud Commerce roadmap, but note that refunding any Vipps MobilePay POS payments will require that a corresponding successful payment has been made first. Voiding payments is currently supported.
When printed stickers are used, the payment must be started from the POS before the customer scans the QR code with phone. if the payment event was not started before the QR code was scanned, the QR code can be scanned again.