
Creating Stock Out (Loss/Waste)
Waste management can be applied to basic products, custom products, and ingredients in Solteq Commerce Cloud. The different methods of loss/waste management that can be used in Solteq Cloud POS include the following.
Stock Out Mode in the POS
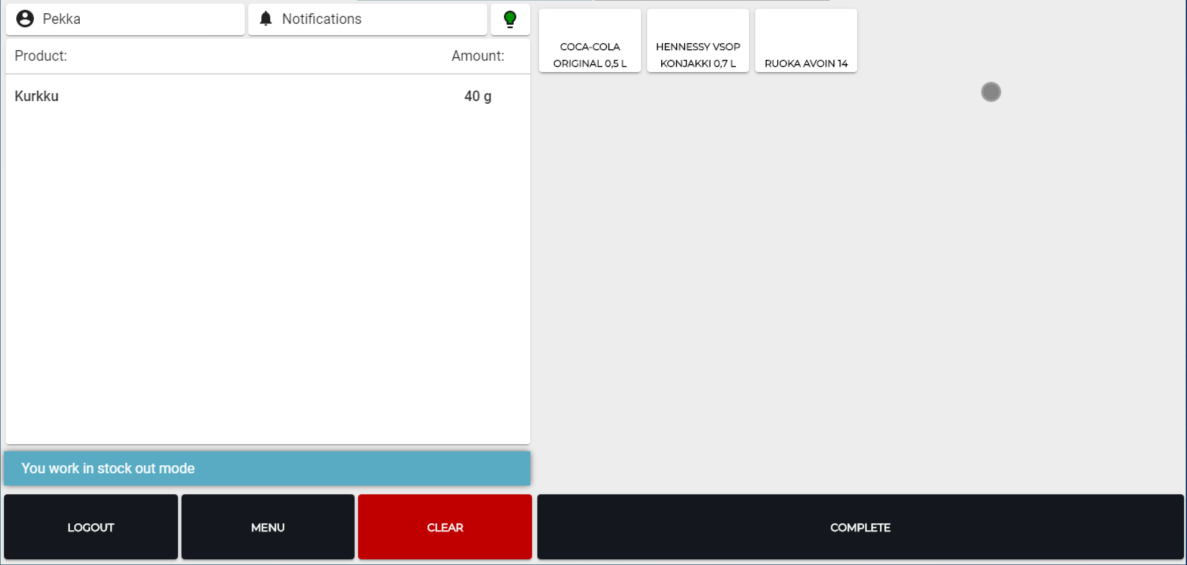
In the POS, waste management is done in Stock Out Mode, which can be activated by pressing Stock Out in the POS menu or pressing a tile in the POS layout with Stock Out action defined for it.
In the Stock Out Mode the POS user can perform only few actions:
Search and select a basic product (the product must have been added to the store stock)
Select a product or ingredient by pressing a tile
Complete the actions by pressing Complete.
Return to Sales Mode by pressing Sales Mode.
Using Stock Out Mode in POS requires that a Pos Loss Layout has been selected for the workstation in the workstation’s POS Service settings.
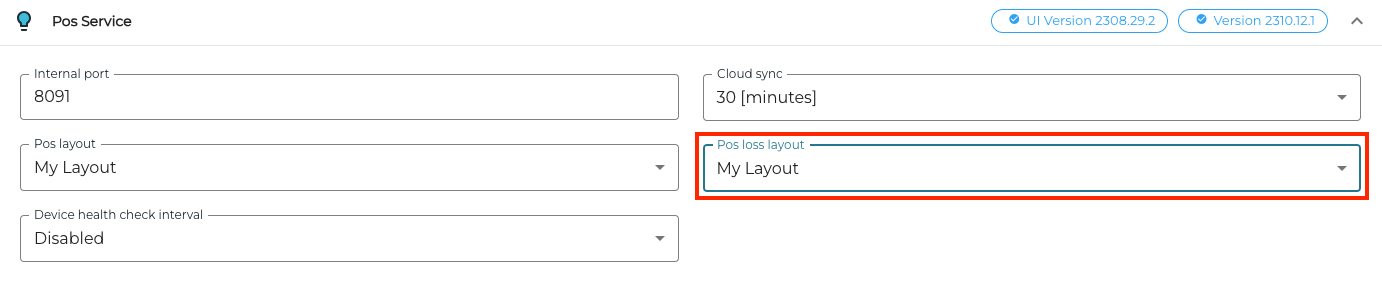
Pos loss layout in POS Service settings
When in Stock Out Mode, the search function can only be used to find stock products. However, there might be often a need to throw away excess custom products which are not sold in due time, or ingredients which are expired or spoiled. To facilitate this, creating a a separate POS UI loss layout for adding loss/waste is recommended; the easiest way to do this is to copy your current POS layout and make modifications (such as remove unnecessary action tiles, and leave/add the most commonly used product/ingredient tiles) to the new copied layout.
Create Loss/Waste in POS
Press the Stock Out tile in the POS menu (or a Stock Out tile in the POS layout, if available.)
Select the Reason Code for the Stock Out action.
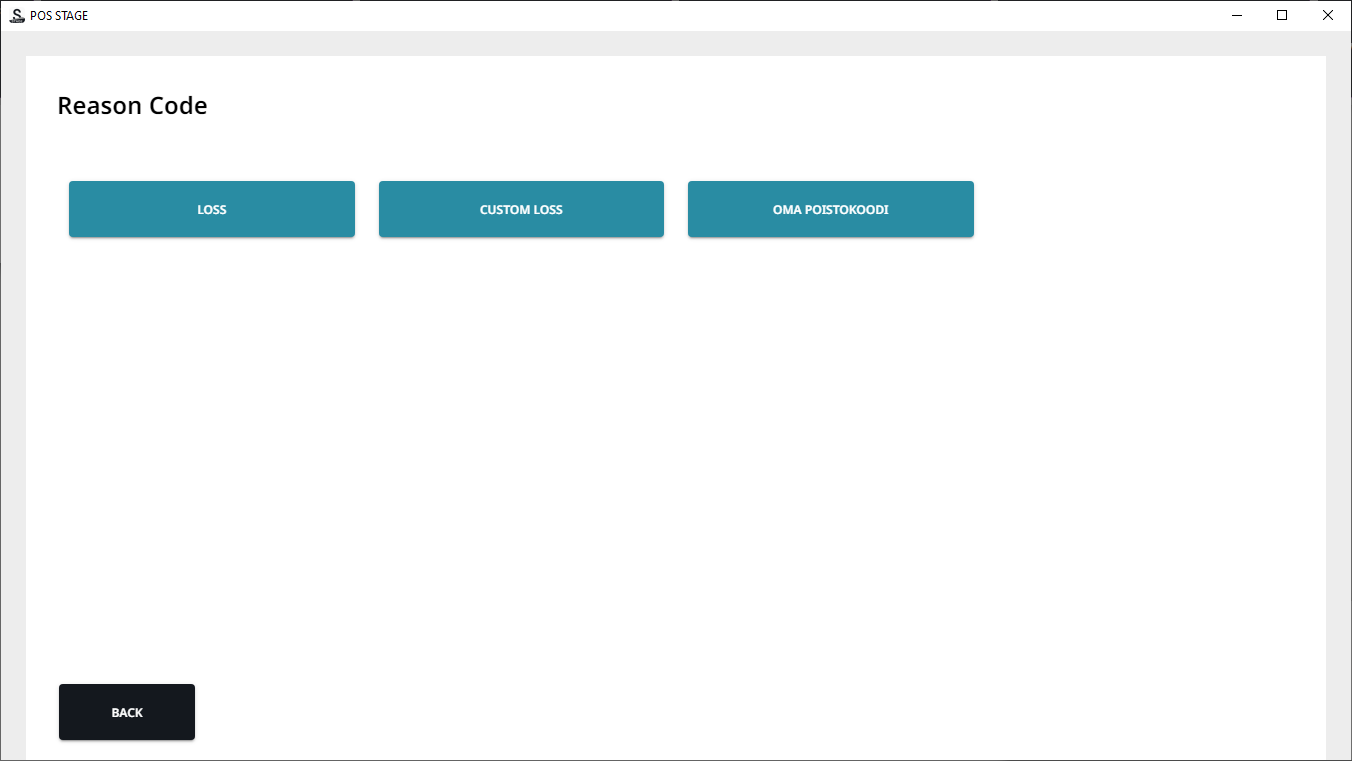
Loss reason codes
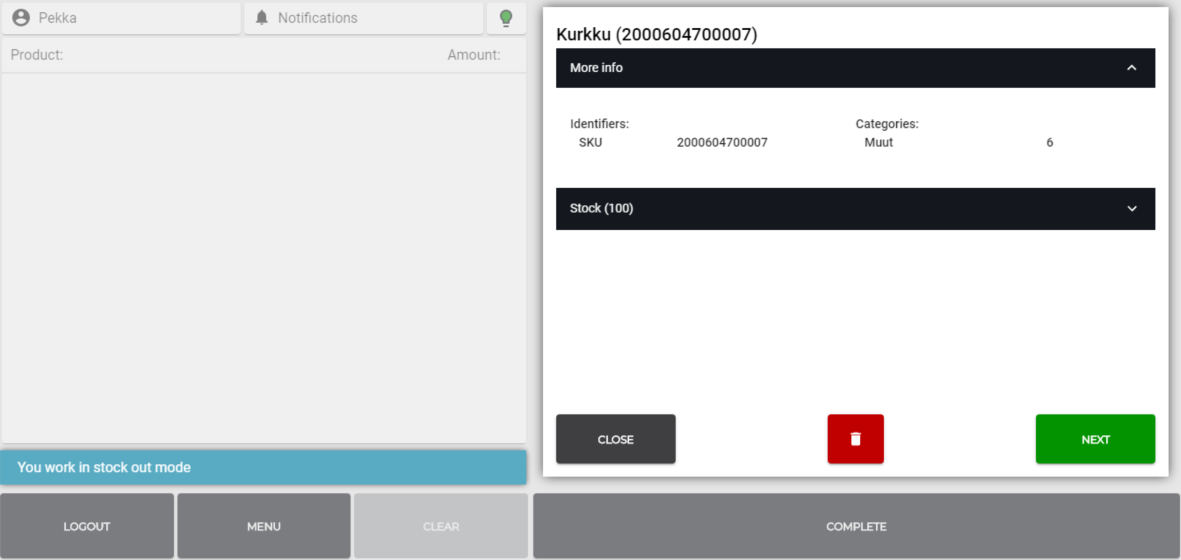
When in Stock Out mode, select the product you want to add waste for:
Read the barcode of a basic product with an SKU,
Use Find Stock Products and select the product or
Use a product/ingredient tile to select a product/ingredient.
When the product has been selected, press Next.
Select the measurement used, enter the loss amount and press Accept.
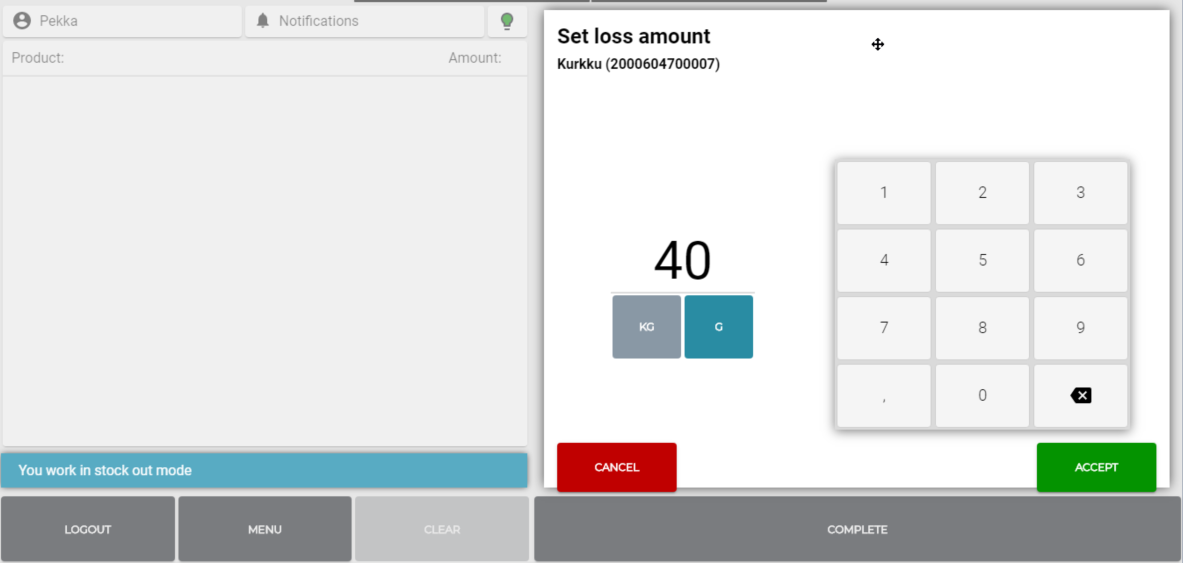
The amount of waste is now displayed in the basket.
If you want to add other products/ingredients, repeat steps 1–4. Click Complete when you are ready.
The text Stock out transaction succeeded is displayed.
In Back Office, the loss is now displayed in the Transaction Orders view of the stock in question.
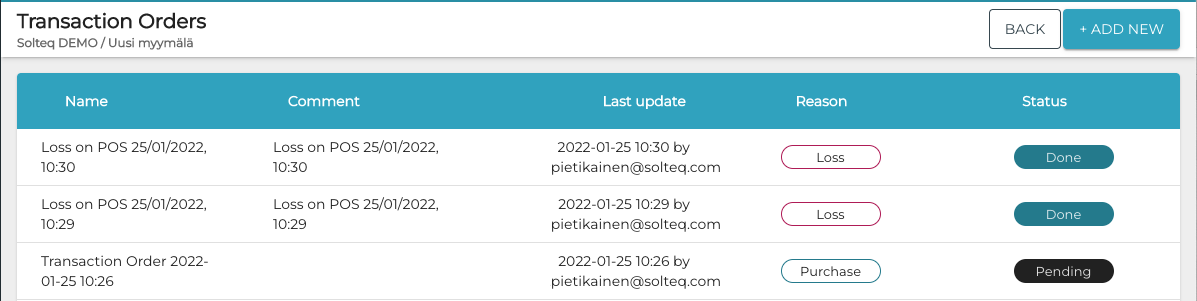
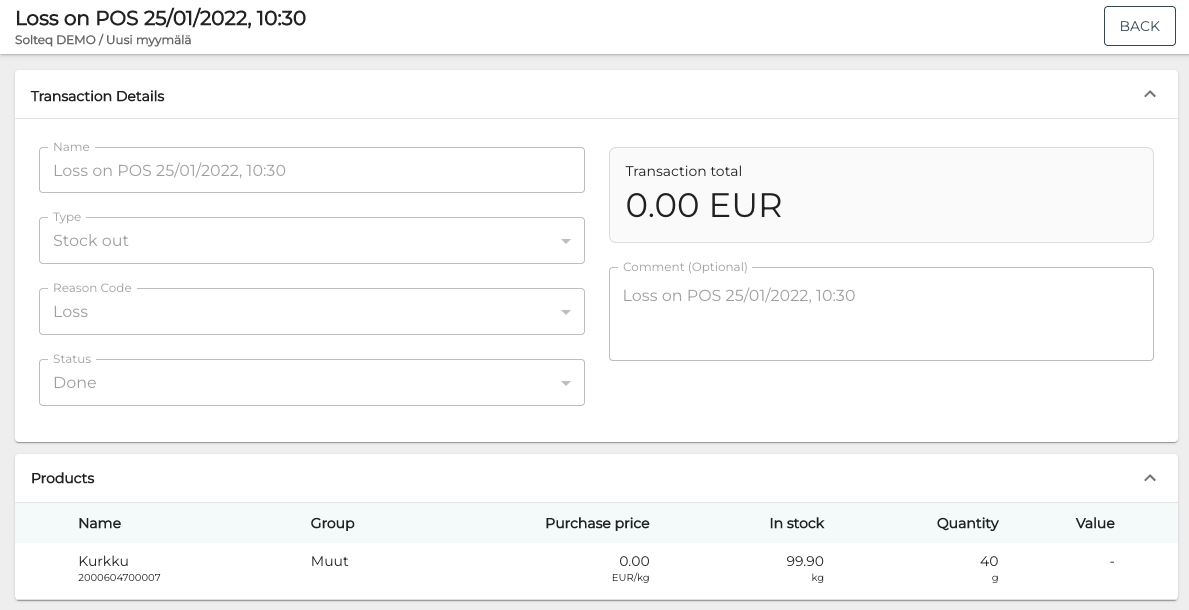
To view details of the loss, click the row of the loss transaction.
Waste Percentage in Dosing Groups
In addition to manually creating waste in the POS, you can automatically define waste percentages for the ingredients in a dosing group; when the ingredient is sold in the POS, the waste is then automatically calculated and deducted from the stock.
The formula used is:
dosing/(1 - waste% in decimals) = total amount of ingredient deducted from stock
For example: If waste% for oranges ingredient in a dosing group is 25%, for every 100g dosing of oranges sold as part of the custom product the stock will be deducted 133,33g, or 100g/(1-0,25).
Create Loss of Stock with Transaction Order
You can create loss of stock by creating a Stock Out type transaction order in the Back Office.
Only single products (not categories) can be selected when creating loss with a transaction order, and Excel import cannot be used.
Click Stock Handling in the Back Office menu.
Select the stock from the list.
In the Stock view, click View More in the Transaction Orders section.
In the Transaction Orders view, click Add New. The new transaction order view is displayed.
Select Stock out as the Type and Loss (or a custom reason code, if applicable) as the Reason Code for the transaction order.
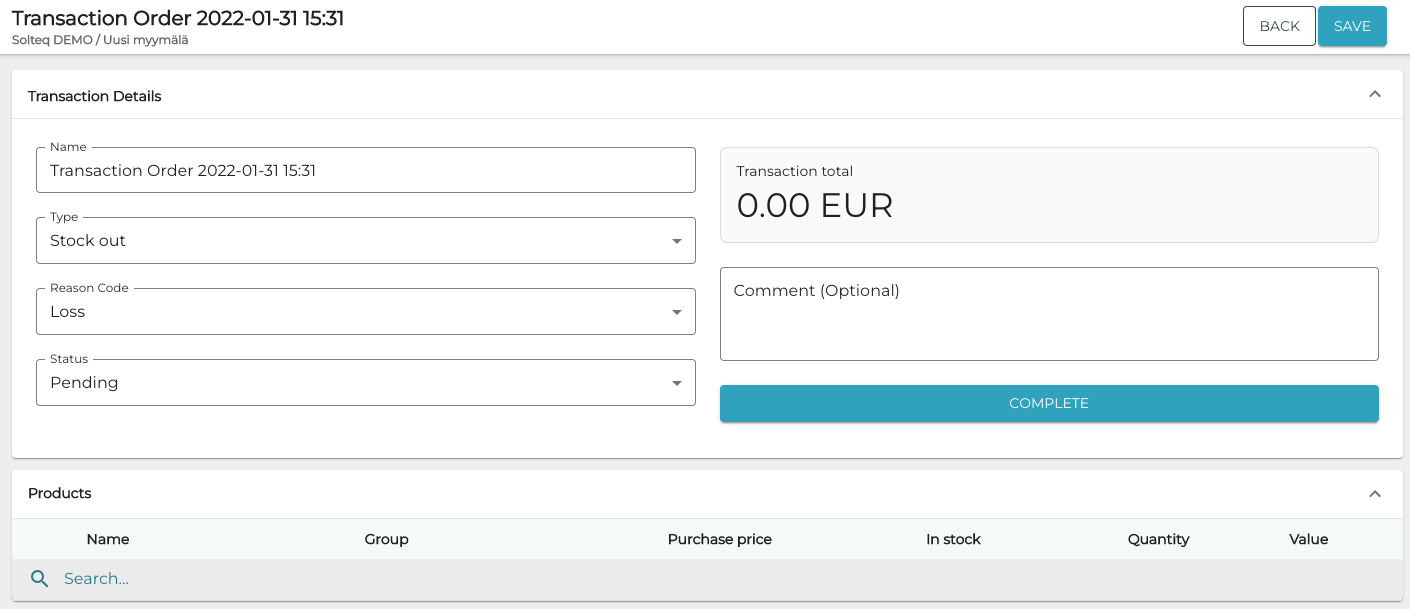
New Loss transaction order
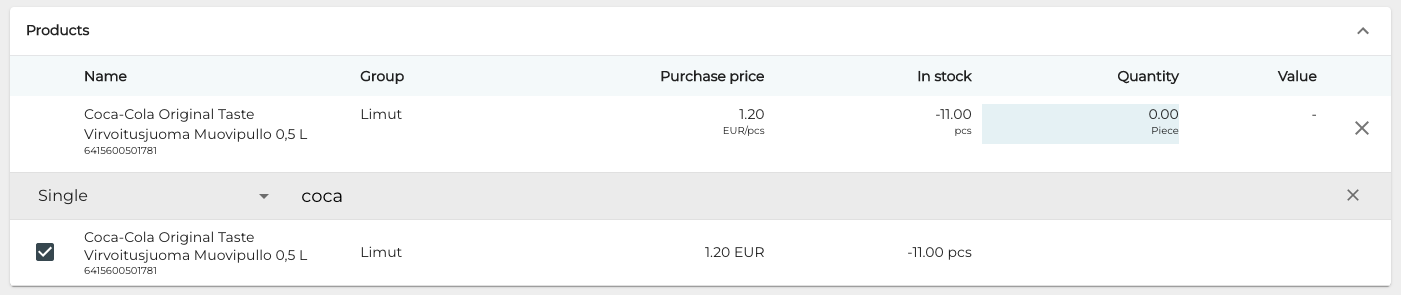
Select products for the transaction order by entering the SKU of the product (or the product name fully or partially) in the Search… field and then making a selection using the checkboxes.
Add loss Quantity for the selected product.
Repeat steps 6–7 to add more products, if needed.
Click Complete to finish your transaction order.
Using the Stock Tool to Create Loss of Stock
You can use the Stock Tool to create loss of stock by scanning or entering product SKUs. Click Stock Tool in the Back Office menu to access the tool.
Select the Out tab and select the Stock you want to create loss for.
Click the barcode icon and scan the barcode of the product, or enter its name or SKU in the Find Product by Name or SKU field.
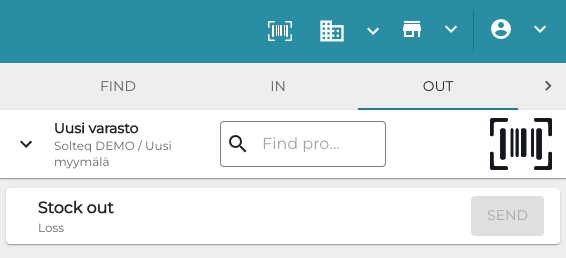
Out tab in Stock Tool
Enter the loss Quantity for the product.

Entering loss quantity
Repeat steps 4–6 to add more products, if needed.
Click Send to save your changes.