
Skidata
Skidata is a cash station and lift ticket management system used by ski centers. Commerce Cloud’s Skidata add-on makes it possible for ski center cashiers to automatically send lift tickets produced in Skidata to their Commerce Cloud POS as new order rows.
See the example video of using Skidata and Rentle with Solteq Commerce Cloud POS below.
https://www.youtube.com/watch?v=Mzz2xmNaKKw
Installation
Create first the basic products that will be used for Skidata sales:
Create one product for each VAT rate.
The products need to be open products with default price 0.
Giving the the products distinctive names (for example Skidata Sales 14%) is recommended.
Assign the products with the categories you want to use for reporting Skidata sales.
In the Integration view, click +Install a new add-on. The Marketplace window is displayed.
Click Install on the Skidata row. The Skidata installation view is displayed.
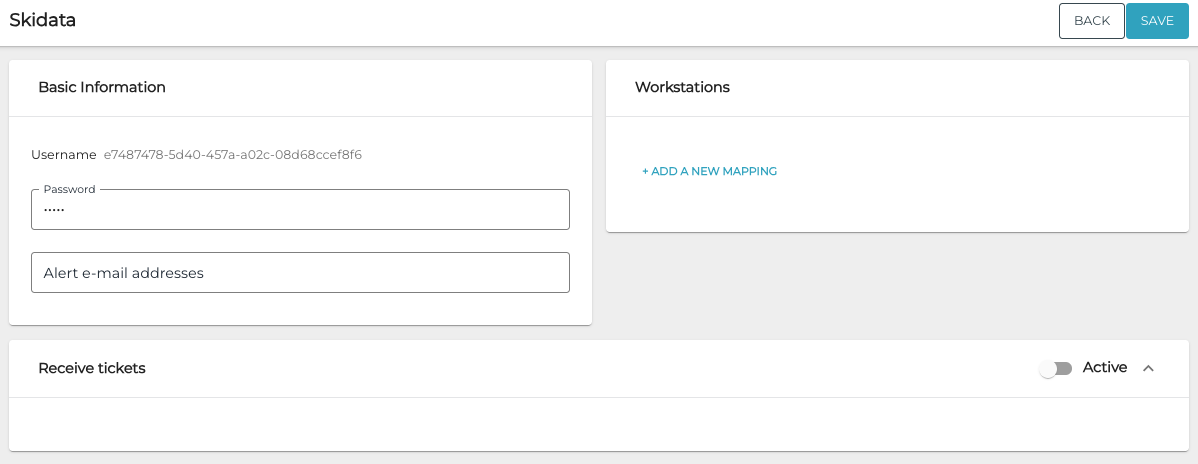
Skidata installation view
Enter the Password that is used for authenticating the integration.
Generate the password manually and save it using some password manager solution, as it cannot be retrieved later from the Back Office.
Skidata technical support needs to be informed about both the username and the password.
(optional) Enter Alert e-mail addresses as a comma-separated list (for example: alice@email.com,bob@email.com). If the integration fails, an e-mail alert is sent to these addresses.
Enter the Workstations information.
This section should contain the mapping between Skidata cash station IDs and Solteq Commerce Cloud workstation IDs. The mapping is used to forward the tickets from Skidata to the correct POS.
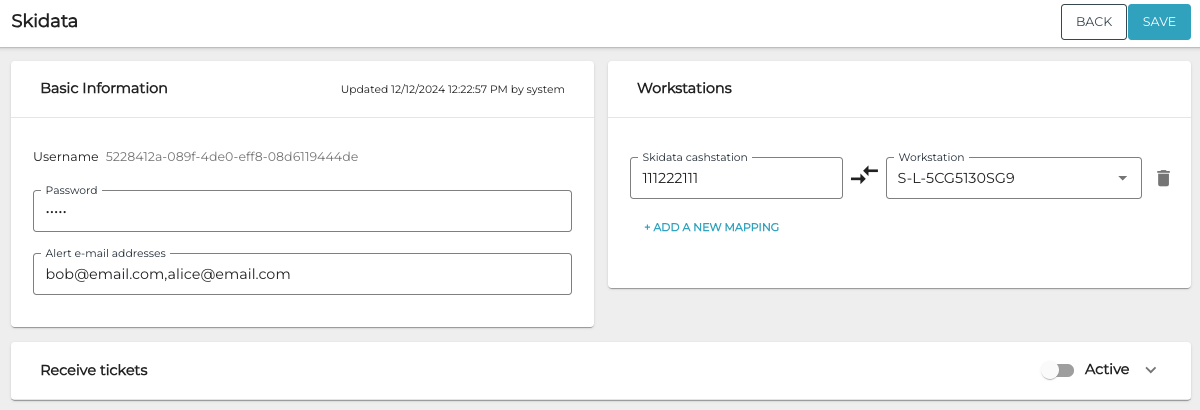
Skidata settings (example)
Enable the Receive tickets feature by switching it to Active state.
Add then all the products used in the integration by clicking + Add a New Mapping, and then using the drop-down menus to select a VAT Rate and the corresponding Product created for the Skidata integration.
All sales from Skidata will be targeted to these selected products based on the VAT rates.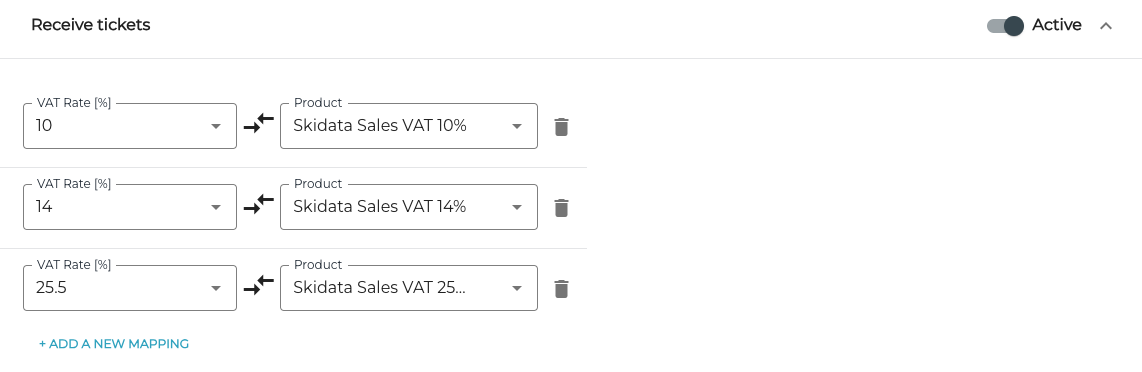
Receive tickets settings (example)
Click Save to save your changes. The add-on installation is now complete.
Username and Password need to be configured on all required Skidata cash stations. If this is not yet the case, make the configurations; if needed, contact Skidata technical support for assistance.
Receiving Tickets
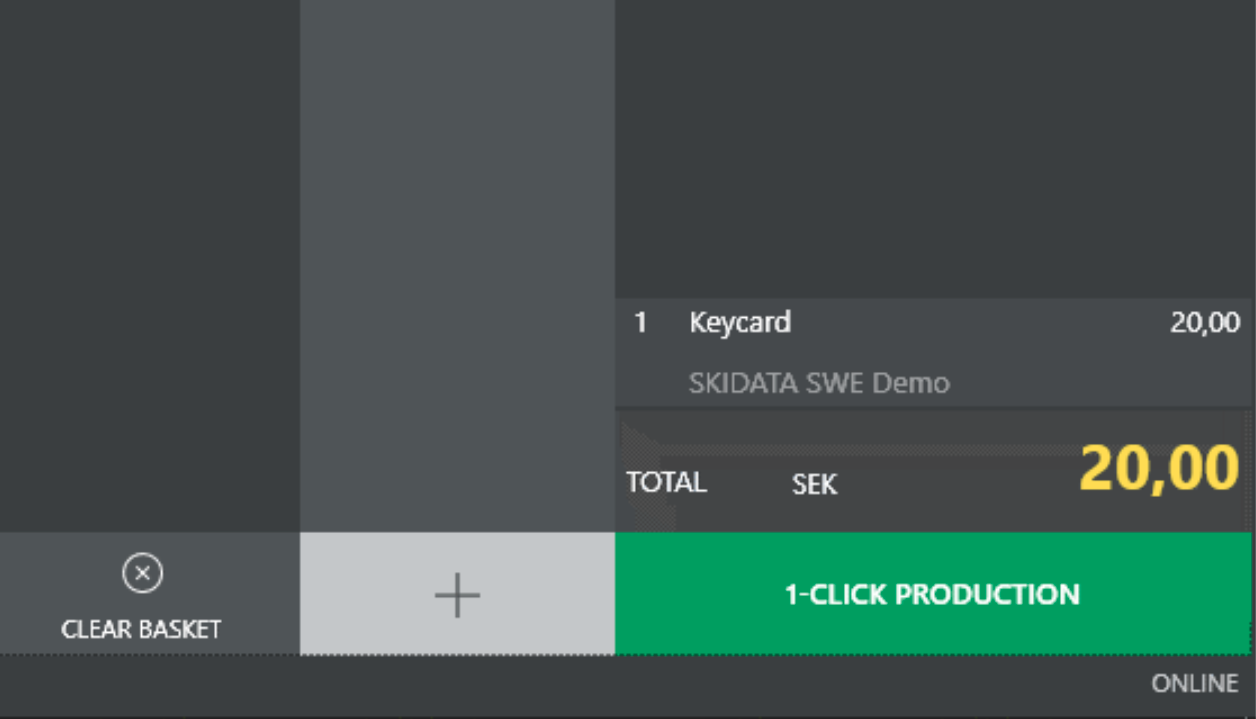
The process of receiving tickets from Skidata to Commerce Cloud POS starts at the Skidata cash station.
Select the needed tickets and click 1-CLICK PRODUCTION.
Next, in the POS:
If the current basket was empty, the tickets are automatically added as order rows.
Note that the product quantity, product name, and product price on the order rows are received from Skidata, and everything else (such as tax percent) from the Commerce Cloud product selected during the add-on installation.
If the current basket was not empty, a confirmation notification is displayed, and the cashier should either accept or reject the tickets. Accepting them adds the incoming tickets as new order rows.
Refunds
When a refund has been created in Skidata, it will form rows with negative totals to the open basket on POS. This means that Skidata refunds will show up as normal refunds on POS.