Deleting Stock Items
You can delete a stock item in its Stock Item Details view, in cases where a mistake has been made when creating the stock item, for instance.
Deleting stock items cannot be reversed, so use this option with caution.
Before deleting stock item data you can create a backup copy of the stock item data by exporting it in Excel format from the Back Office.
Deleting a stock item does not remove the SKU identifiers of the selling items linked to the stock item.
Remove Stock Item from All Stocks and/or Pending Transactions
A stock item cannot be deleted straight away if it
belongs to a Stock, and/or
belongs to a transaction order with Pending status
In both of these cases, the Delete icon will be disabled in the Stock Item Details view.

Stock Item Details view with Delete button disabled
In this case, take the following steps:
If the stock item belongs to one or more Stocks and has quantity other than 0, remove first the stock item from all the Stocks it belongs to. There are two options for doing this:
Create an inventory in each Stock with the stock item, and enter 0 as the quantity for the stock item to be deleted.
Create a Stock out transaction order in each applicable Stock so that the balance of the stock item will be set to 0.
Creating a custom reason code for these types of transaction orders (for example: GKU removal) is recommended.
When the quantity of the stock item in each Stock is 0, click Edit in the stock item information and then remove the stock item from each Stock by clicking on the X icon on the row of the Stock. Then click Save to save your changes.

X icon on the row of the Stock
If the Delete button is still disabled, check whether the stock item is included in any Stock in type transactions in Pending state.
Delete the stock item by clicking the X icon on its row in the Products section of the transaction, and click Save to save your changes.
Now you can proceed to deleting the stock item; see the steps below.
Delete a Stock Item
Click the stock item on the Stock Items list.
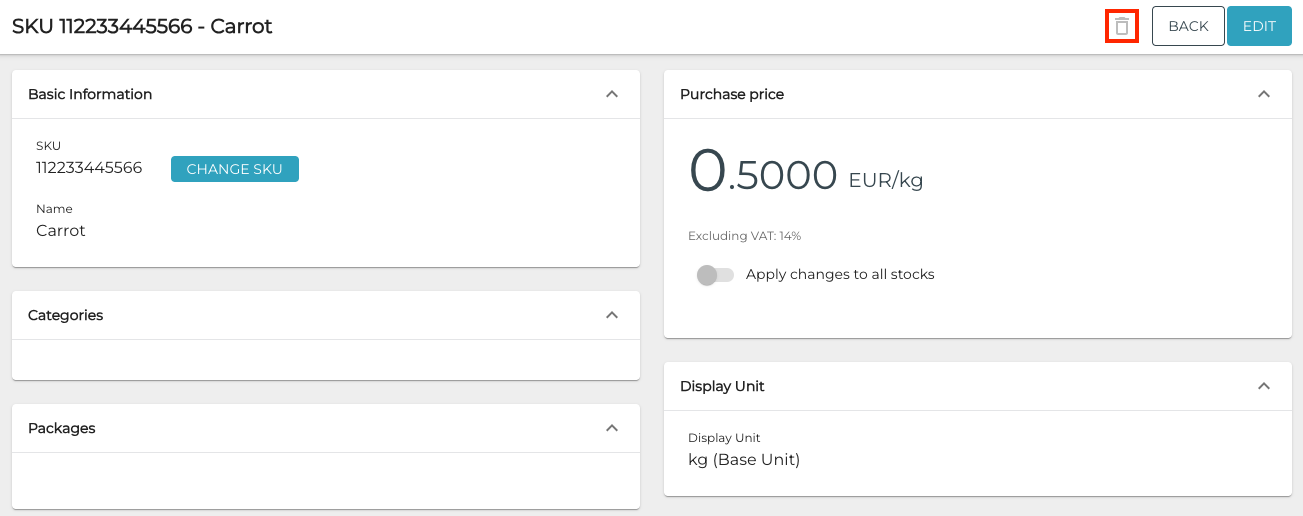
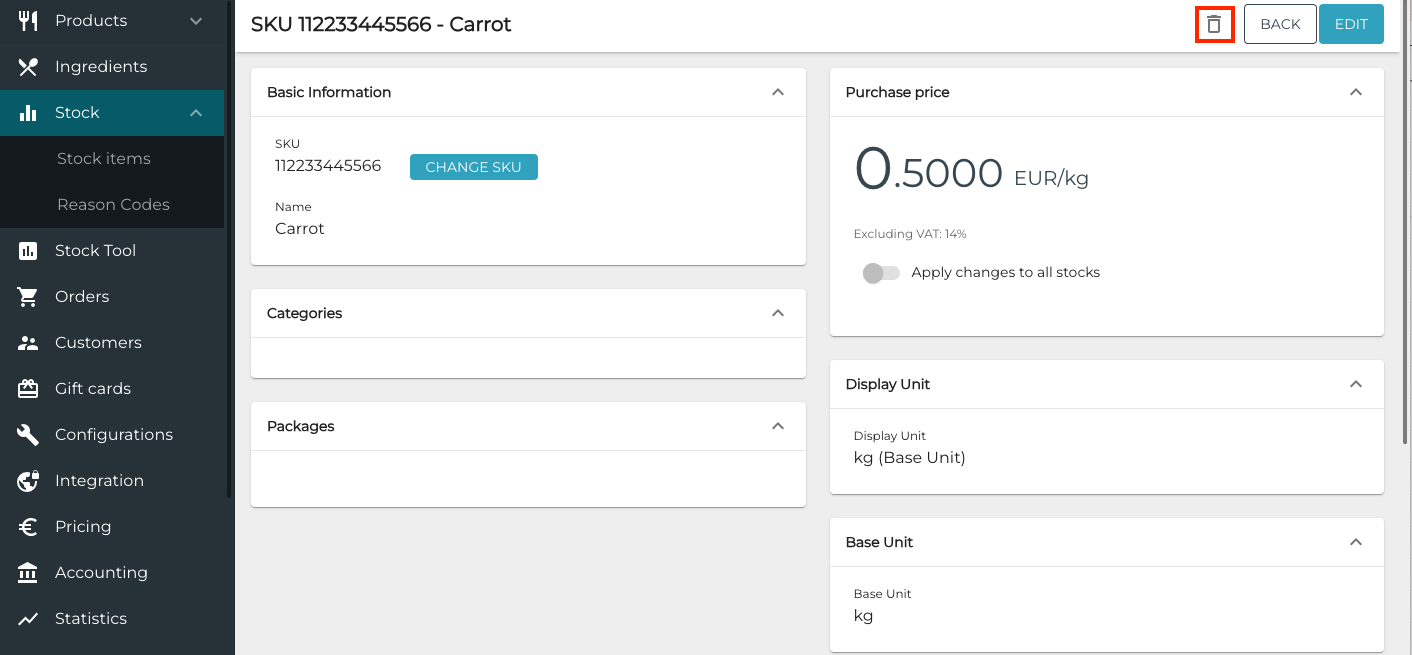
In the Stock Item Details view, click the Delete icon in the upper right-hand corner.

Delete icon in the Stock Item details
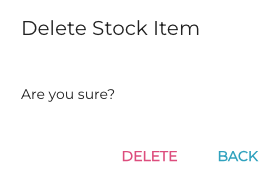
A confirmation window is displayed. Click Delete to confirm the deletion.

Delete Stock Item confirmation
