
Splitting a Receipt
You can split the contents of a Basket (=receipt) between any number of orders in the POS. This can be done either by
A Split Check action tile must be included in the POS layout to make it possible to split receipts in the POS.
The tile is visible as a default if Kitchen is in use, and Fine Dining kitchen flow is active.
When splitting receipts, you can switch between Table view and Grid view by clicking the table/grid icon in the upper right-hand corner.
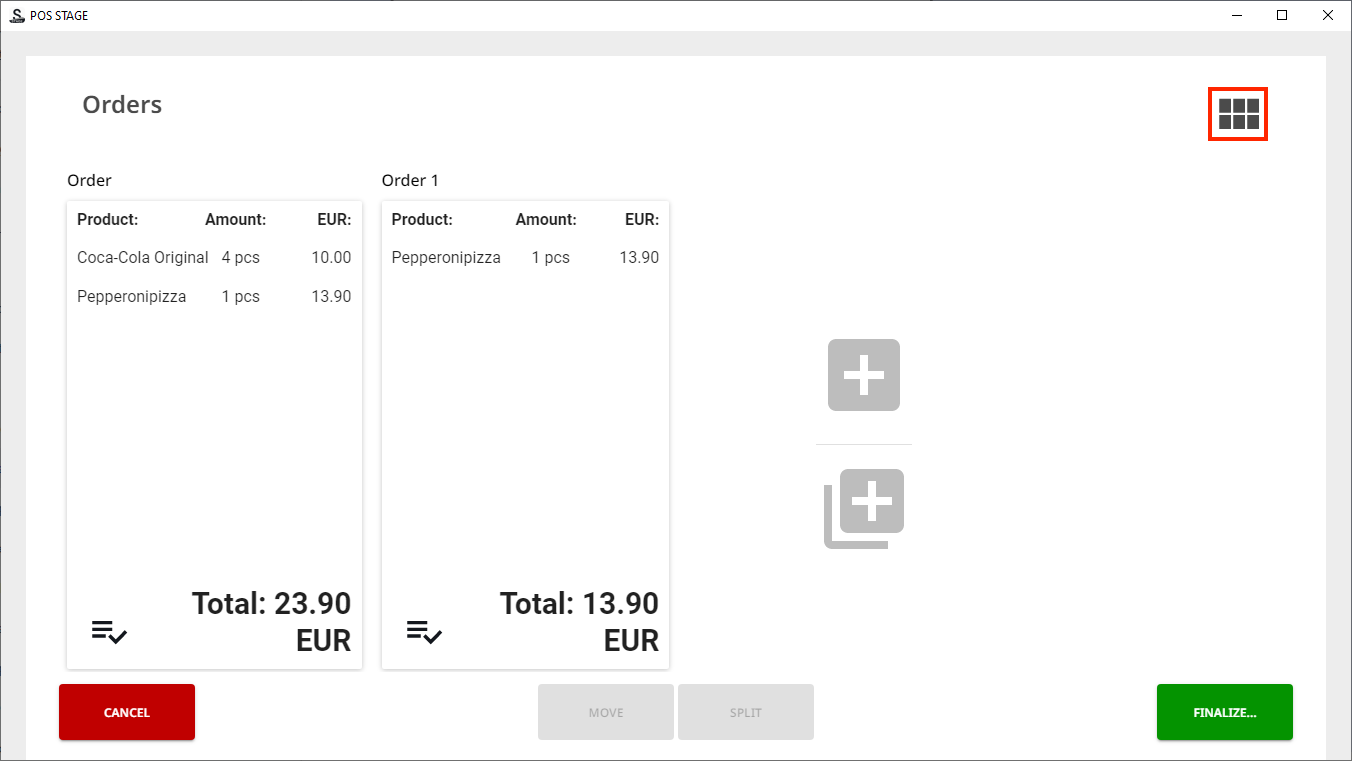
Table/grid icon in the Orders view
Move Products from One Order to Another
When there are products in the Basket, press Split Check in the POS.
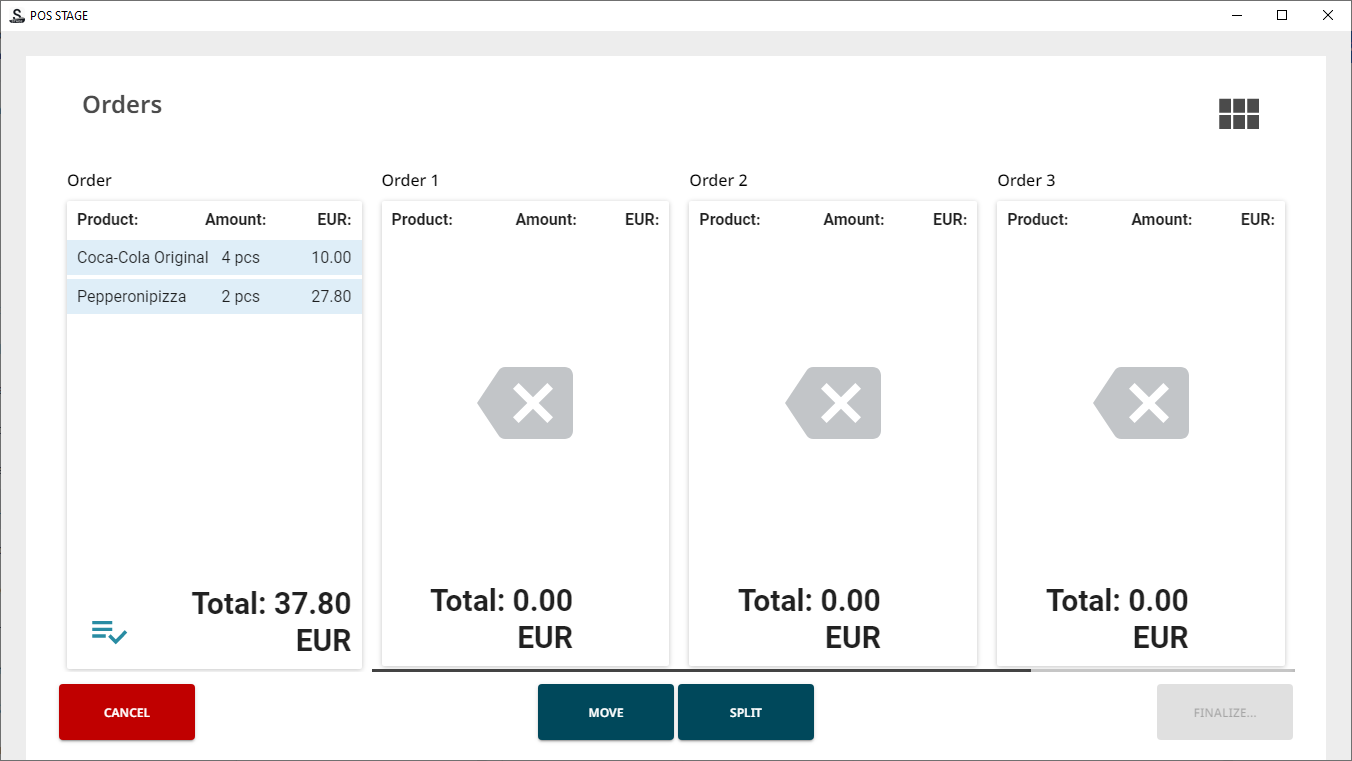
The Orders view containing the Basket contents is displayed. Add additional orders by pressing the Add an order icon (A.) or Add orders icon (B.).
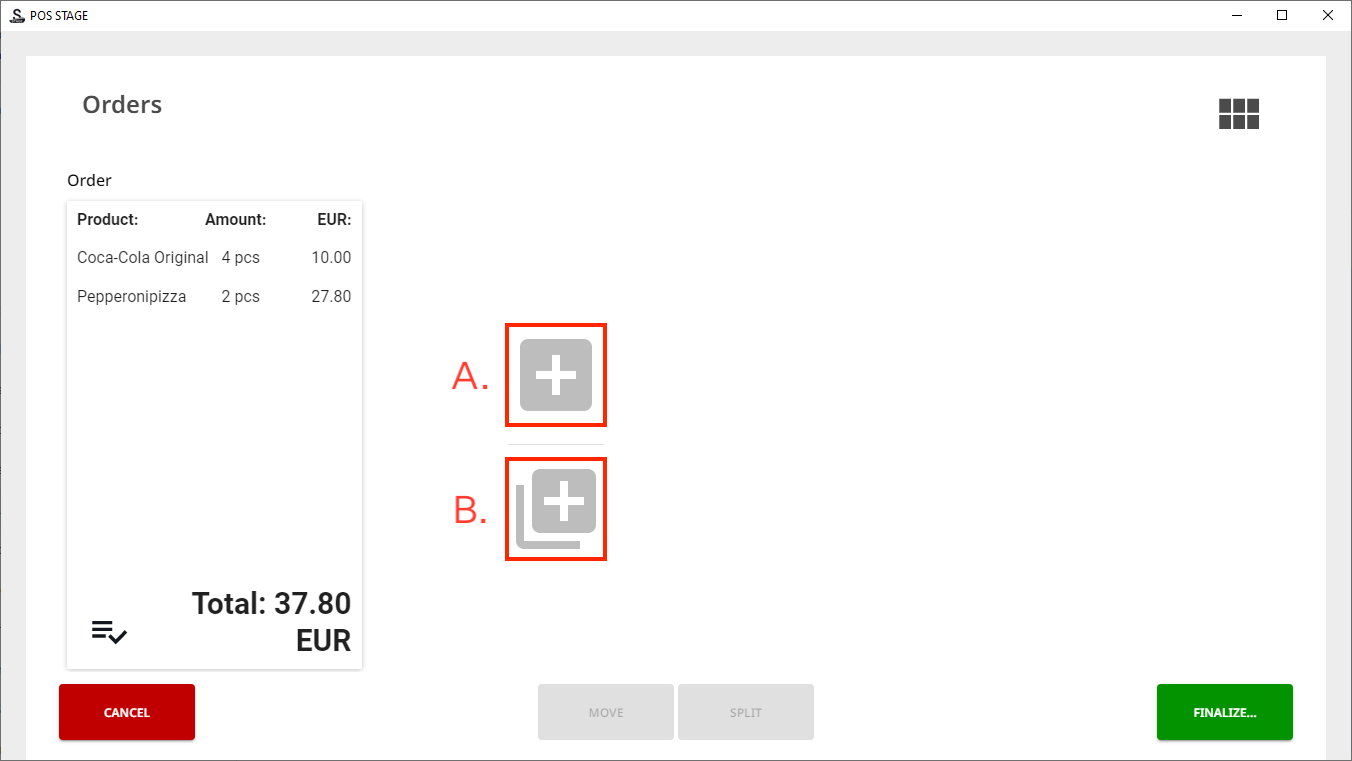
Add an Order (A.) and Add Orders (B.) icons
If you selected option B., enter the number of orders you want to create.
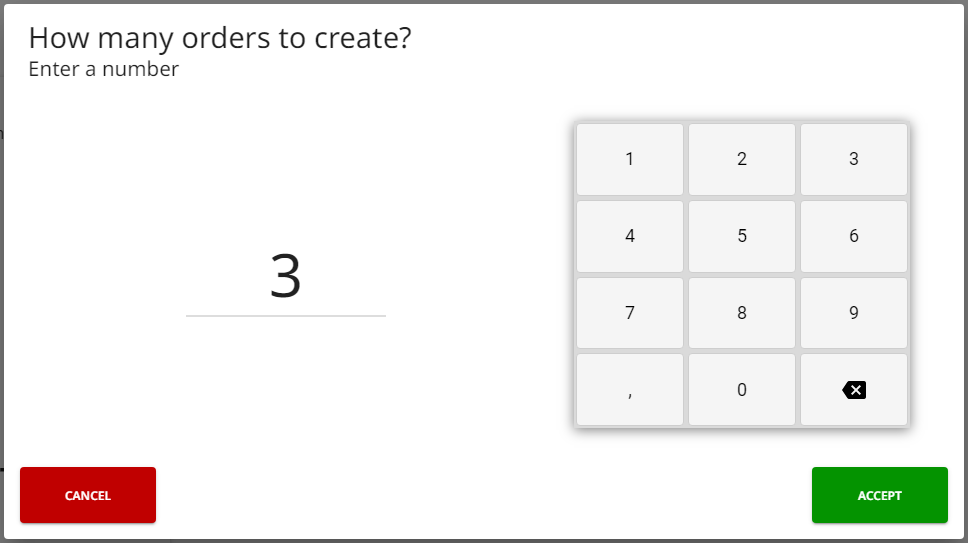
Enter the number of orders to create
Select the products to be moved between orders, and press Move.
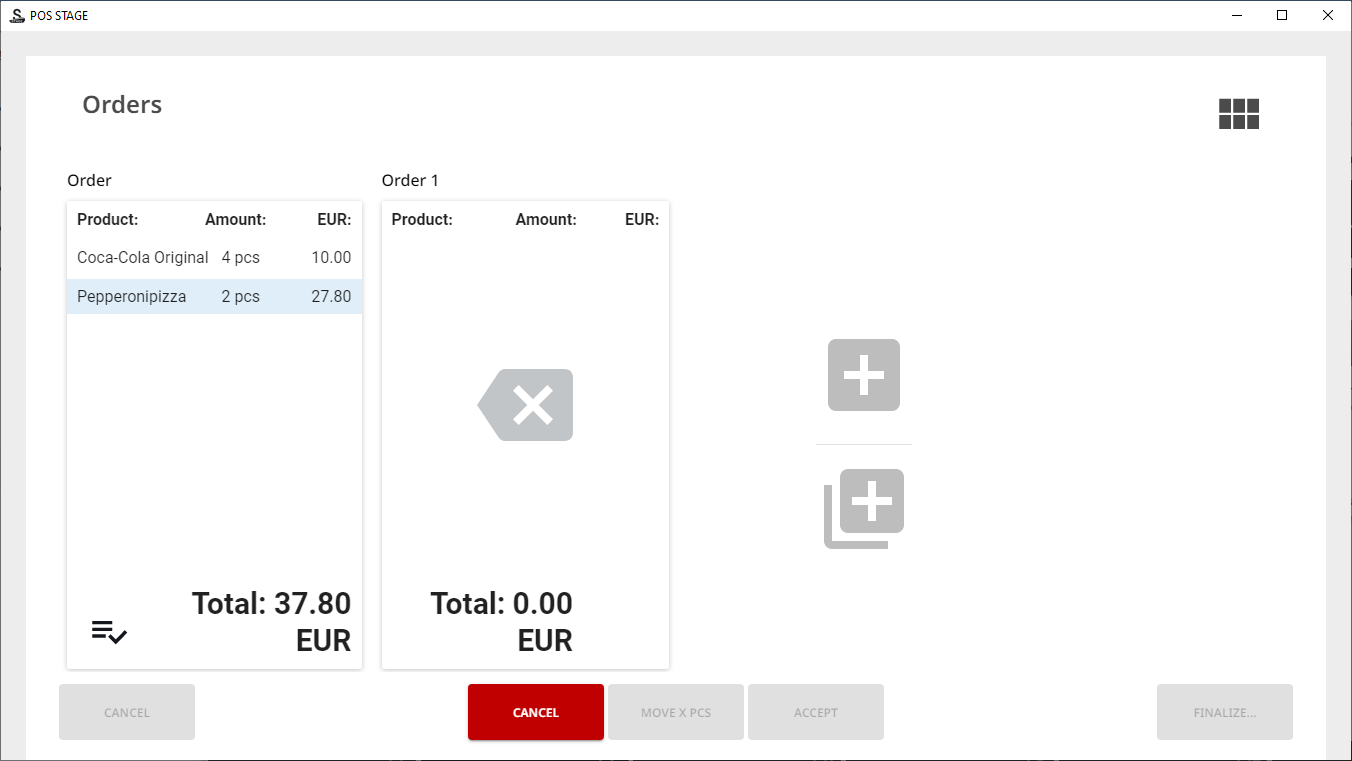
Products selected for moving
Select the order you want to move the product to.
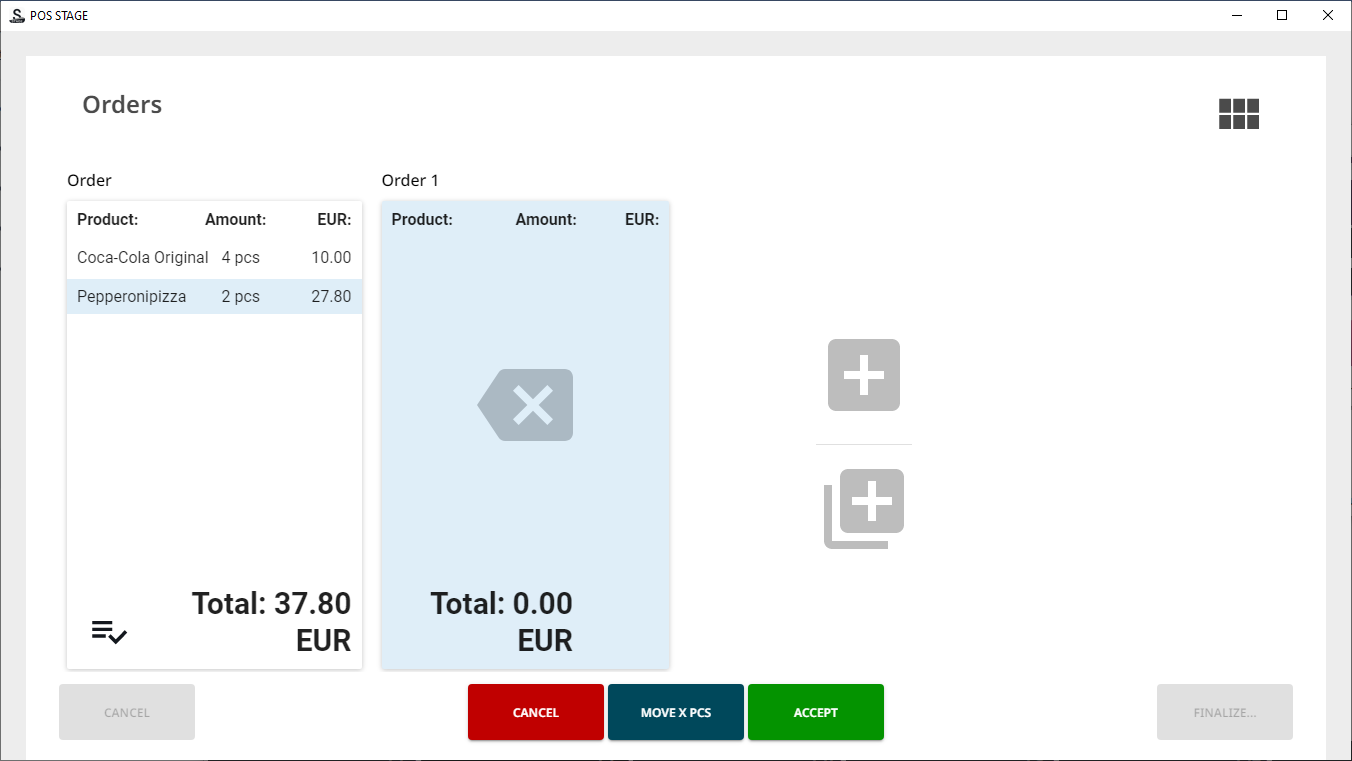
Order selected
Select either
Accept to move all the selected products, or
Move X PCS and enter the number of products which are to be moved. Press Accept to accept the amount.
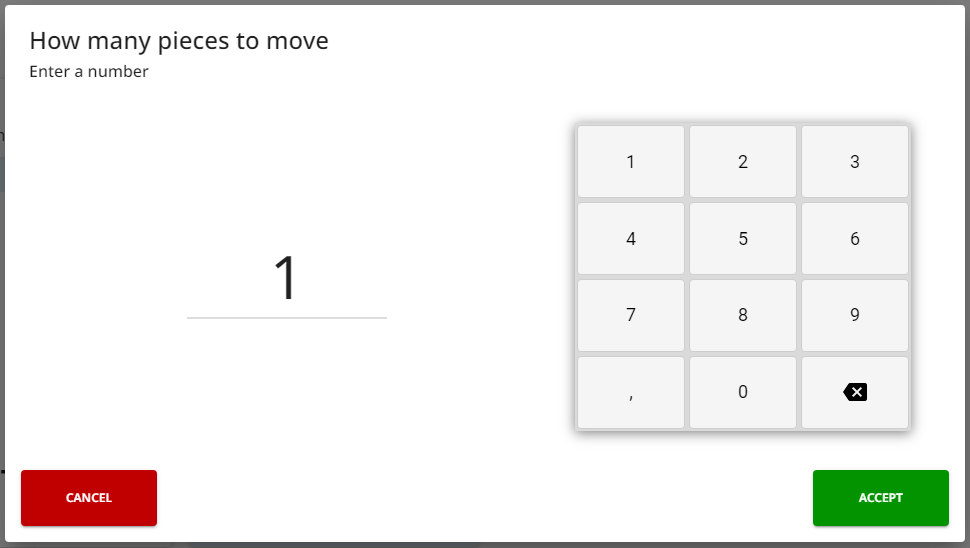
Enter the amount to move
The Orders view has now been updated. Click Finalize… to complete the splitting.
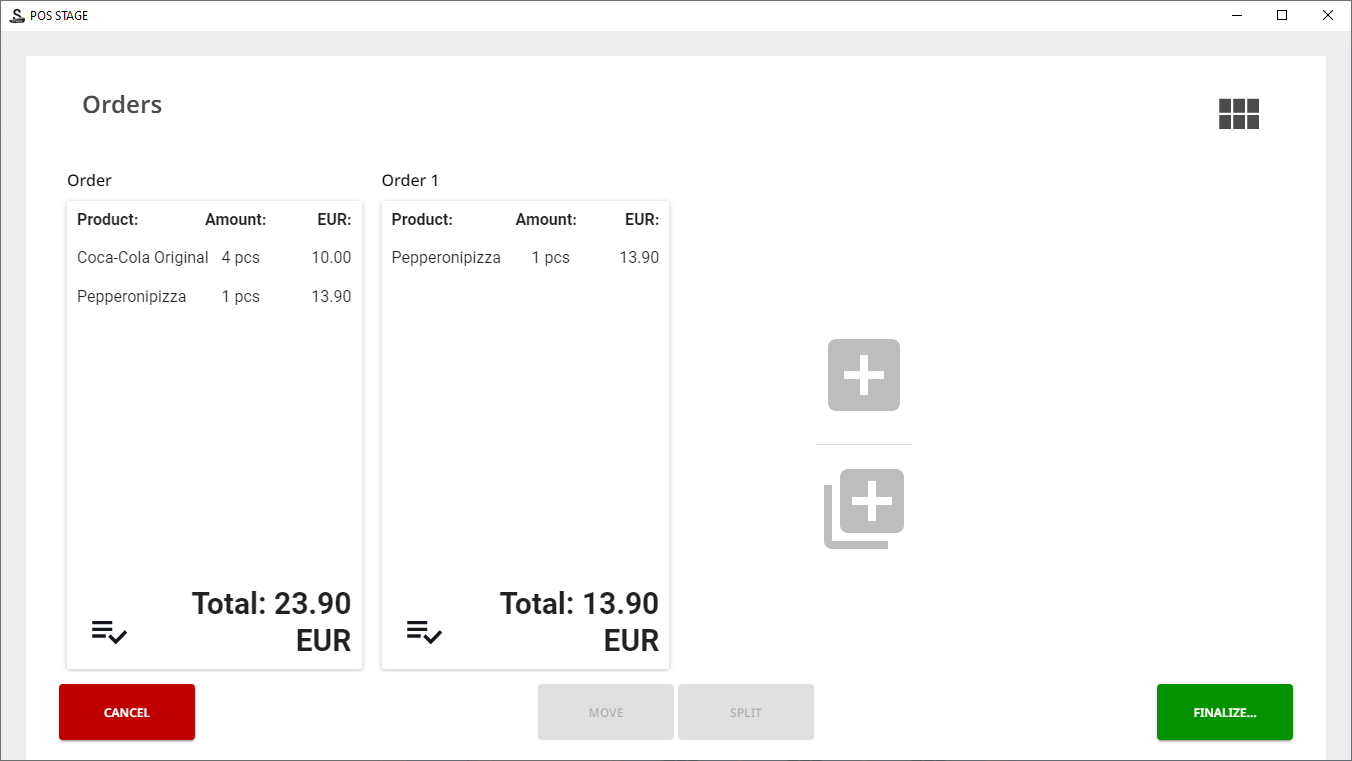
Updated Orders view, ready for finalizing
Split the Price of Products Between Orders
When there are products in the Basket, press Split Check in the POS. The Orders view containing the Basket contents is displayed.
Add additional orders by pressing the Add order icon (A.) or Add orders icon (B.).
Add an Order (A.) and Add Orders (B.) icons
If you selected option B., enter the number of orders you want to create.
Enter the number of orders to create
Select products to be split between orders, and press Split.
Products selected for splitting
Press the order you want to split the price with, and press Accept.
You can also use the Select All button to easily divide the selected products between all orders. Use the Deselect All button to clear the selection.
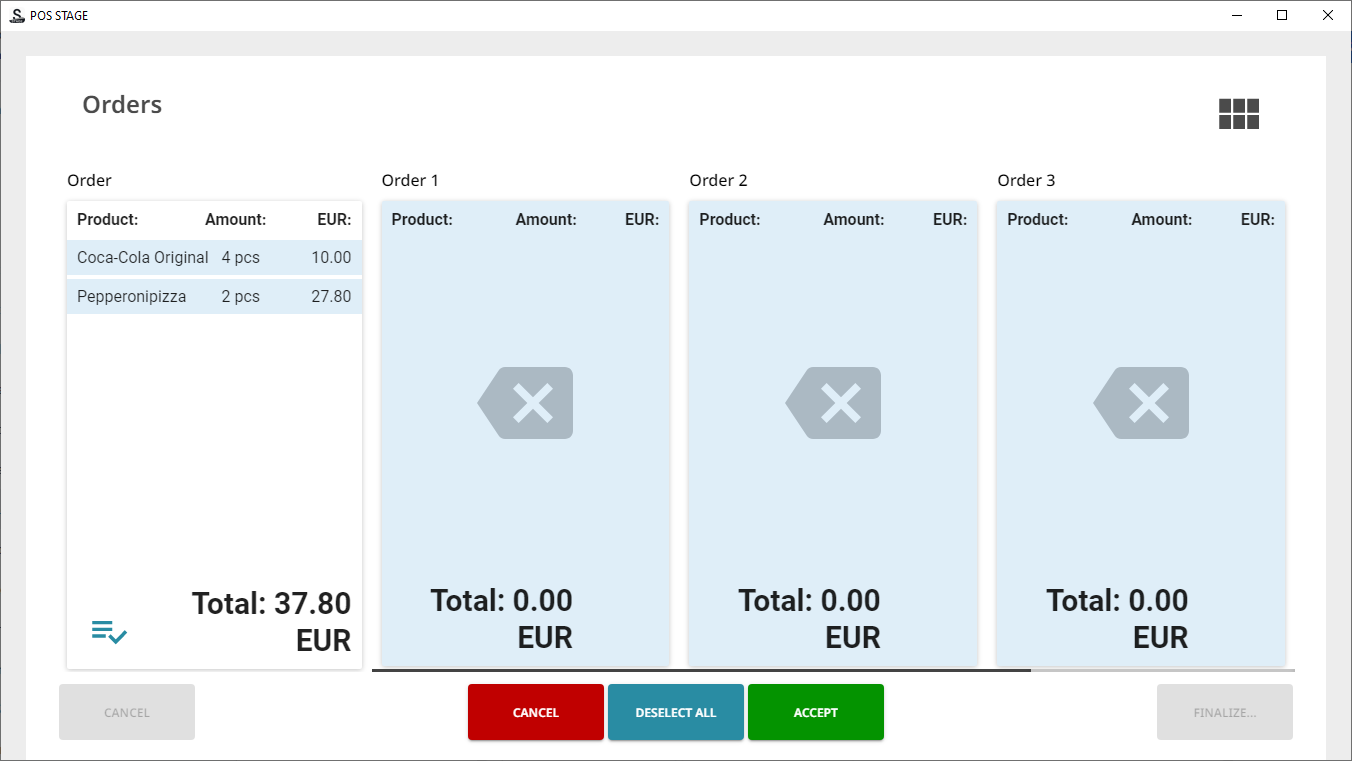
Orders selected for splitting
The Orders view has now been updated. Click Finalize… to complete the splitting.
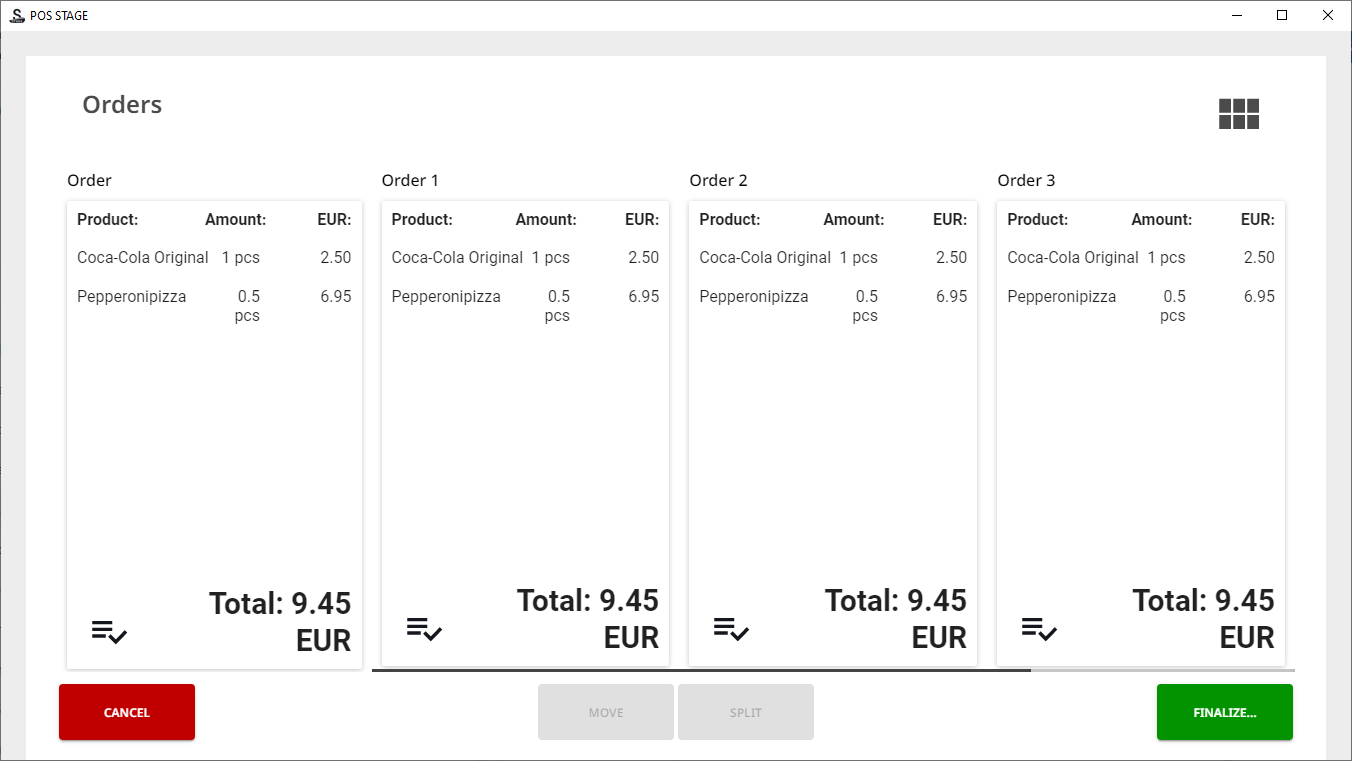
Updated Orders view, ready for finalizing
Click Finalize… to complete the splitting.
Finalize the Splitting of an Order
When splitting orders, after you click the Finalize… button, there are three possible finalize actions (as well as the Cancel option):
Park Only
The order is split, and all the newly created orders are moved to Parked status. After two seconds of delay a Parked orders view containing these orders is displayed.
You can select and print any of these orders, if needed. Unpark one of the orders to continue with payment.
Park & Print
Works the same way as Park Only, but all orders will be also printed out.
Set All Paid
This option is useful when Restaurant is using Split Payments functionality and calculating all payments before end-of-the day.
The order is split, and all split orders are marked as Paid with cash on exact amount. After that, receipts will be printed for all of them.
Basket is cleared, and a notification will be displayed with the information that payment was successful.
Cancel
Closes the Choose how to finalize orders window and returns to the split Orders view.
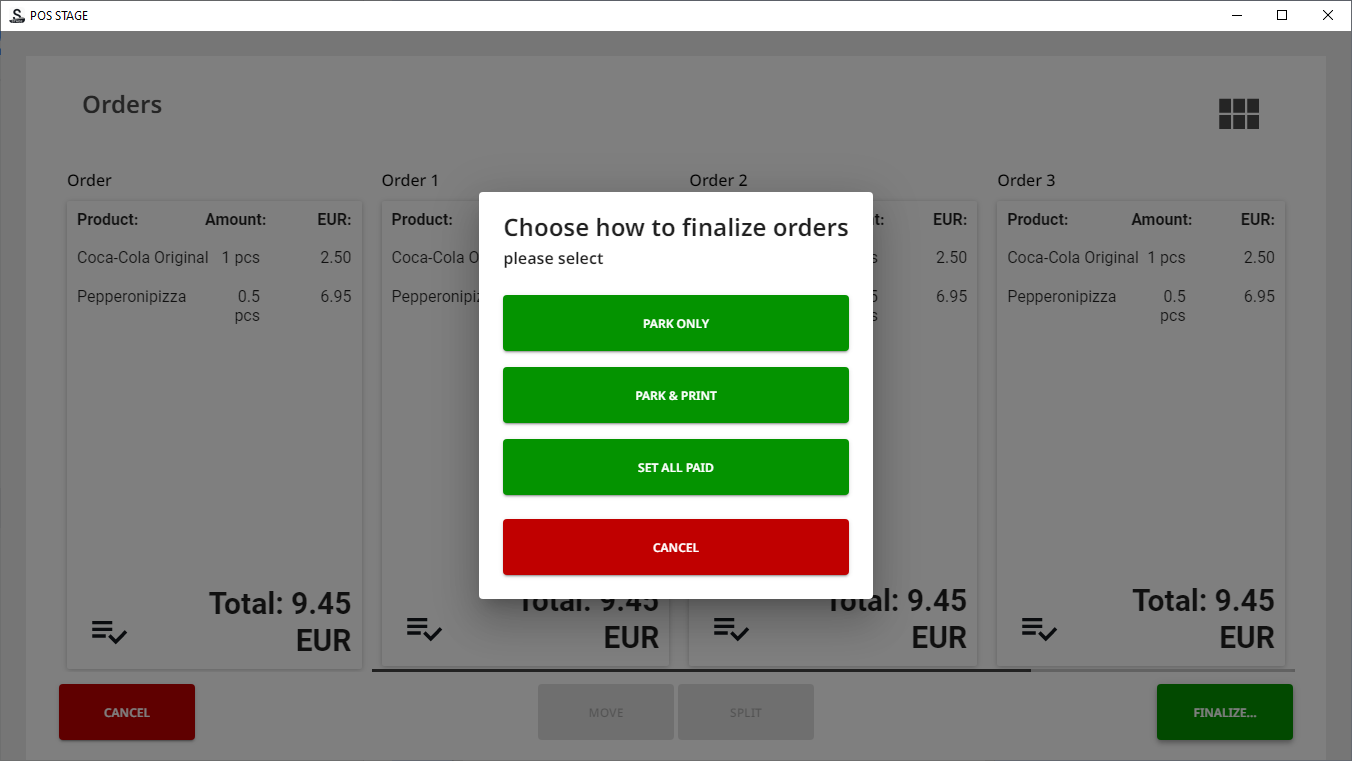
Options for finalizing the splitting of an order
Split Order Numbering
When an order is split into several orders and parked, these orders will share the same order number; however, the “original” order will have a regular order number, while the other orders split from it will have an added sequence number. See the example below.
5-107: Original main order
5-107/1: Receipt 1 split from the main order
5-107/2: Receipt 2 split from the main order
5-107/3: Receipt 3 split from the main order
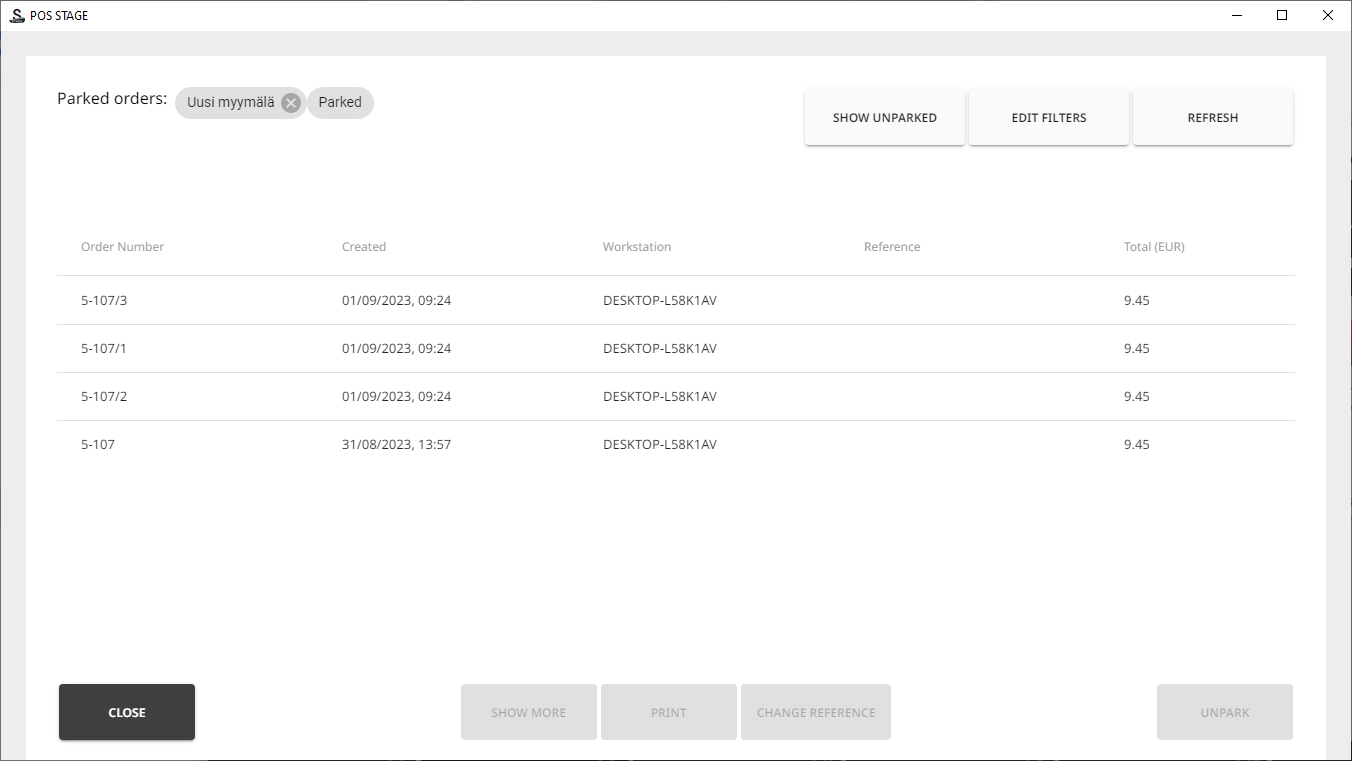
Split order in Parked Orders