
Pawns
In the Pawns view of the Back Office you can manage the pawns used for beverage packaging returns, for example. Pawn information can be added to a basic product, and it will be displayed in the Basket when the product is sold on POS.
To access the view, click Products and select Pawns in the Back Office menu. Solteq provides a set of pre-made pawns, as seen in the image below.
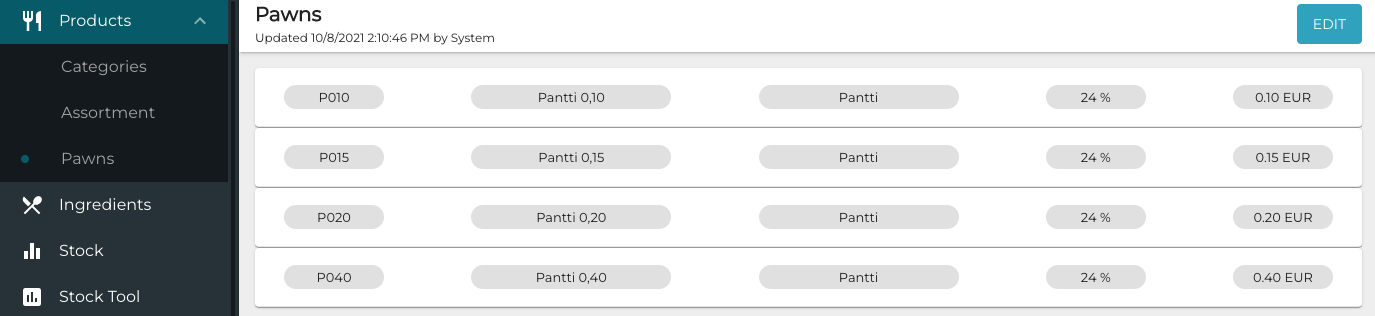
Pawns view
You can also create additional pawns in the Pawns view.
Create a Pawn
In the Pawns view, click Edit.
Click +Add new pawn.
Enter the following information for the pawn in question:
ID of the pawn.
Category of the pawn.
Vat Rate used for the pawn.
Name of the pawn; displayed on POS when a product with the pawn is added to the Basket.
Unit Price of the pawn; will be added to the total price of the product when the product is sold on POS.

Pawn information fields
Click Save to create the new pawn.
Pawn Refunds
Customers can be given a reimbursement when they return a product which has a pawn, or an empty container of such product.
There are two ways for enabling easy pawn refunding on POS, described below.
Using Refund mode
Create a single basic product for each pawn you have created in the Pawns view.
Name these products appropriately, so they are easy to find in the POS. For example:
Pawn Refund €0,20 product
Pawn Refund €0,50 product
Pawn Refund €1,00 product
Create a separate tab in POS layout for pawn refunds.
Create product tiles in the tab for each pawn refund product.
When the container is returned in POS:
Press Menu in the POS.
Press Refund Mode. When in Refund Mode, the text You work in refund mode is displayed in the basket, and the Refund Mode tile is replaced by Standard Mode tile.
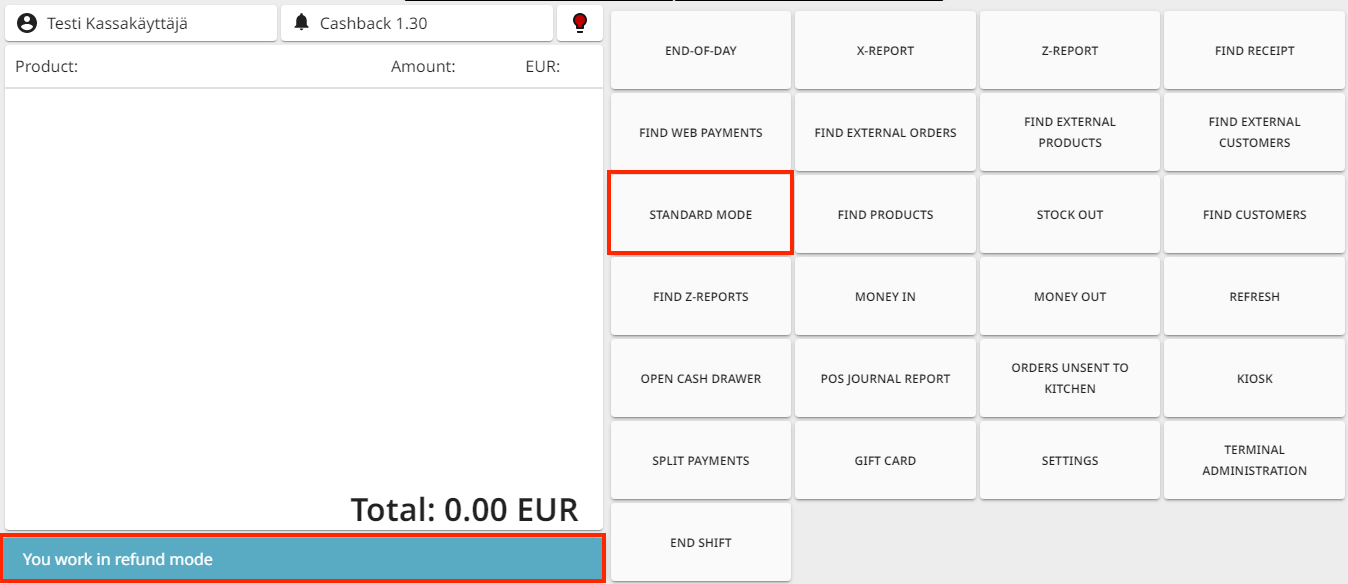
Refund mode
Add the pawn refund product you want use into the Basket by pressing the product tile (or use product search, if needed). The product price’s is automatically in negative amount in Refund Mode.
Finalize the refund by selecting the payment type you want to use to make the refund, and press Accept.
Using Negative Rows
Another option is to use an open product with negative row on POS. With this method you can refund pawns and add products using the same Basket; customer can then both get the refund and pay for additional products with the same payment.
Create an open product.
Add a Negative Row action tile to POS Layout, and select the open product you created to the Product field of the tile.
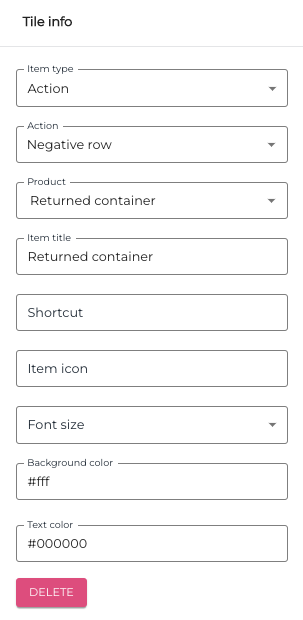
Negative Row action tile details
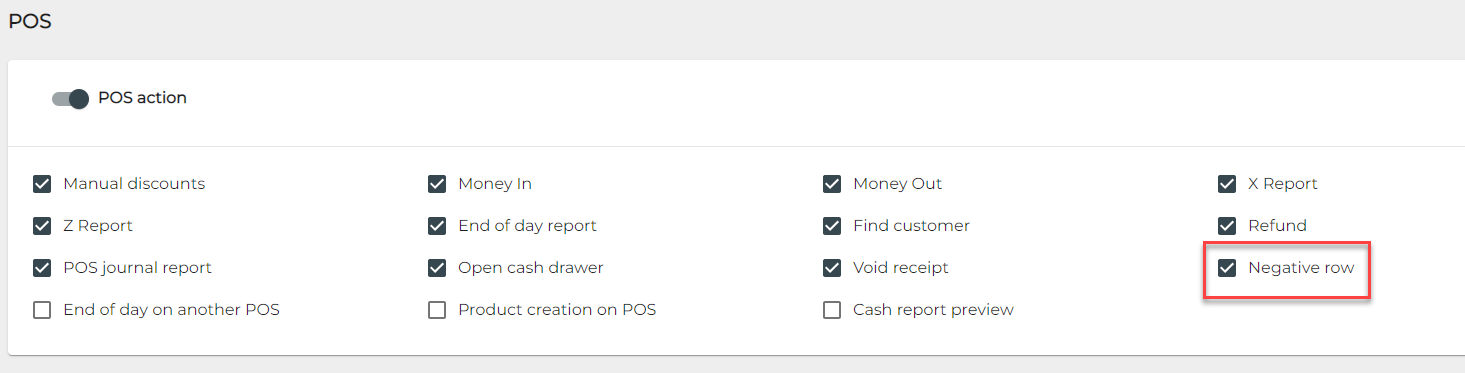
The user group for POS users who need to use this feature must have permission to use Negative row POS action; give the user group the permission.
When the container is returned to POS:
In order to use this feature, you need to belong to a user group which has the permission to use Negative row POS action.
Press the Negative Row action tile.
Enter the sum for the open product and press Accept.
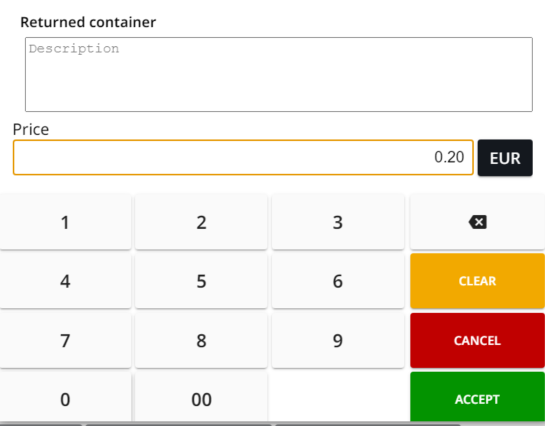
Entering a price for open product
Basket rows are now updated. You can now continue adding products to the Basket or start payment.

Basket with both products and negative rows