
Restaurant Kiosk Screens
You can add the image or video file which will be used as the Kiosk Welcome Screen in the workstation’s Kiosk Service settings. The Welcome Screen can include instructions for the customer, for example.
Example Welcome Screen
When the customer presses the Welcome Screen, the product menu is displayed. Products are divided to different tabs based on their categories.
Customer can also switch between languages, if translations have been defined. You can define translations for
products in the individual product settings, and
product category names, custom product sizes, custom product options, custom product ingredient options, payment methods, pawns, and discounts in Translations.
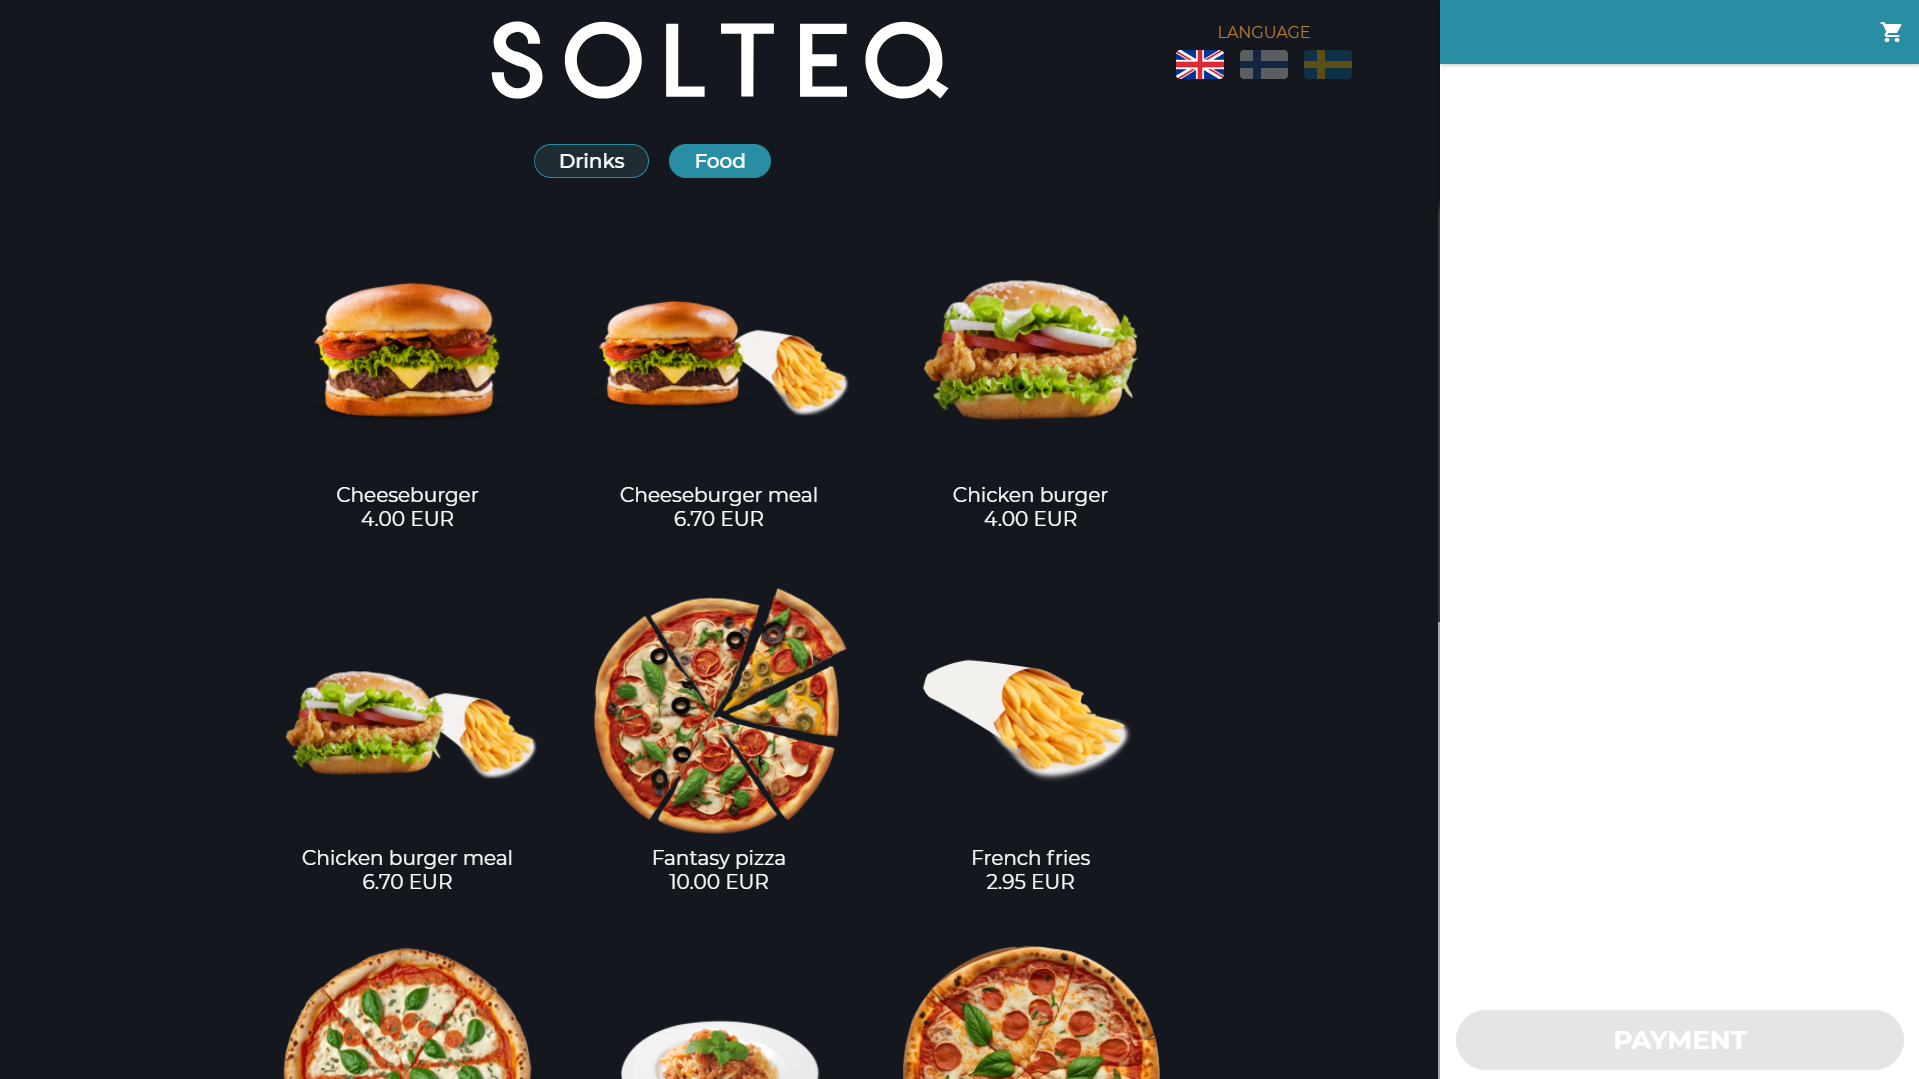
Kiosk product menu
When the customer presses a product tile, the product details are displayed. The customer can then add the product to the Basket.
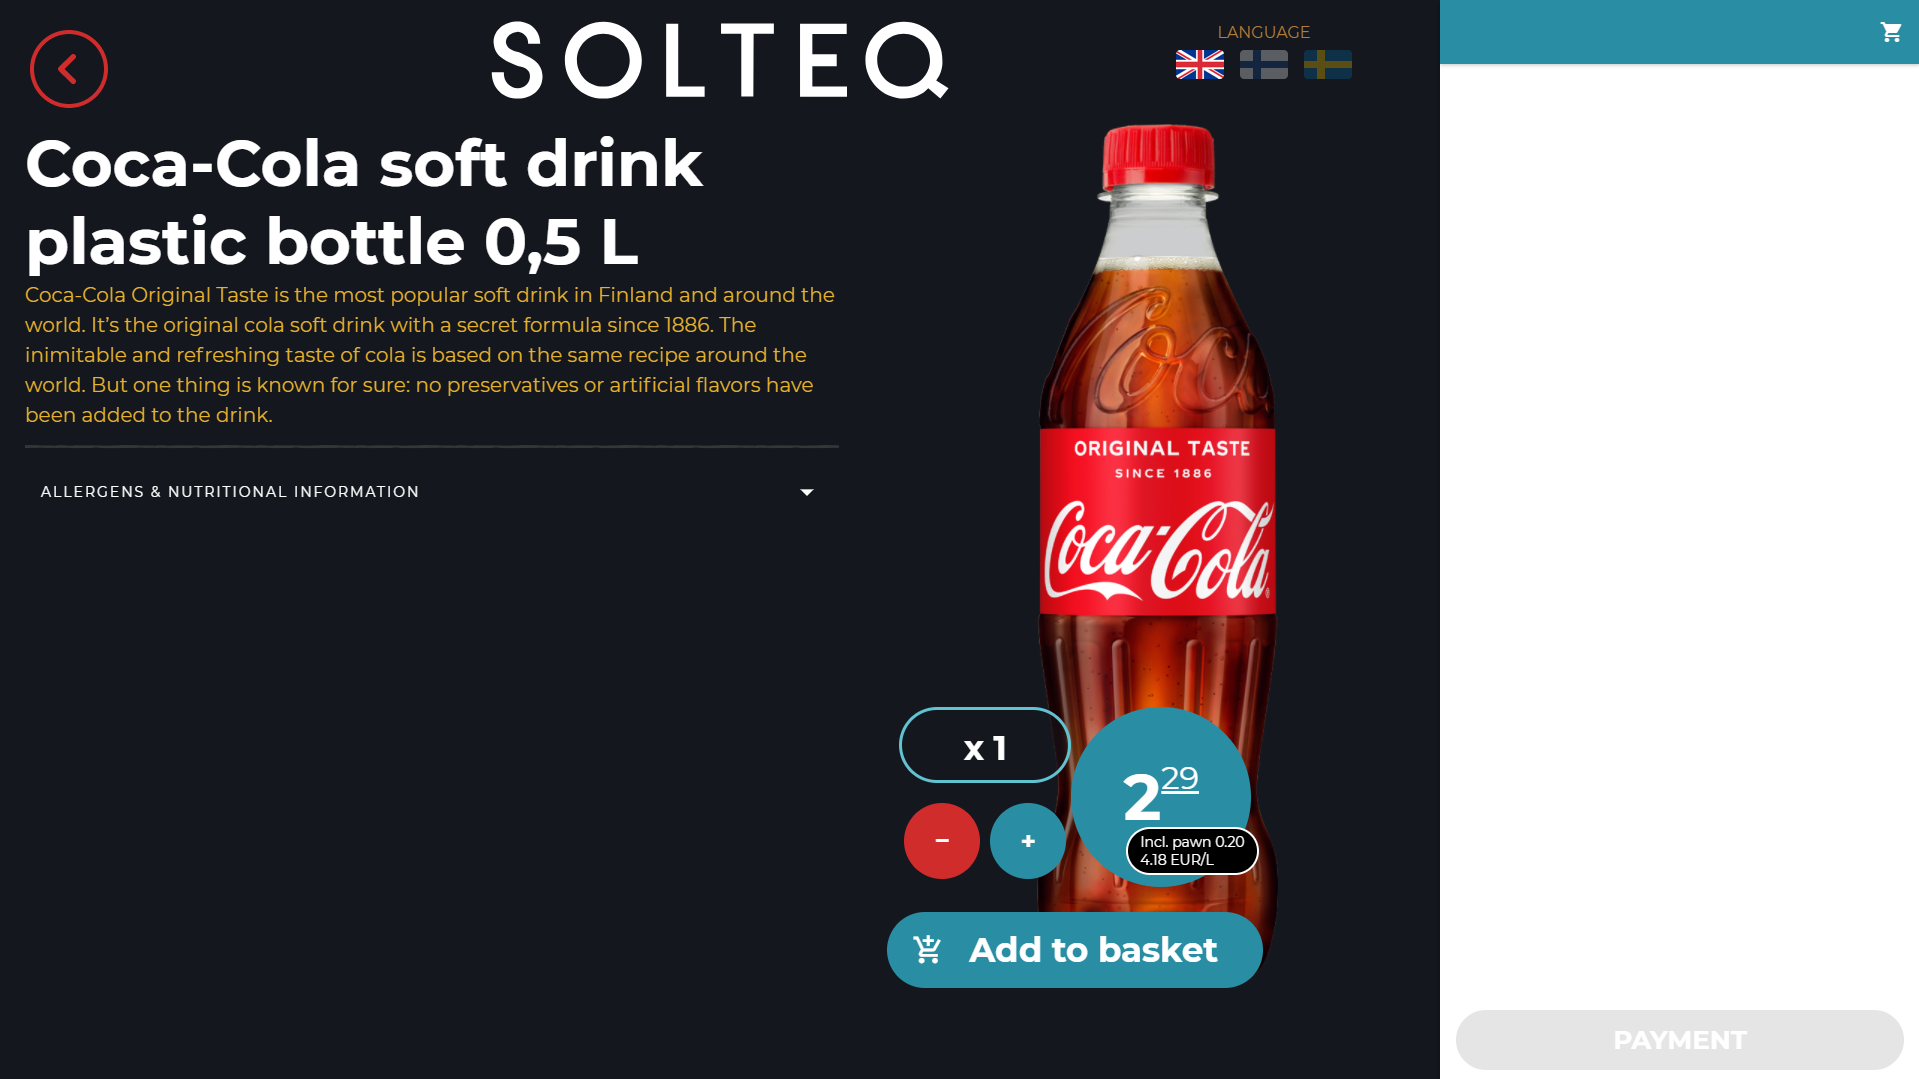
Basic product details
For custom products, the customer can select from different sizes, ingredient options, product options, ingredients, products, and extra ingredients that have been defined for a custom product in the Back Office.
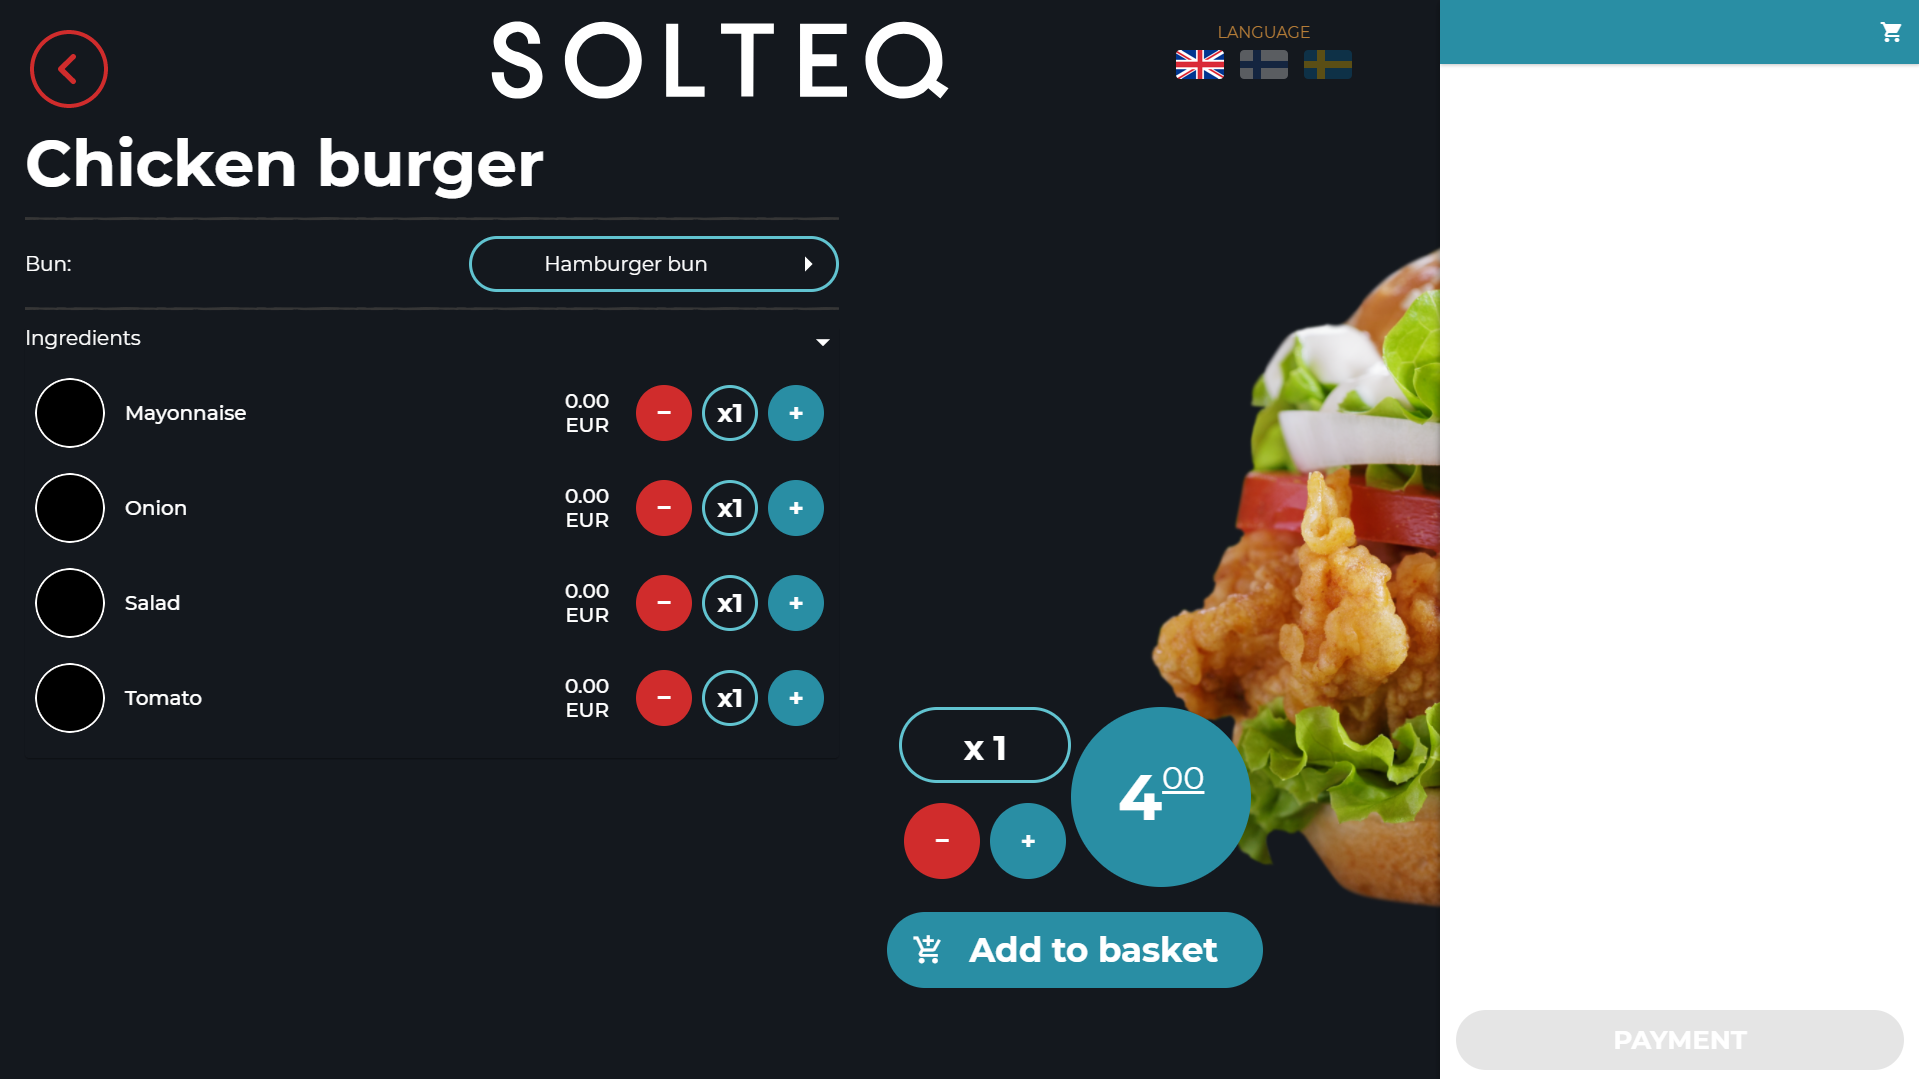
Custom product details in Kiosk
Products added to the Basket are displayed on the right-hand side of the screen; the customer can also delete products from the Basket, if needed.
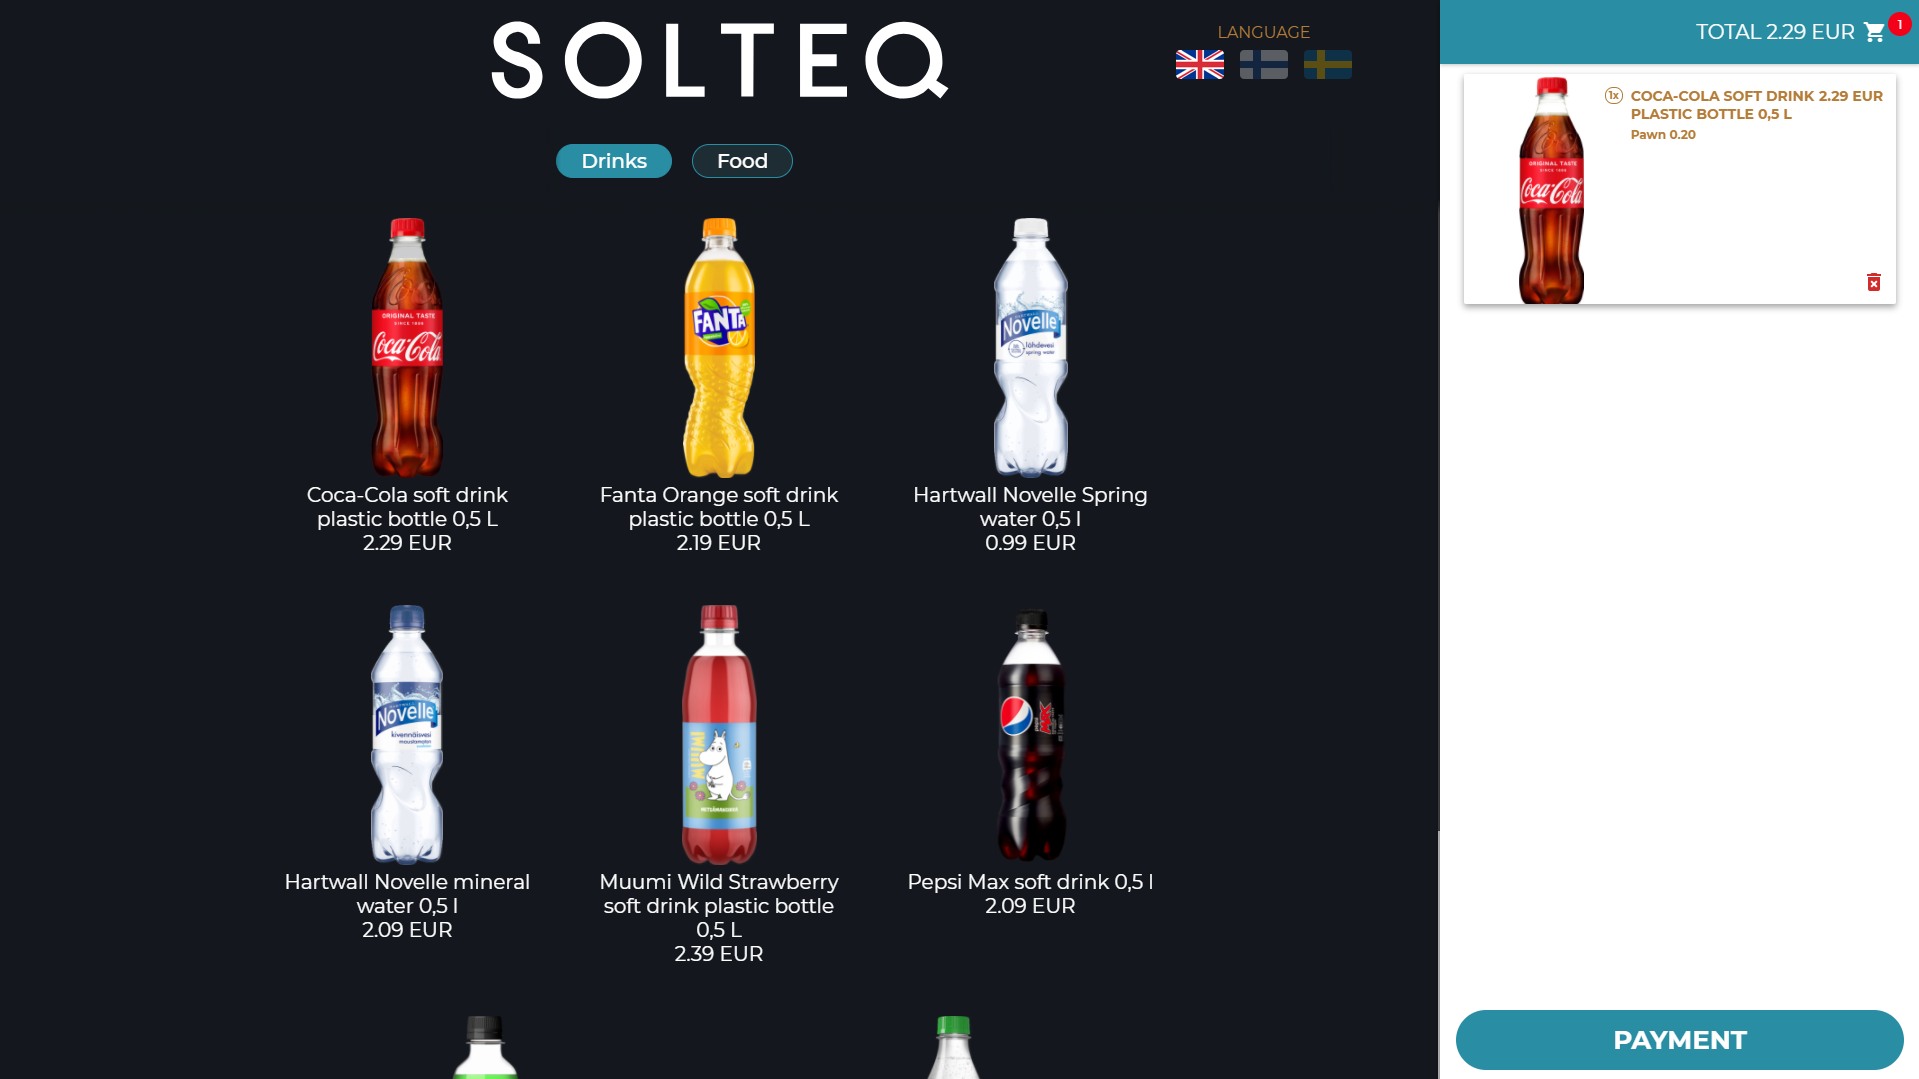
Product in the Basket
When the customer presses the button in the lower right-hand corner of the screen (button text can be defined in the Order button text settings), card payment is activated.
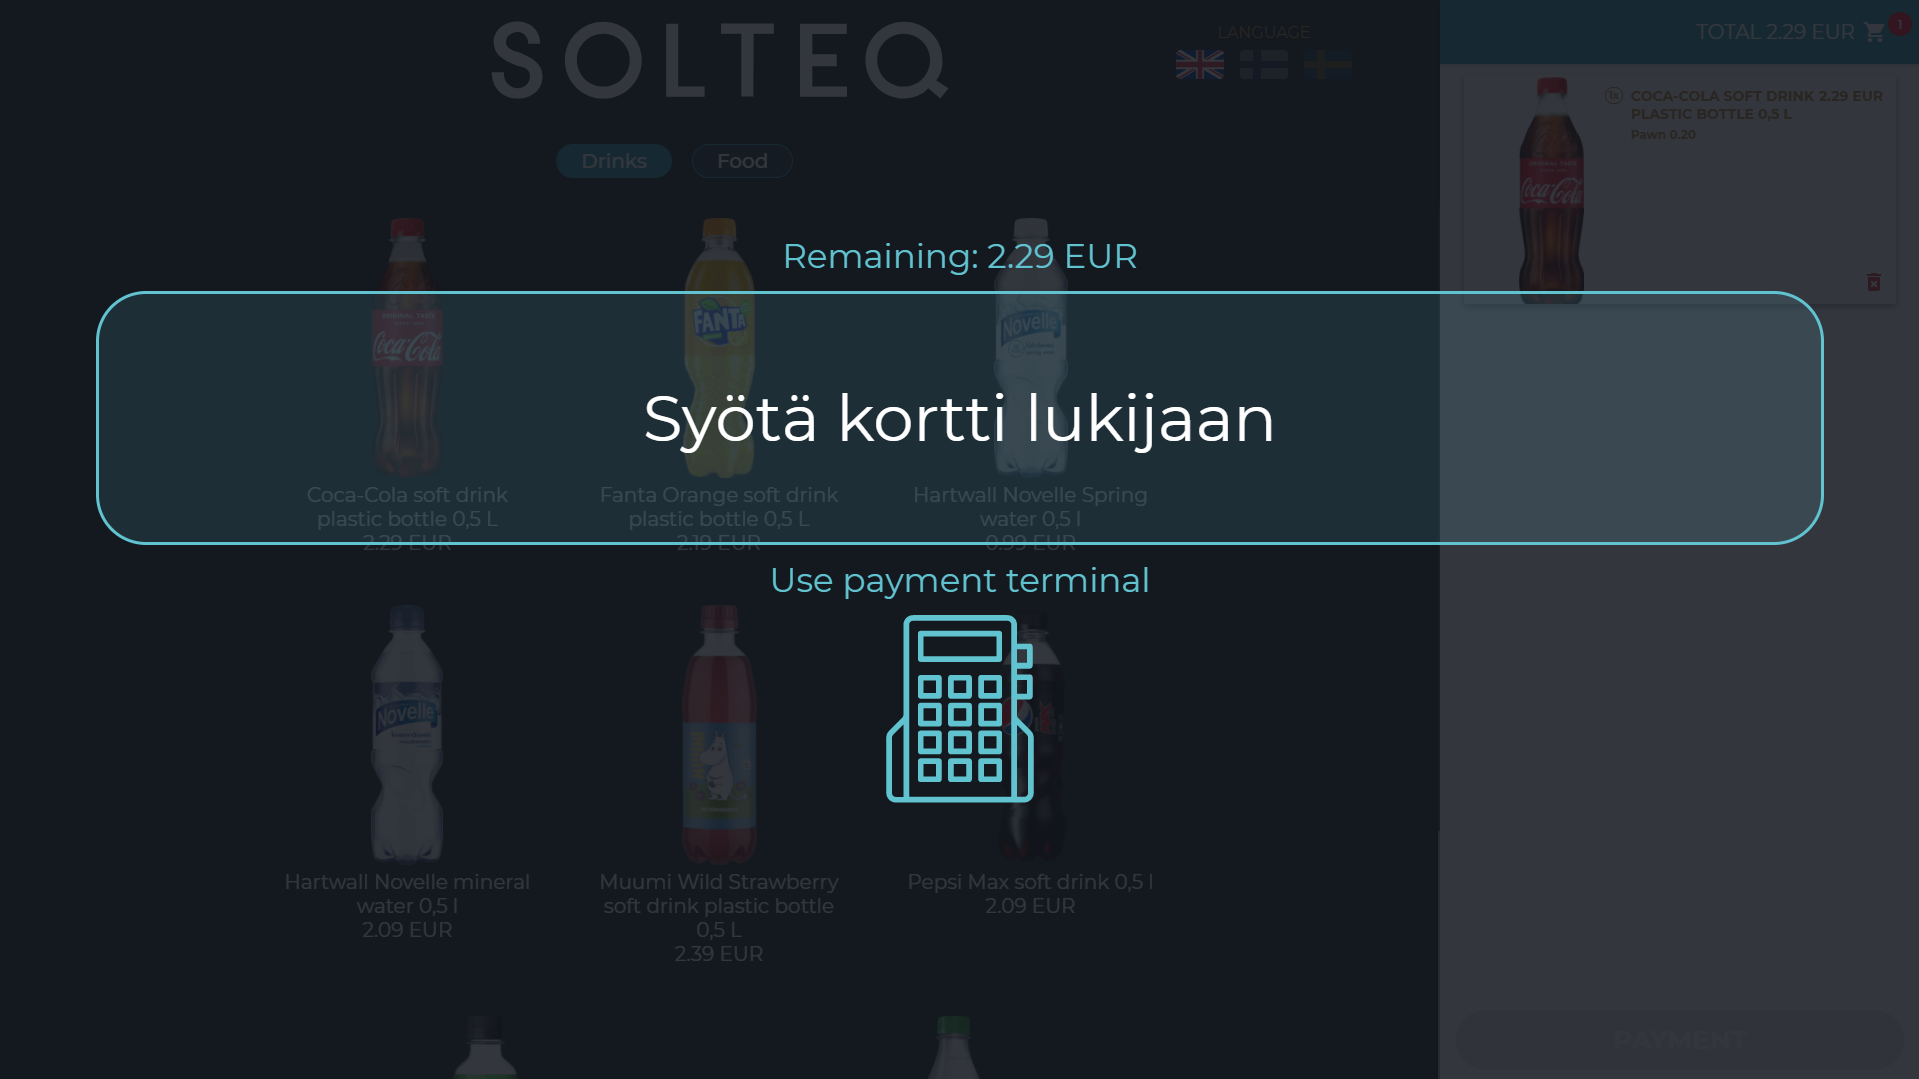
Payment screen
When the payment has been completed, the Order Ready message (defined in the Kiosk Service settings) is displayed.
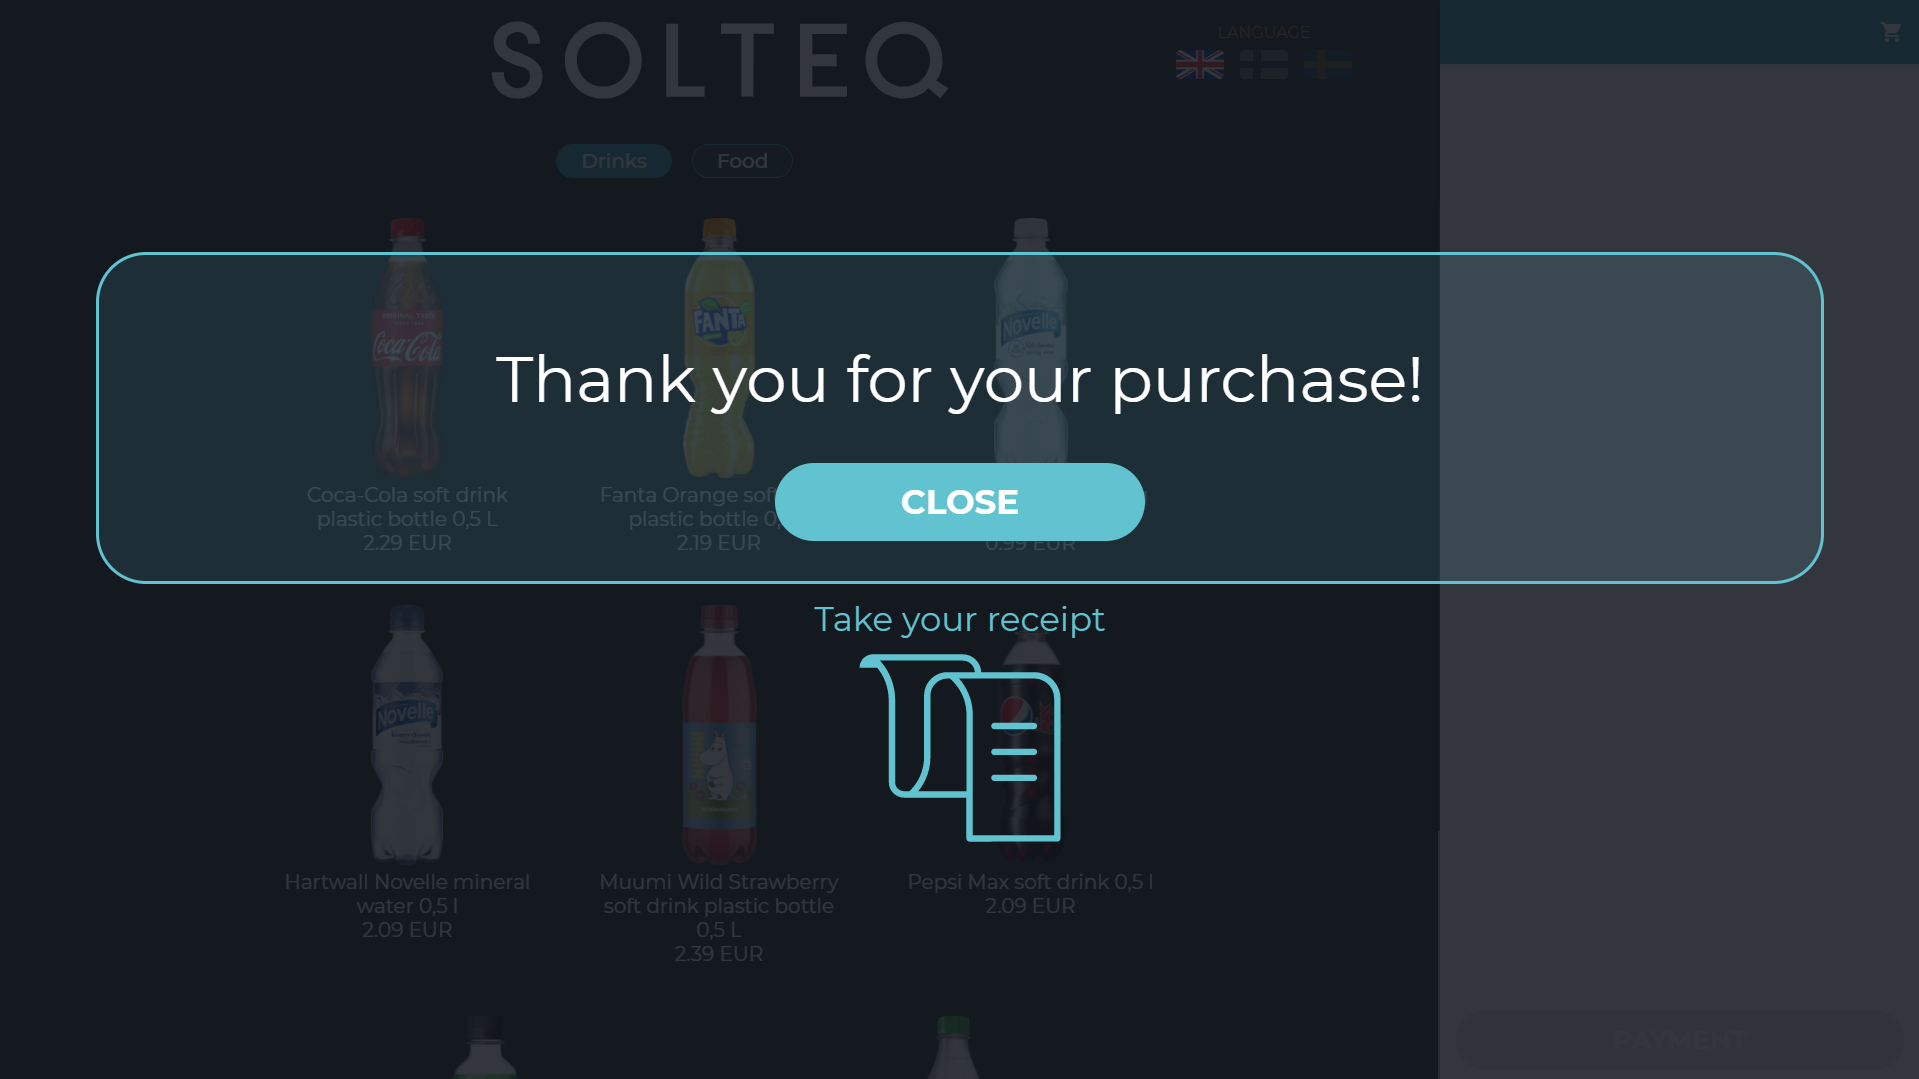
Payment Completed screen
The Welcome Screen is then displayed again, and the next customer can start adding products to the Basket.