
You can take Table Planner into use store-specifically by enabling the Table Planner setting in Store Configurations.
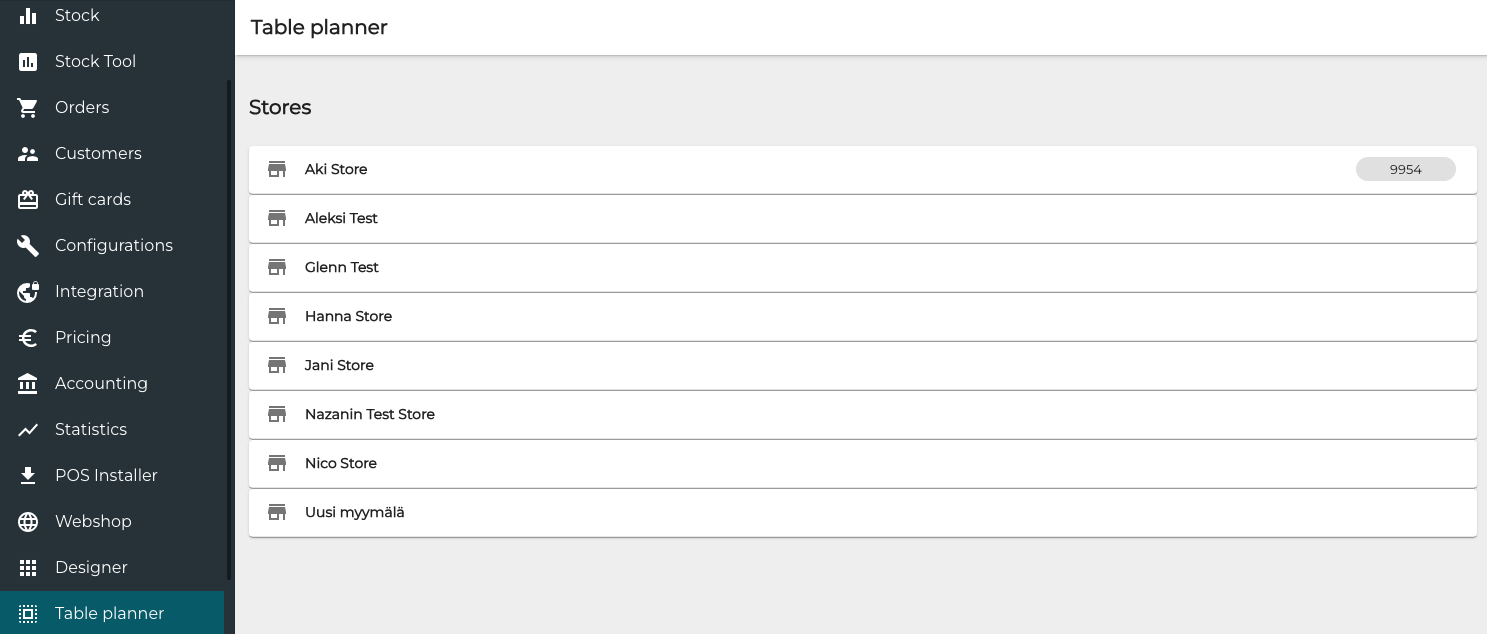
Each Store in the company which has Table Planner enabled has its own table plan; you can view the list of stores with Table Planner enabled by clicking Table planner in the Back Office menu.
When table planner is enabled and table plan has been created, the POS menu will contain an Open Table tile (you can also add the Open Table tile to the POS layout for quick access), which can be used to open a table.
Create a Table Plan
-
To start creating the table plan for a Store, click the Store’s row on the list. Table Planner view for the Store is displayed.

Table Planner view, no tables yet added -
Start adding tables by clicking +Add New and then entering Name for each table.

-
(optional) If you want to use the table planner view as a default view in Parked Orders, enable the Use tables view as the default view in order park setting.
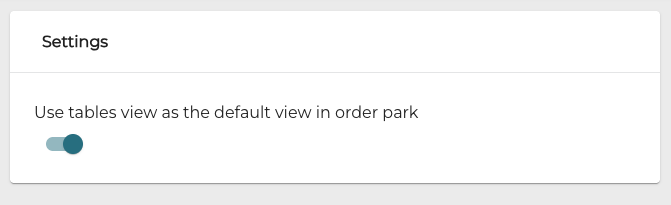
Use tables view as the default view in order park setting -
Save your changes by clicking Save.