
Payment Terminal settings
-
Go to Network Settings → Network & internet and select Wi-Fi.
-
Go to Localization Settings → System → Languages & input → Languages; select the language you want to use.
Back Office Configurations
-
Go to Configurations and select the workstation you want to use with the payment terminal.
-
Go to the workstation’s Payment Service Settings and click the +New icon.
-
Select/enter the following information for the terminal:
-
Name: Card
-
Type: VeridonePSDK
-
Configuration: Enter here the receipt layout in HTML format (see example of a layout below)
-
Device address: Enter the IP address of the device.
-
Has printer: Click this switch to ON if the device as a printer.
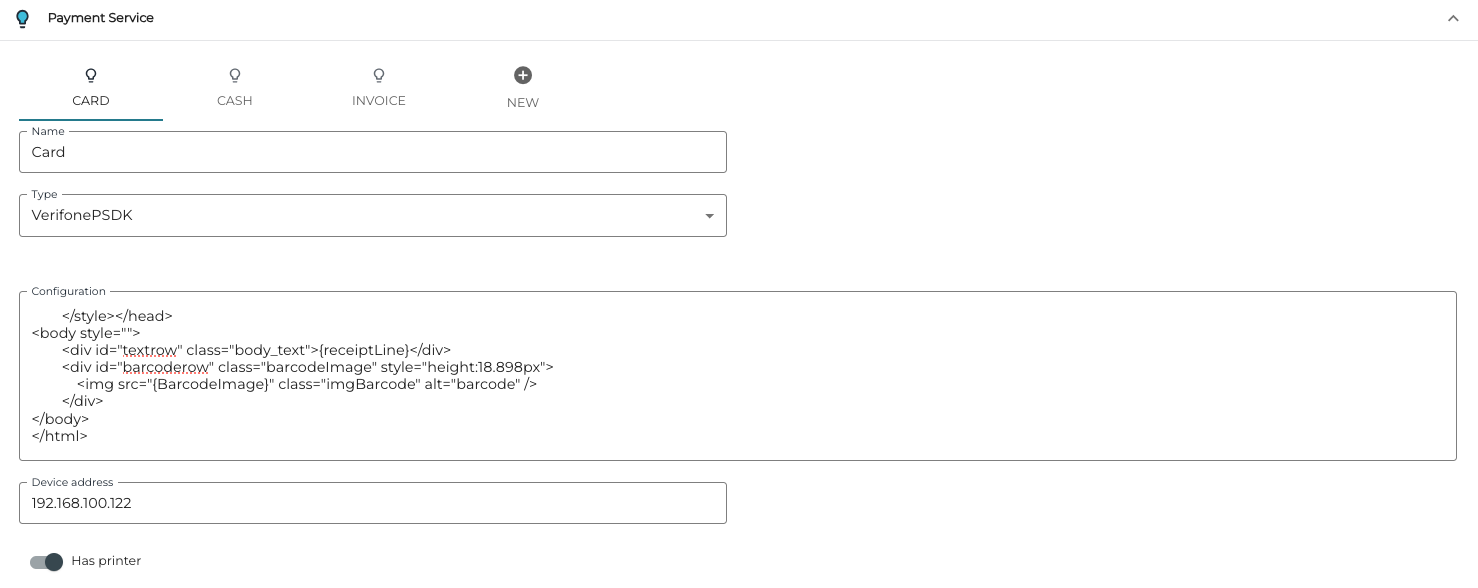
Payment service settings
-
-
Click Save to save your settings.
Example receipt layout:
HTML
<!DOCTYPE html><html><head><style>
            * {
                font-family: arial, sans-serif;
            }
            .body_text{
                font-size: 19px;
            }
            .left {
                width: 50%;
                text-align: left;
                white-space: nowrap;
            }
            .right {
                width: 50%;
                text-align: right;
                word-break: break-all;
            }
            .leftNoWidth {
                text-align: left;
                white-space: nowrap;
            }
            .rightNoWidth {
                text-align: right;
                word-break: break-all;
            }
            .center {
                text-align: center;
            }
           .barcodeImage {
               min-width: 75.591px;
           }
           .imgBarcode {
               height: 100%;
               width: 100%;
           }
           .barcode {
               position: absolute;
               bottom: 0;
               right: 3.78px;
           }
        </style></head>
<body style="">
        <div id="textrow" class="body_text">{receiptLine}</div>
        <div id="barcoderow" class="barcodeImage" style="height:18.898px">
            <img src="{BarcodeImage}" class="imgBarcode" alt="barcode" />
        </div>
</body>
</html>