
You can create an inventory for stock items in Excel format, and then update the Stock balance in the Back Office by importing the Excel file to the Back Office:
-
Go to Stock Insight view of the Stock to be inventoried, and click the Export icon.
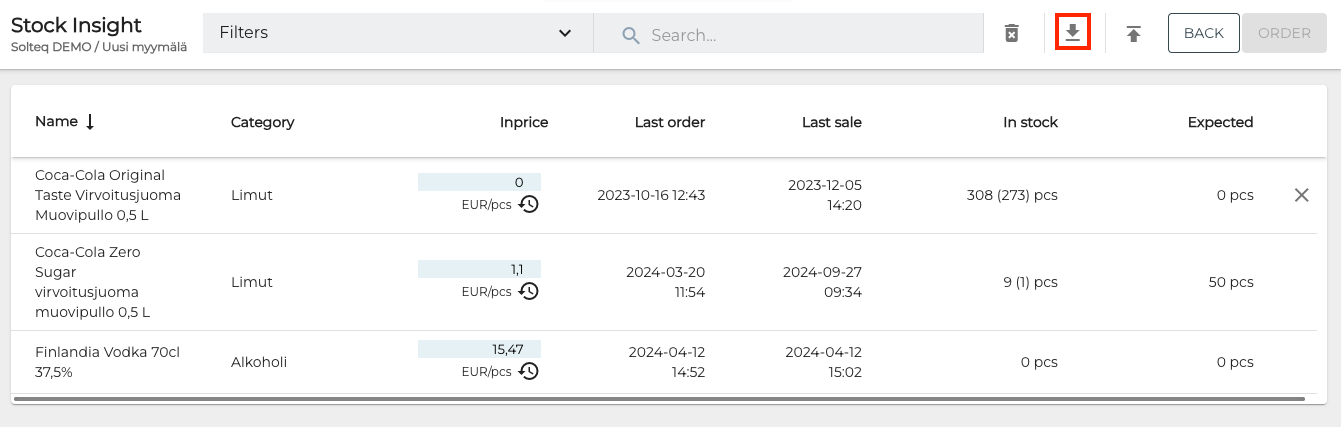
Export icon in Stock Insight view -
Open the Excel file file you downloaded. Delete the four top rows and the Total Stock Value row
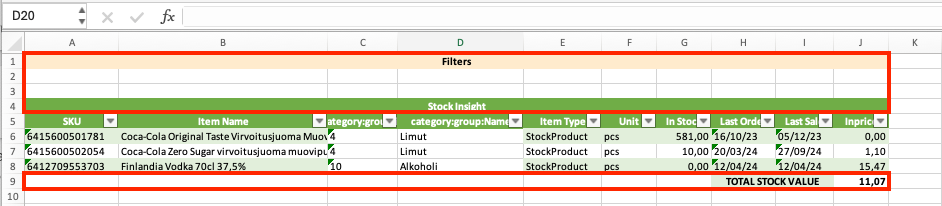
Rows to be deleted from the StockInsight.xlsx file -
Perform the inventory:
-
The stock item SKUs are included in the sku column.
-
Create a new column Amount, and enter the amount of each inventoried stock item in display units.
-
These two columns are the only ones you need to fill; delete other columns before importing the Excel file to the Back Office.
-
You can use different column names if you wish, but the order of the two columns must be the same as in the example image below.
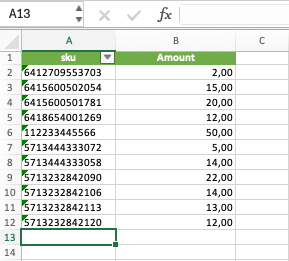
Inventory Excel file with SKUs and their respective inventoried amounts
-
-
-
Create the inventory in the Back Office: click +Add new in the Inventory view of the Stock.
-
Enter details for the new inventory:
-
Name
-
Comment (optional)
-
Starts: Starting date for the inventory
-
From: Starting time for the inventory
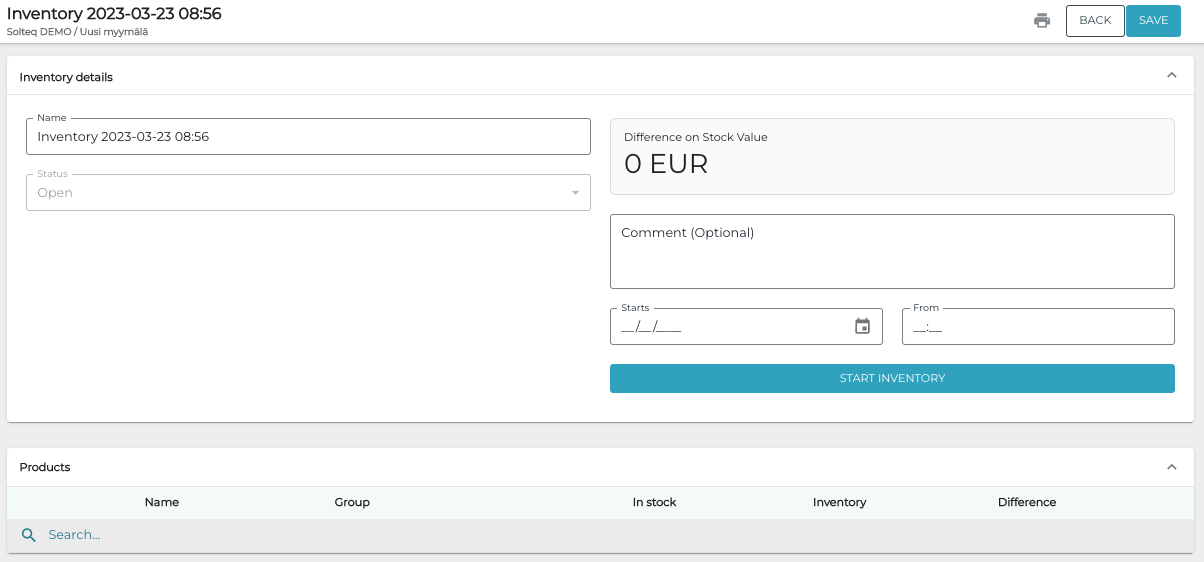
New inventory -
Select All Stock Items to be added to the inventory. When you import the Excel file, any items not included in the Excel will be removed.
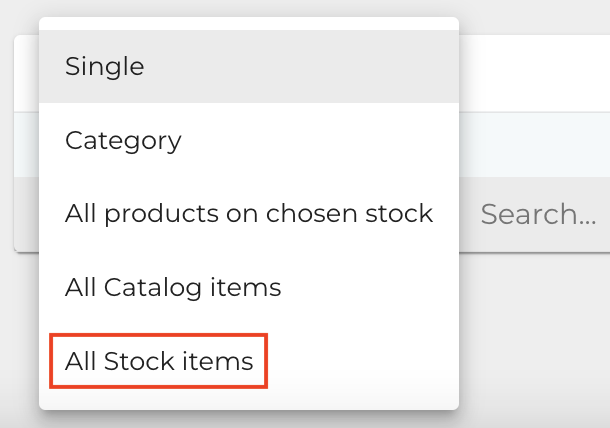
All Stock items in the drop-down menu
-
-
When you have entered all the required information for the inventory, start the inventory by clicking Start Inventory. The inventory is now in Pending state.
-
Import the inventory list Excel file you created by clicking on the Import icon on the toolbar, and selecting the file by clicking Import.
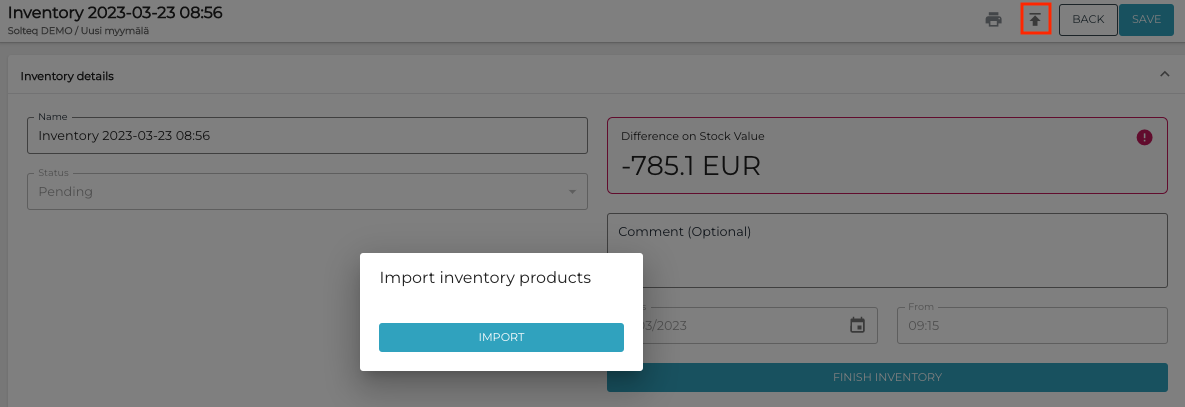
Importing inventory information -
The system displays a notification following a successful import.
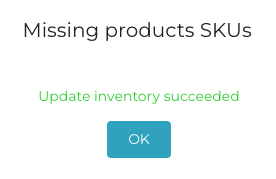
Notification about a successful import -
The inventoried stock items and their amounts are now updated in the inventory information.
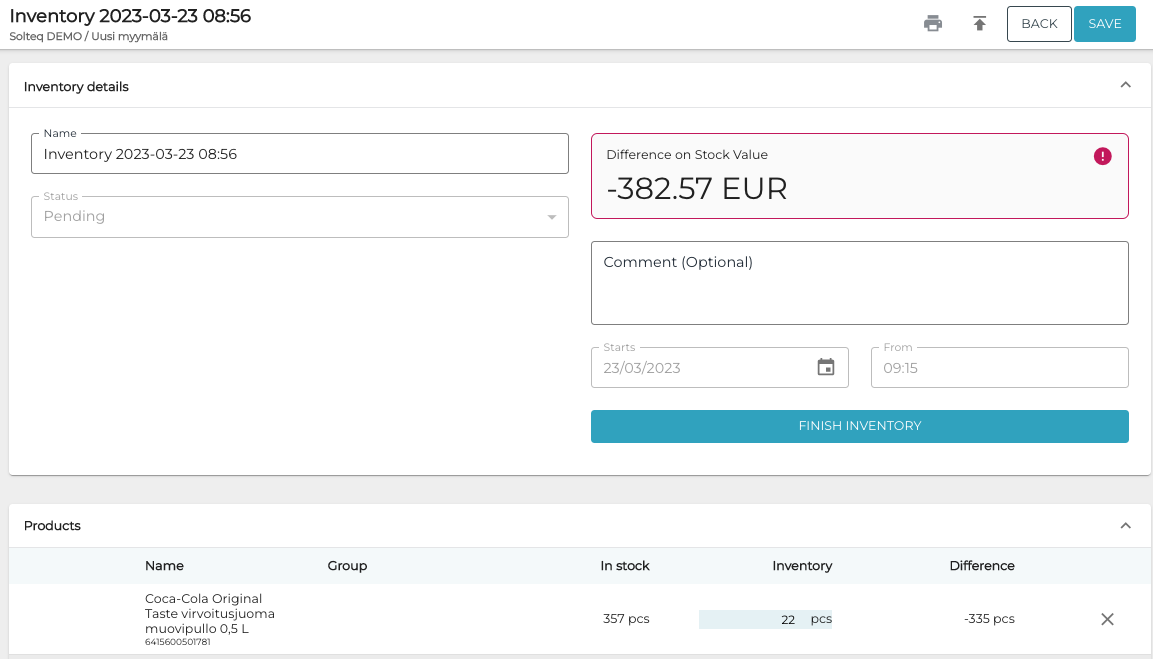
Updated inventory -
When the inventory is ready, click Finish Inventory and confirm this by clicking Finish. The stock balances of stock items are updated, and the inventory status is updated to Done.