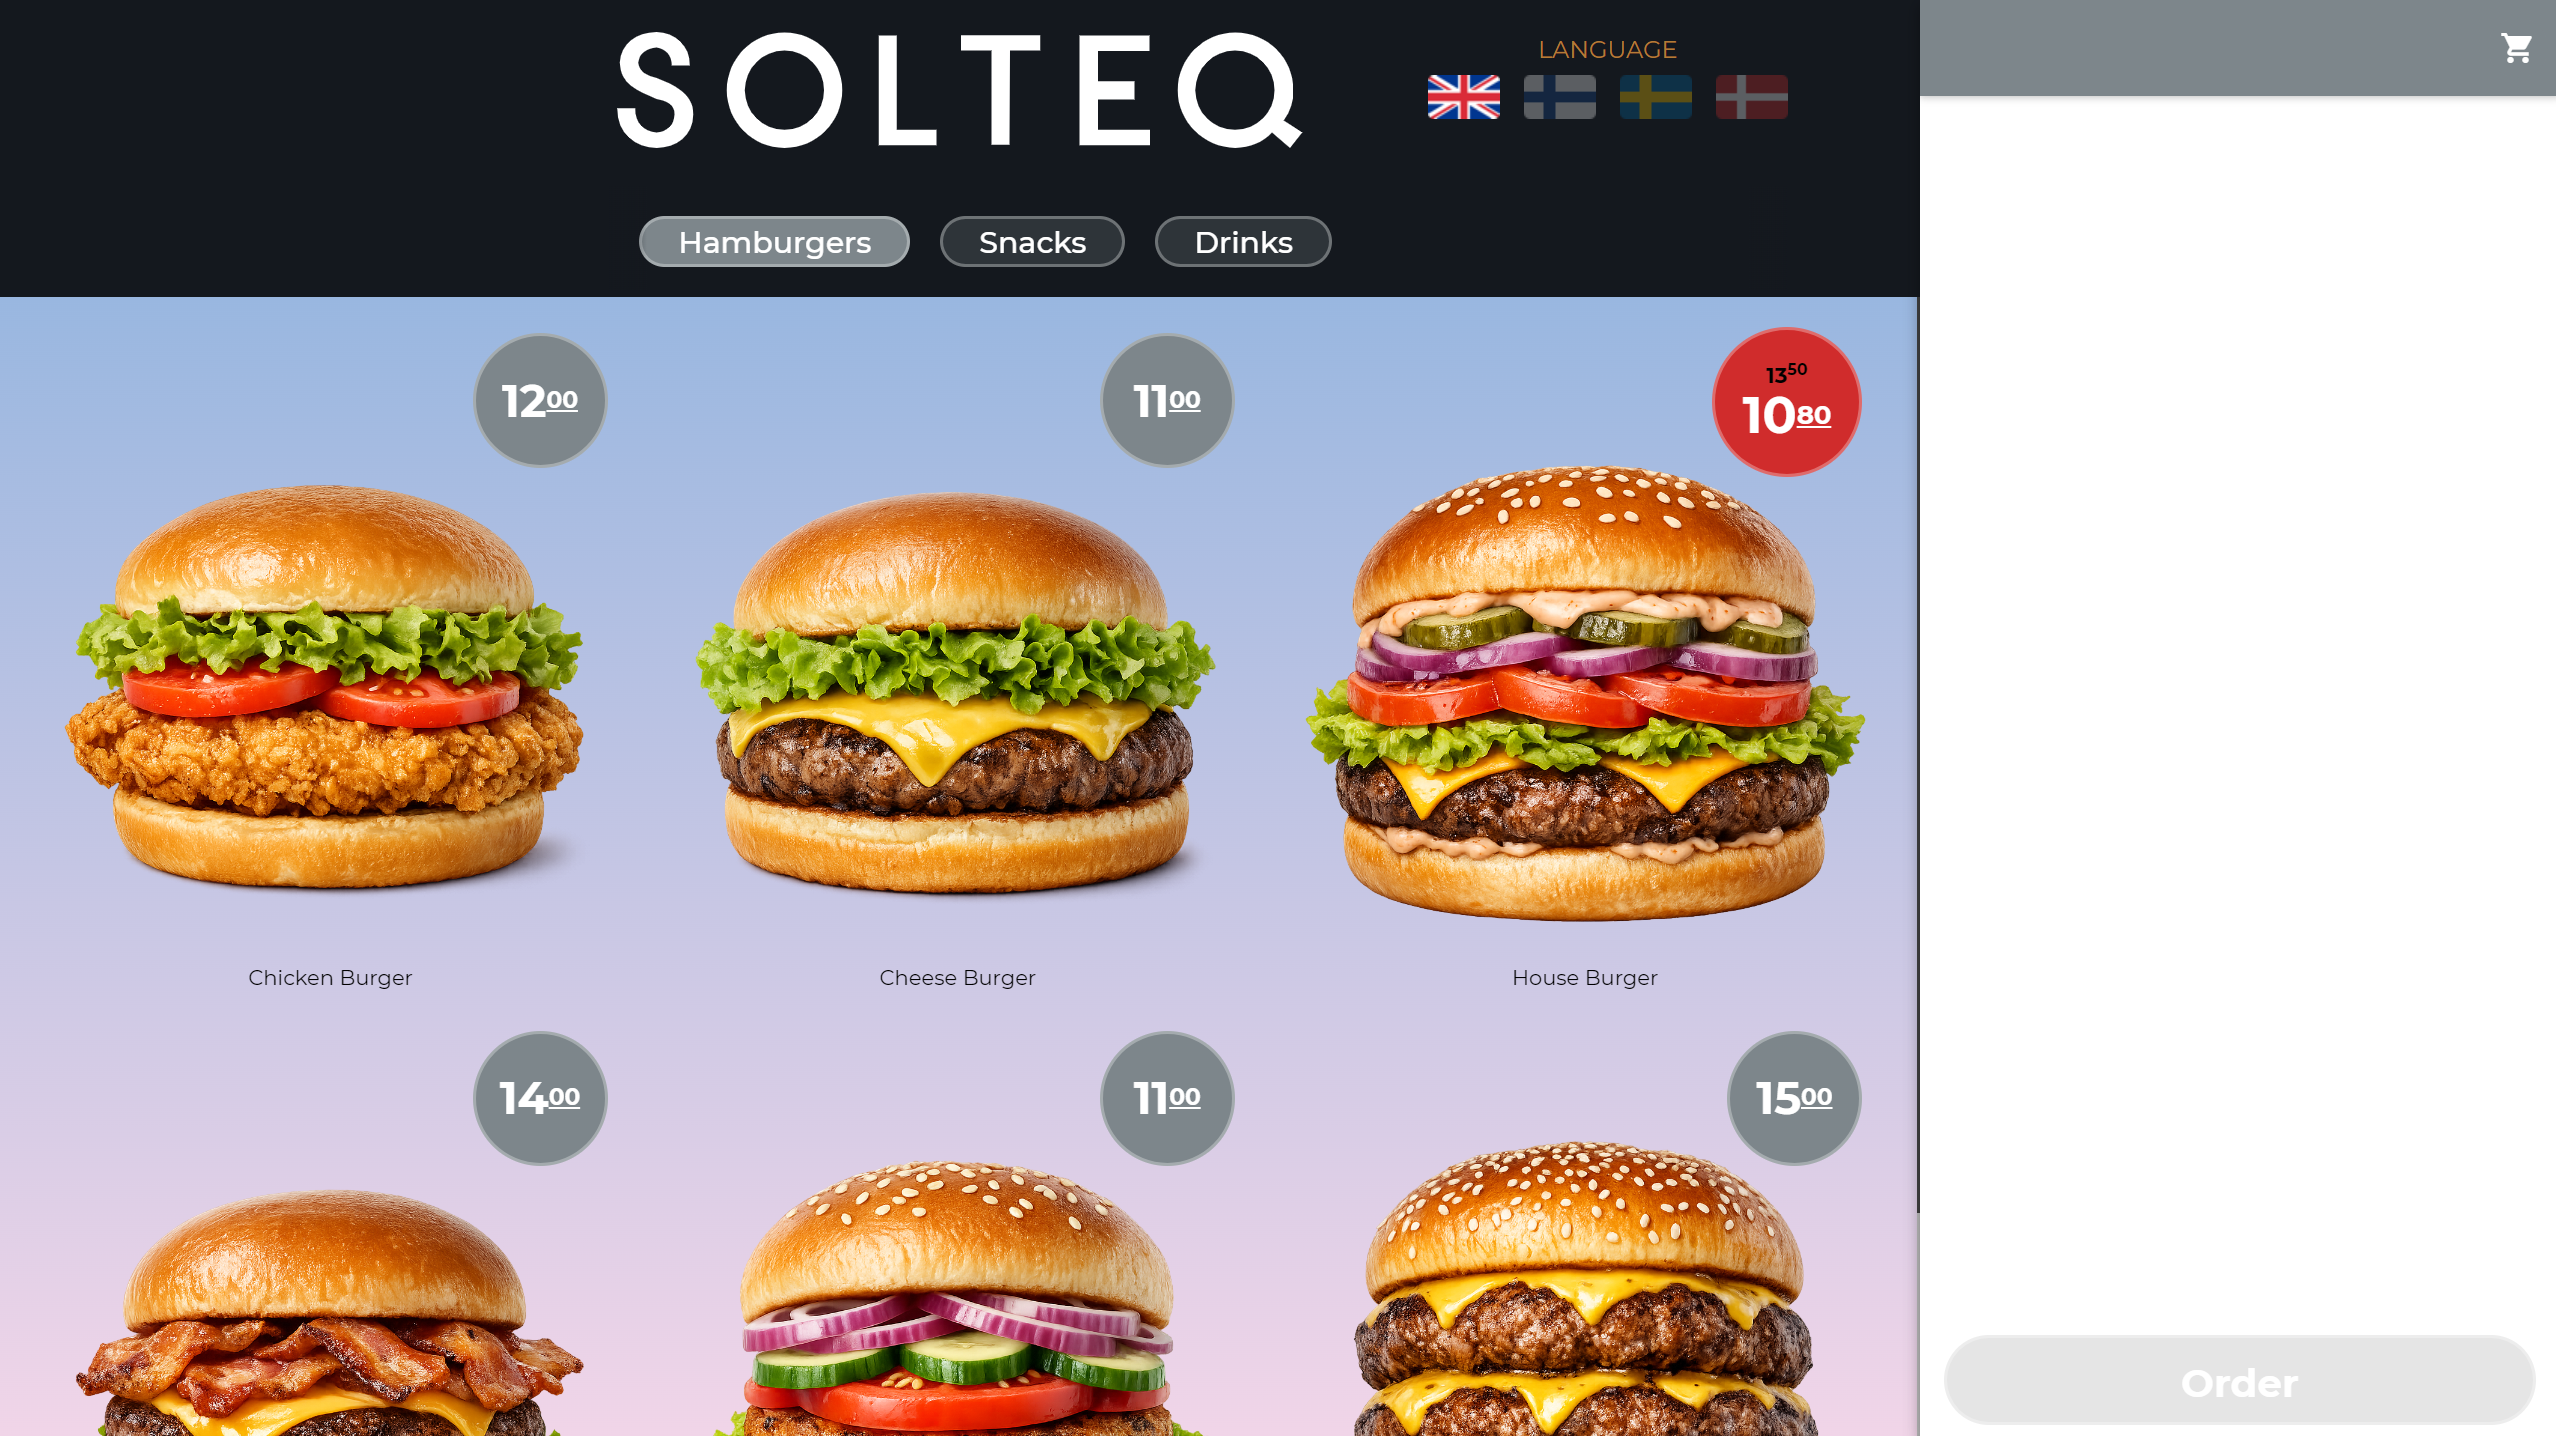
You can create custom Kiosk layouts in the Designer view of the Back Office, and select products/categories individually to each tab in in the Kiosk screen (regardless of any assortments).
The basic Kiosk layout is defined by the options you select in the layout’s Basic Data:
-
Infinite scroll enabled or not
-
Featured tabs enabled or not
-
Full product images are used or not
-
Vertical menu enabled or not
-
Custom product grid enabled or not
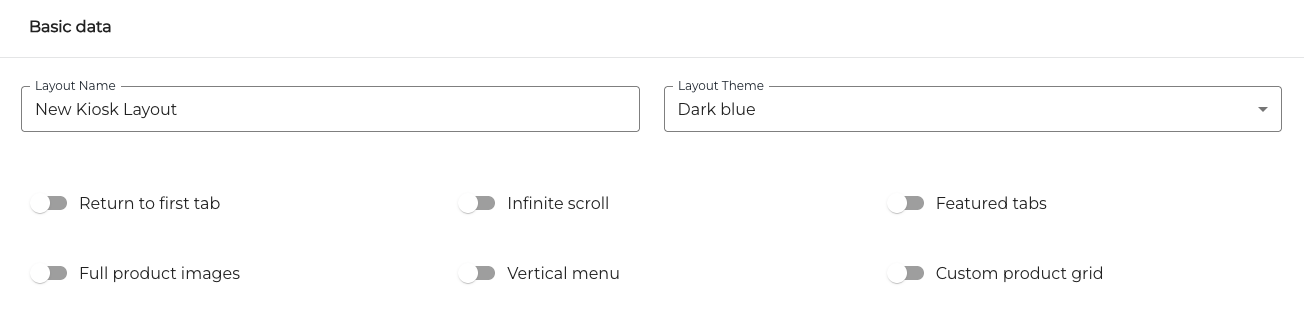
Layout option switches in Basic data
Menu Orientation
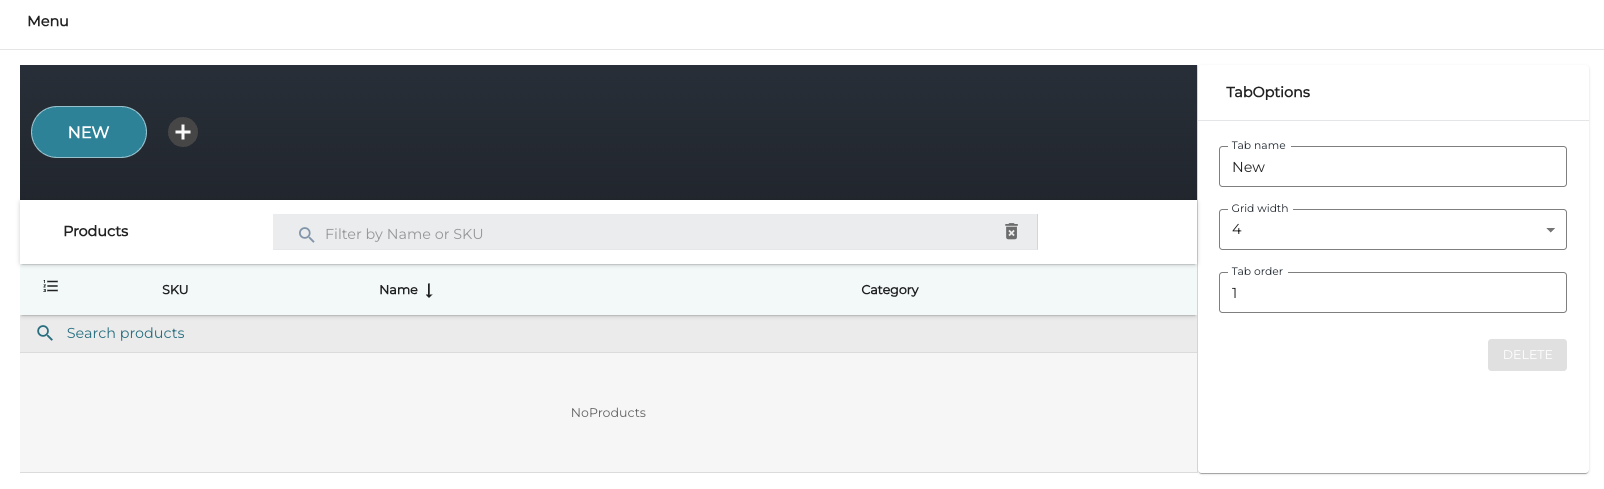
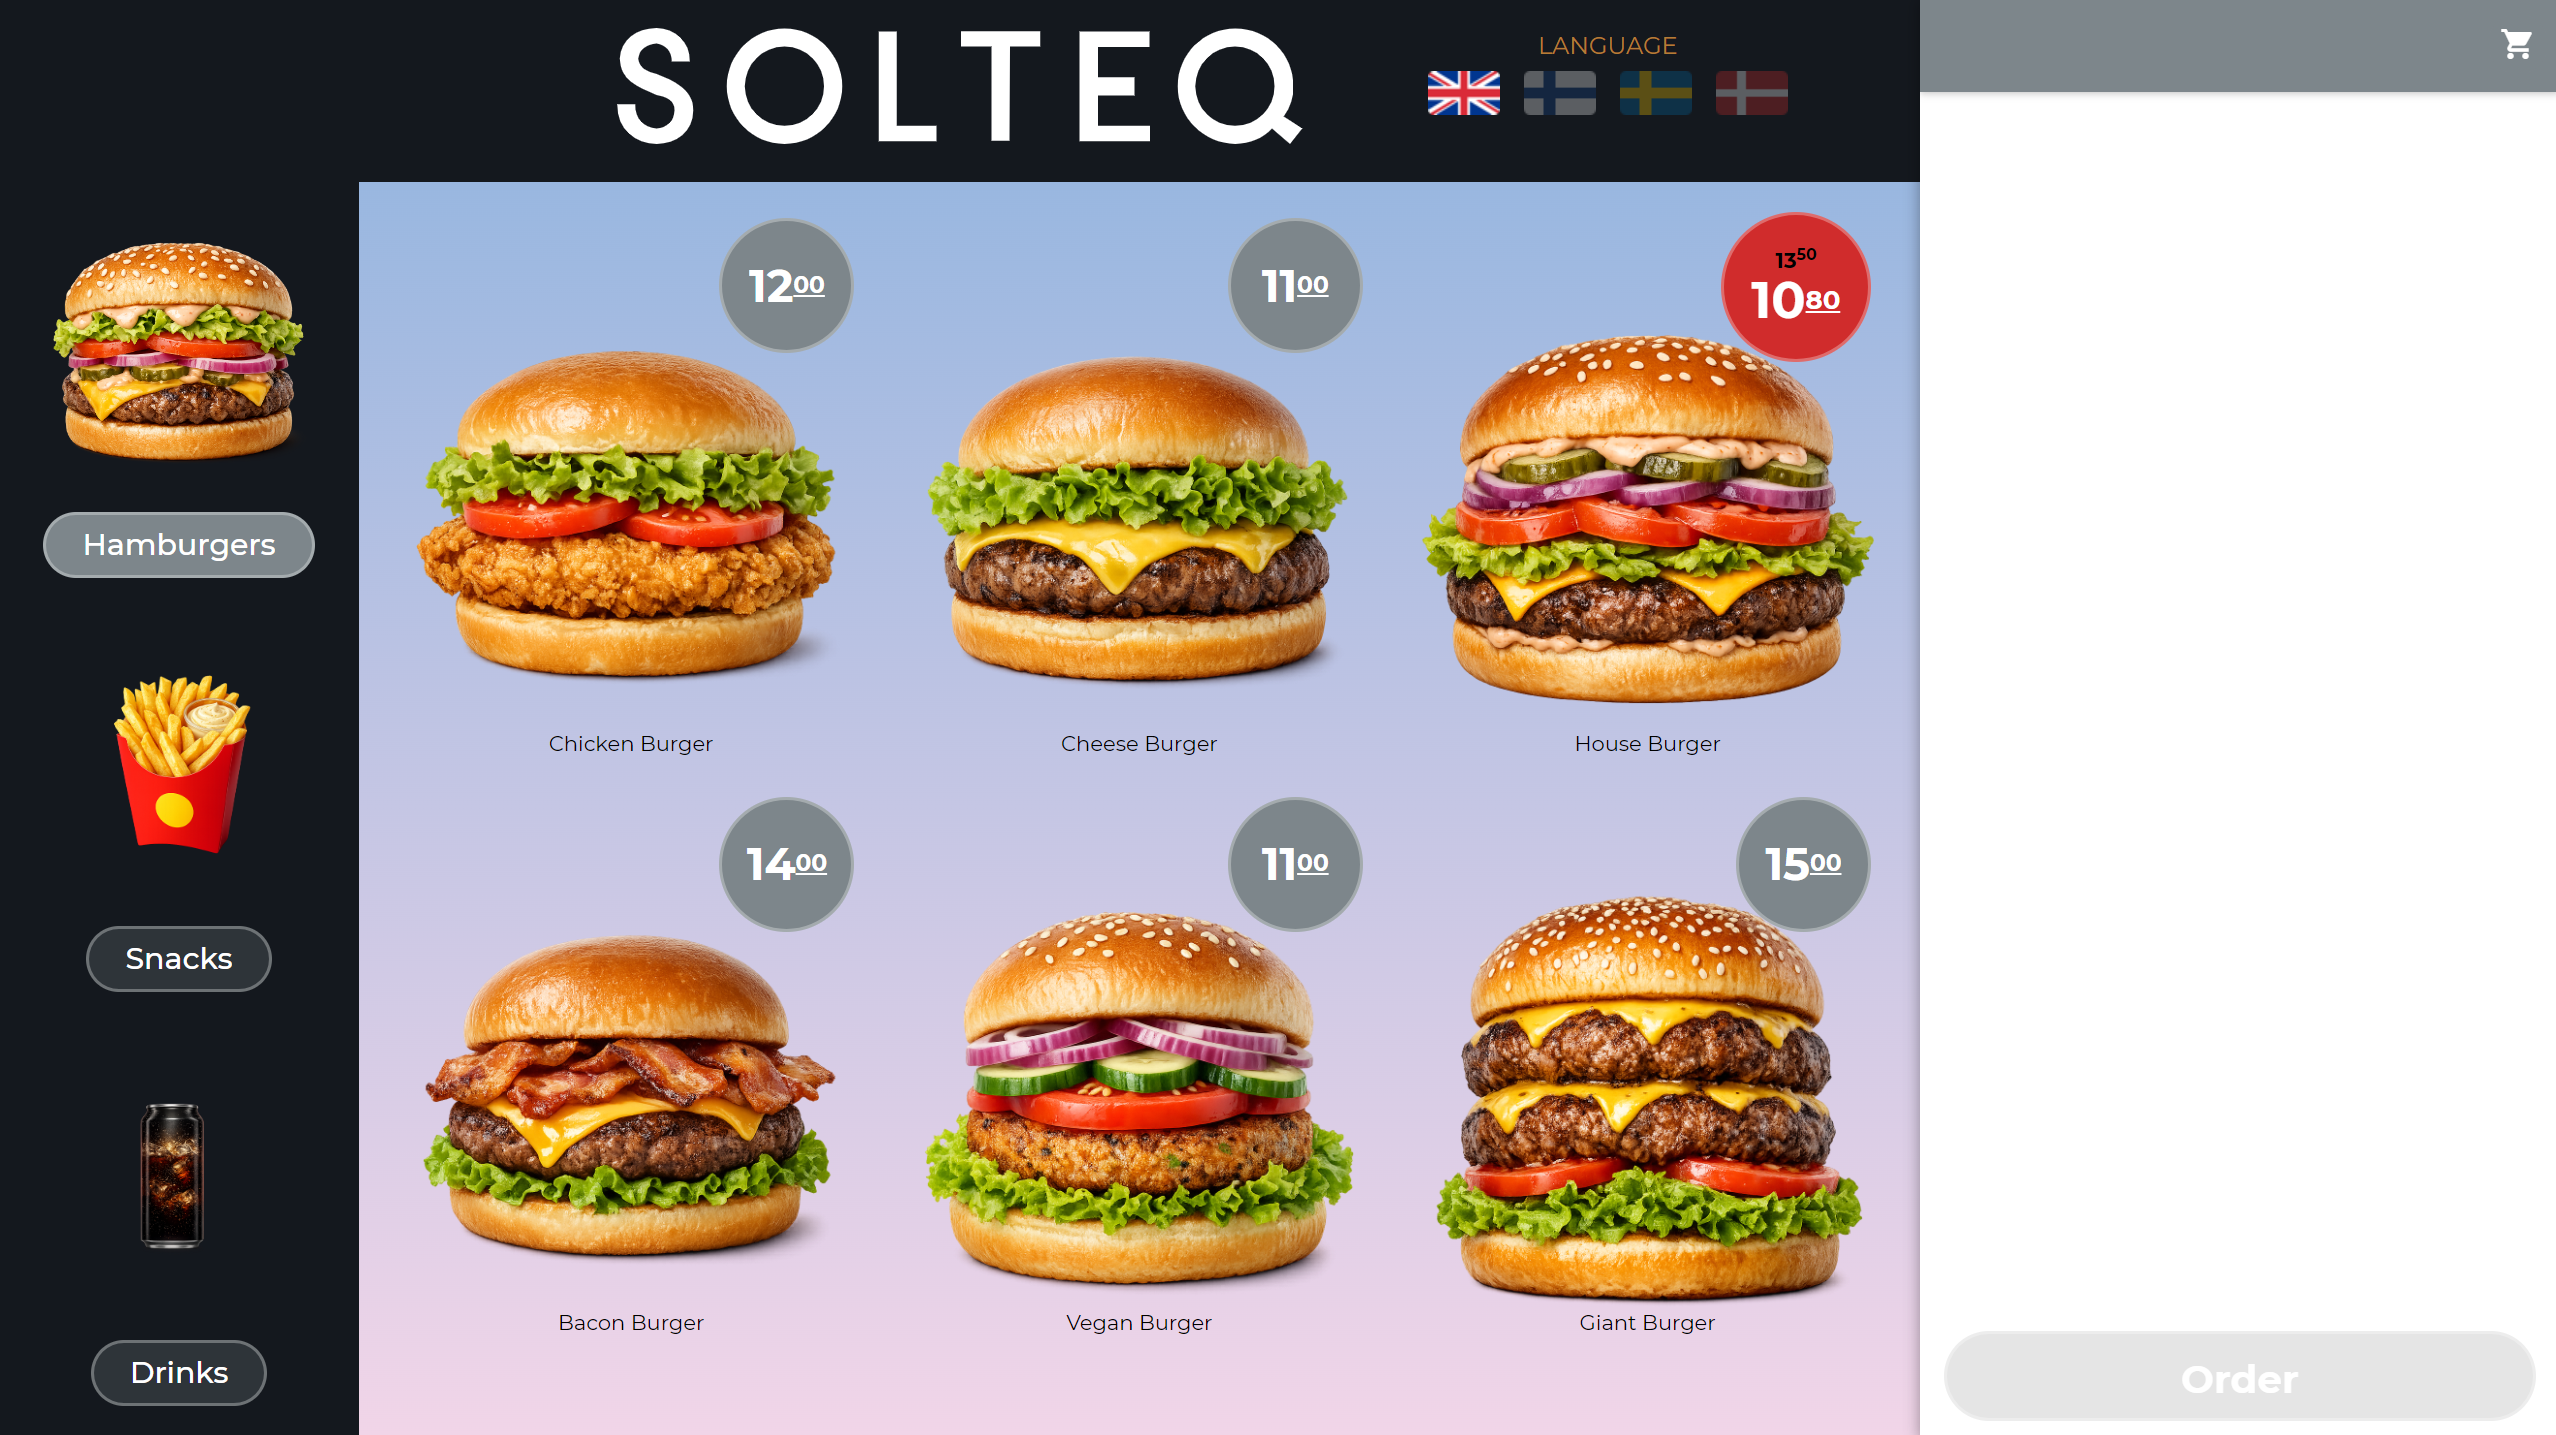
If Vertical Menu is not enabled in Basic Data, the product tabs will be visible horizontally in the screen.
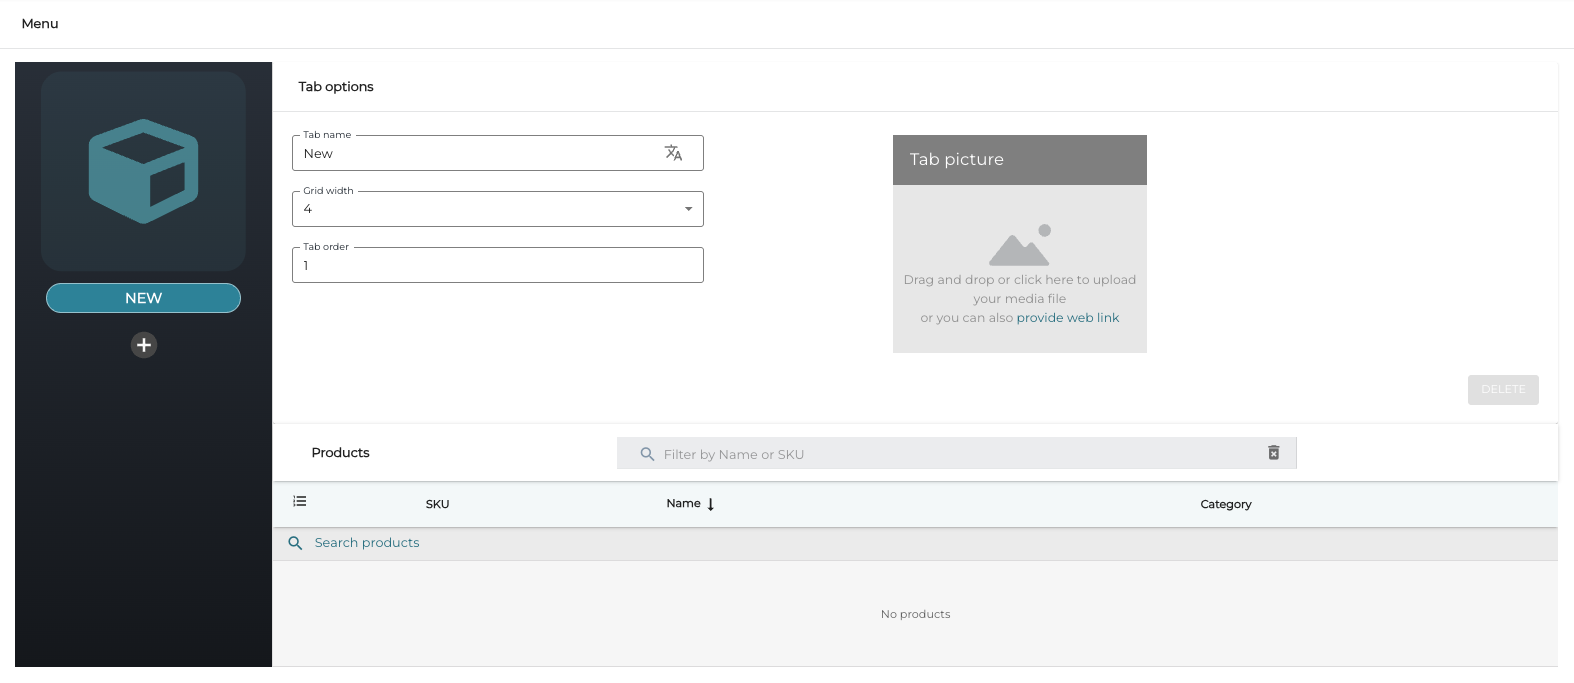
If Vertical Menu is enabled in Basic Data, the product tabs are arranged vertically to the screen.
Creating Tabs
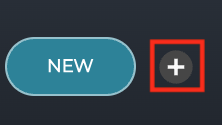
You can add new tabs to the layout by clicking on the Plus icon.
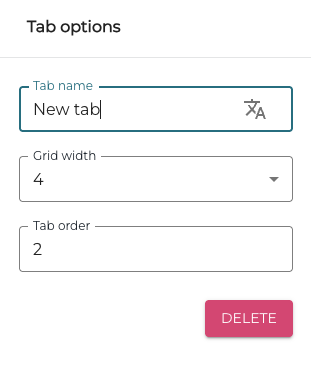
Enter/select the following details for the tab.
|
Field |
Description |
|---|---|
|
Tab name |
Enter a name which will be displayed on Kiosk screen. |
|
Grid width |
Defines the maximum amount of products per row: Select 2 ,3 or 4 for the tab. |
|
Tab order |
Enter the order of the tab. |
If the Vertical Menu is in use, you can also add a tab image by either dragging-and-dropping it directly to the Tab picture field, browsing and selecting it, or entering a web address of the image; click the provide web link text for the last two options.
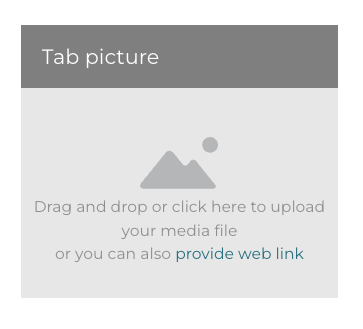
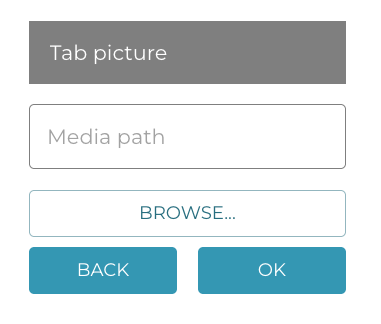
When you have defined the tab options, click Save layout to save the your changes. Shut down and restart the Kiosk software on the workstation for the changes to take effect.
Infinite Scroll
If Infinite Scroll has been enabled in the Kiosk Layout’s Basic Data, the Kiosk screens will continuously display product images in the Kiosk screens when the customer scrolls through the menu; the products of the next or previous tab will be automatically displayed when the customer reaches the end of the products menu in a single tab. See the video example below.
Featured Tabs
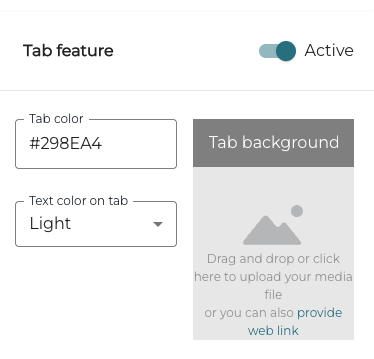
If Featured tabs has been enabled in the Kiosk layout’s Basic data, you can designate one or more tabs as a featured tabs with a separate tab color and text color from the default settings defined in Theme Options of the kiosk layout. In addition you can drag-and-drop, upload, or link an image file to be used as the background image for a tab.
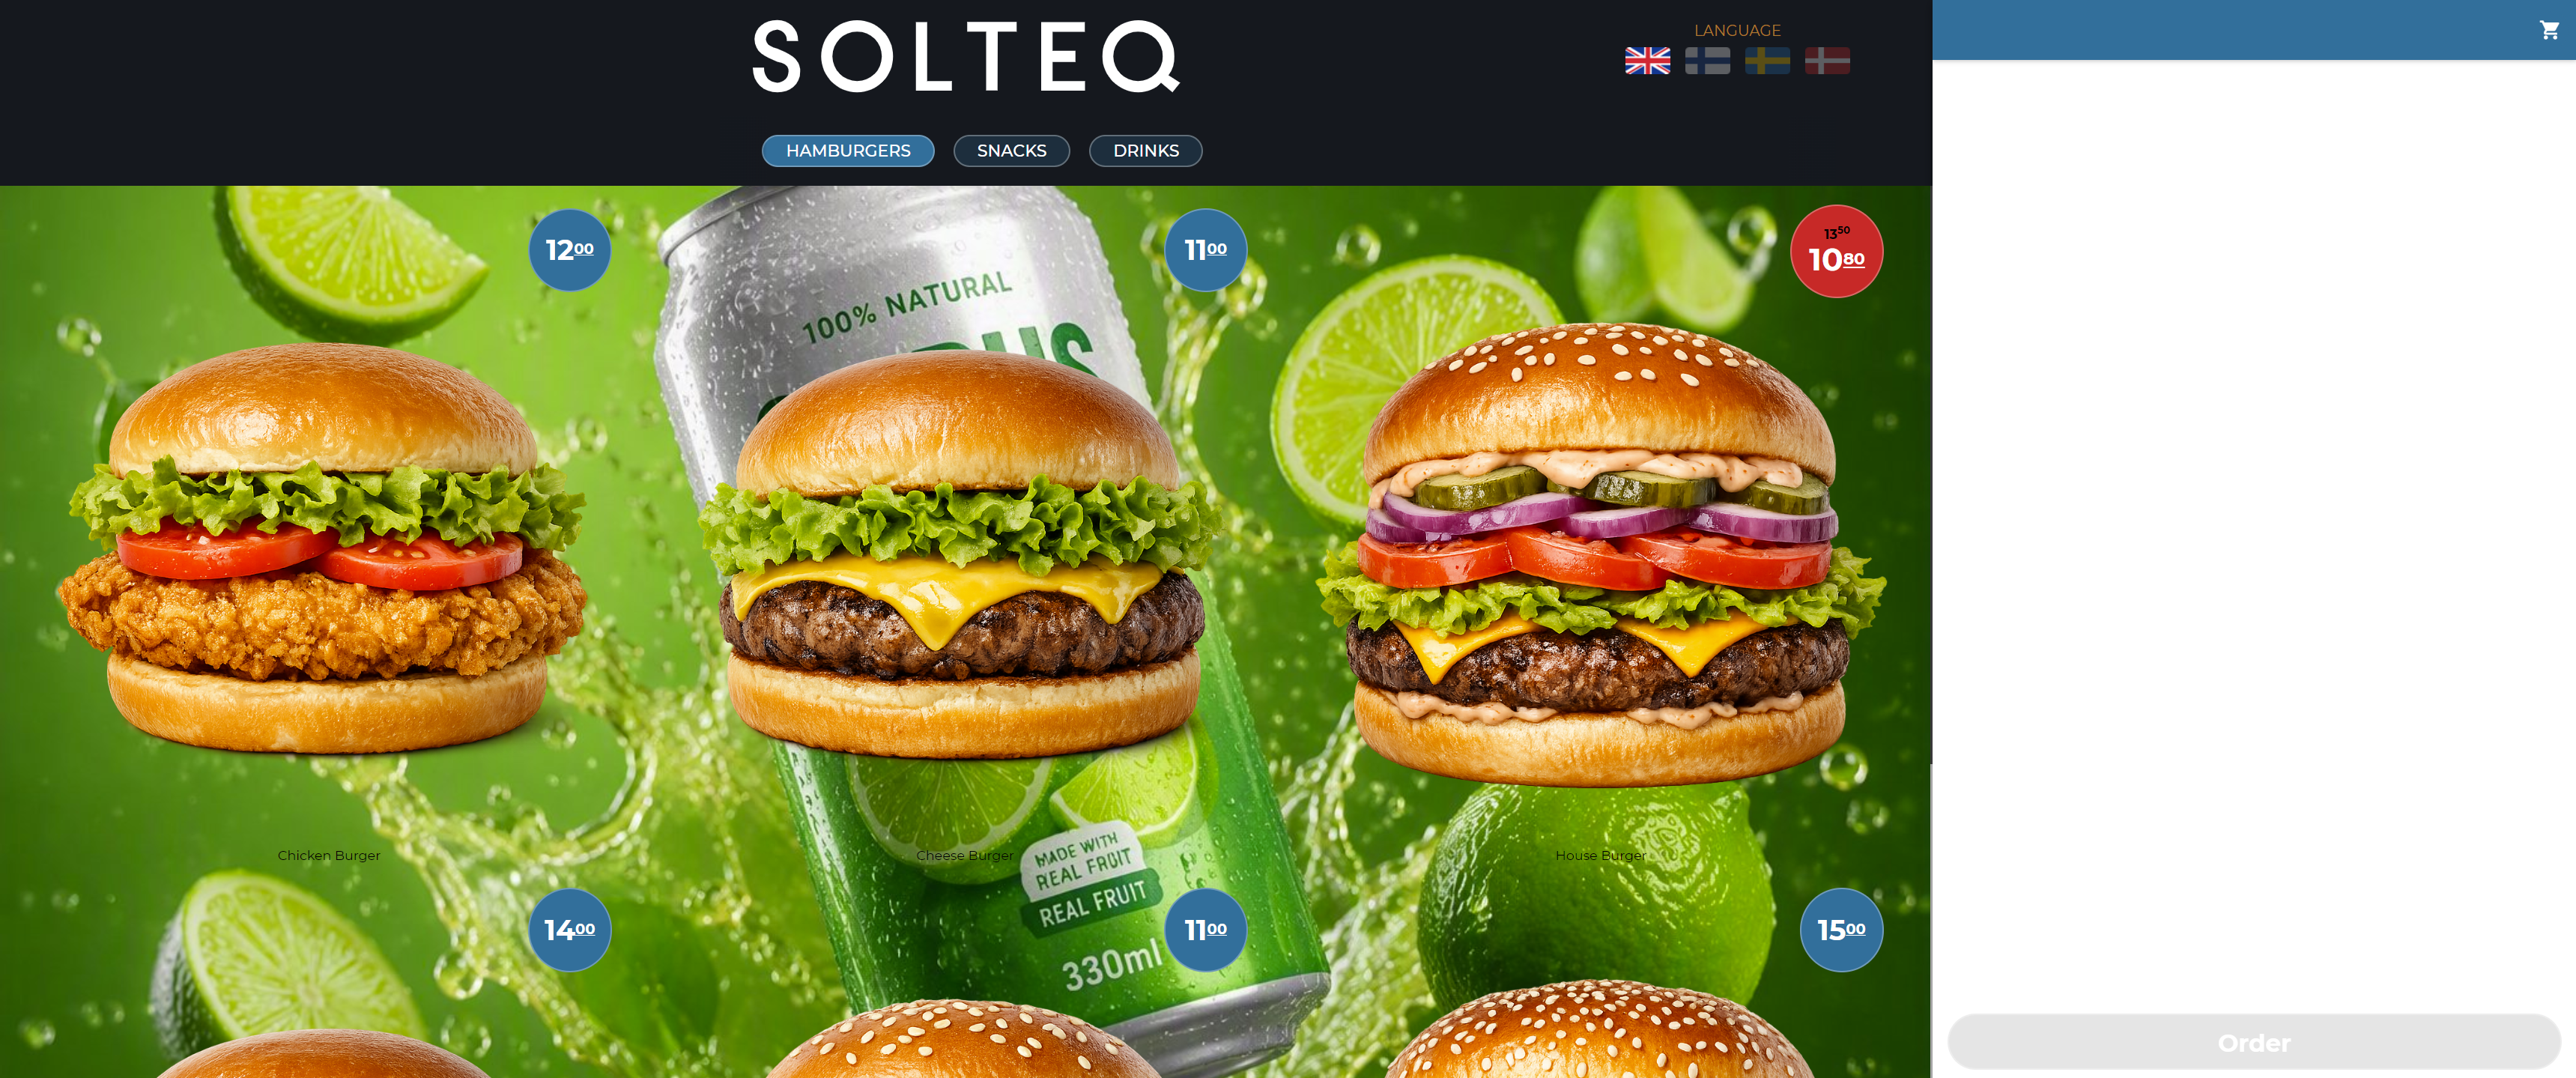
When Featured tabs has been enabled, tab settings contain a Tab feature switch; click it to Active position to define featured tab details.
Full Product Images
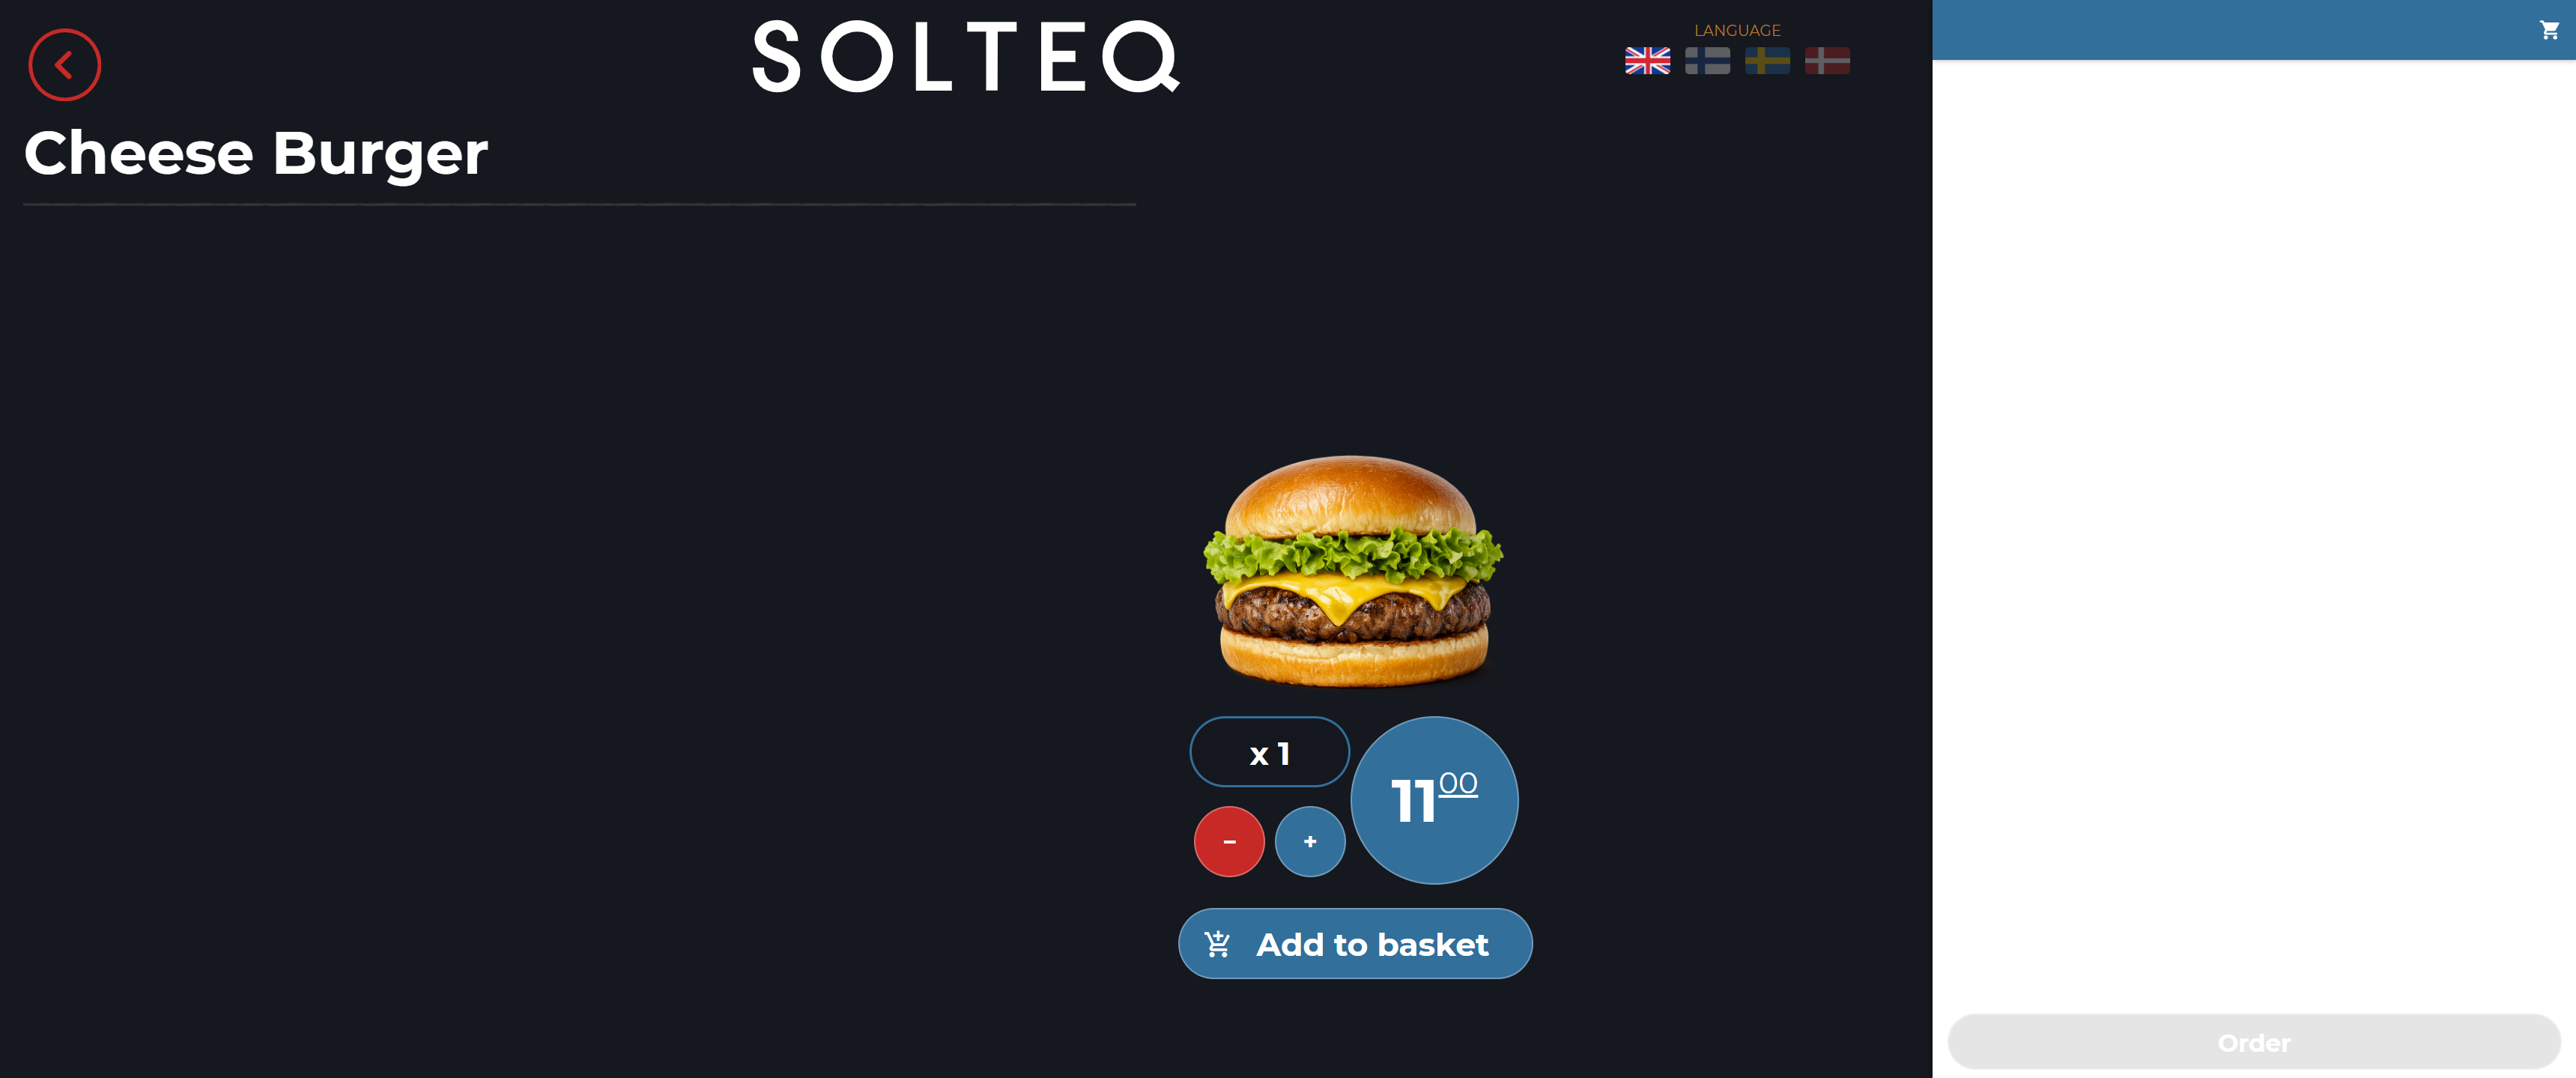
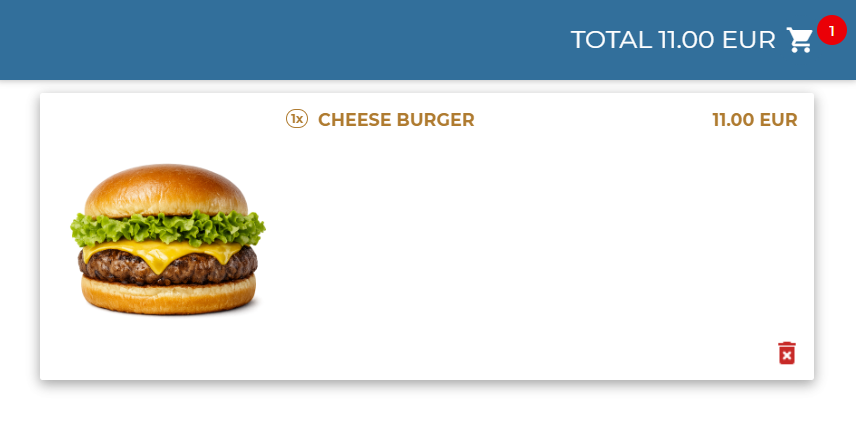
If Full Product Images have been enabled in the Kiosk Layout’s Basic Data, the Kiosk screens will display full (not partially cropped/half-visible) product images in all Kiosk screens.
Adding Products to the Tabs (Custom Product Grid Not in Use)
You can add single products or whole product categories to the tabs.
When the Custom Product Grid has not been enabled, the as a default the product images displayed on Kiosk screen will be the images defined in product details. If the product details do not contain a product image, a placeholder image will be displayed.
-
Select the tab you want to add products to.
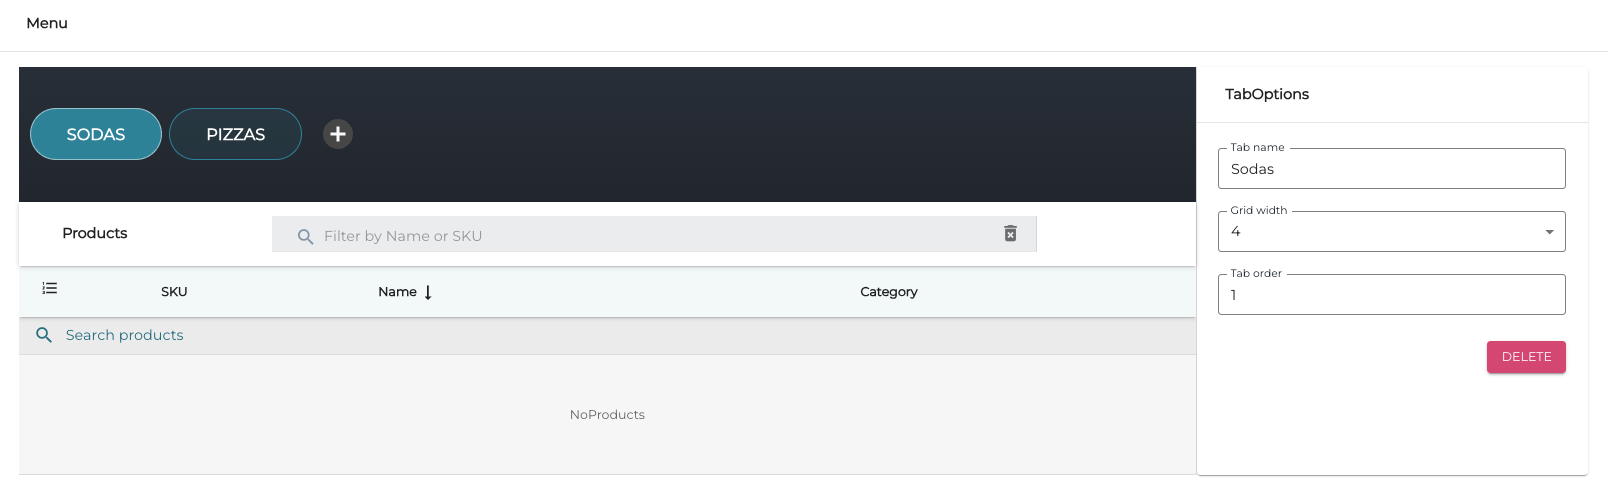
Tab selected (horizontal menu)
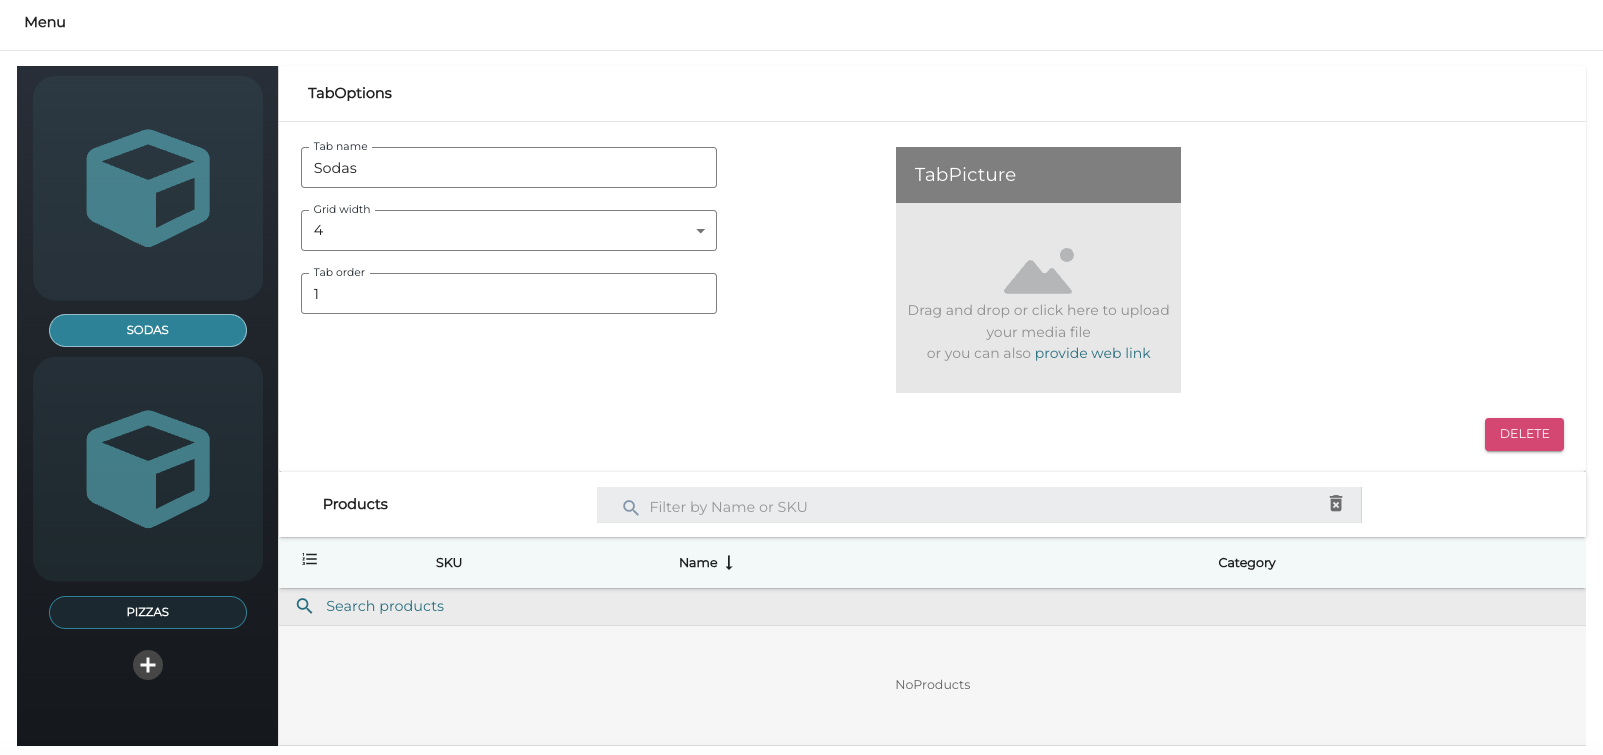
Tab selected (vertical menu)
-
In the Products section, select Single product or Category of products to search.
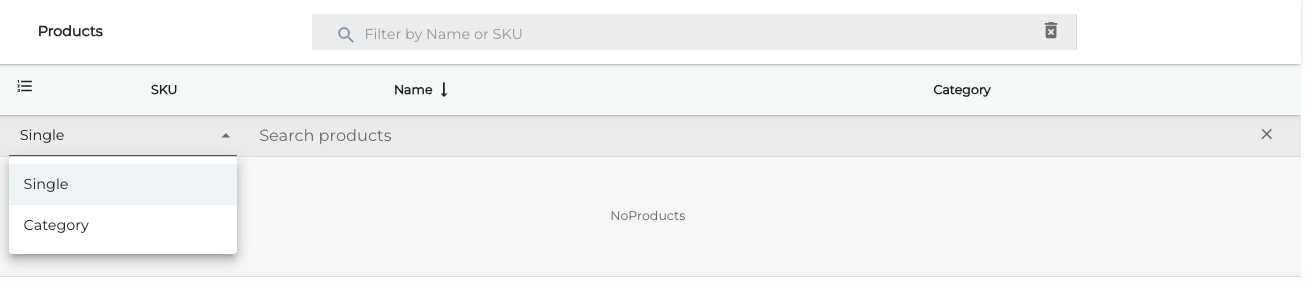
Single/category selection -
Search for products by
-
Entering search term into the Search products field (if Single product has been selected).
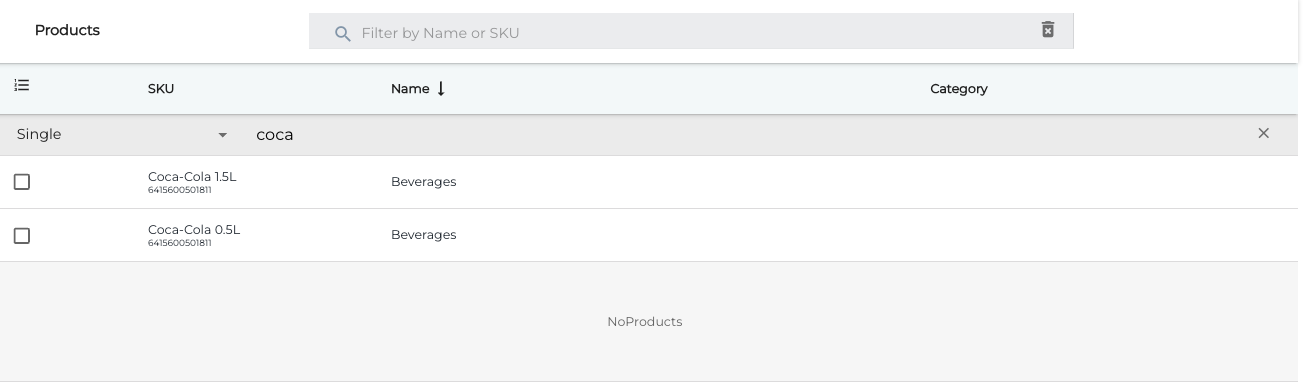
Product search -
Selecting a category (if Category has been selected).
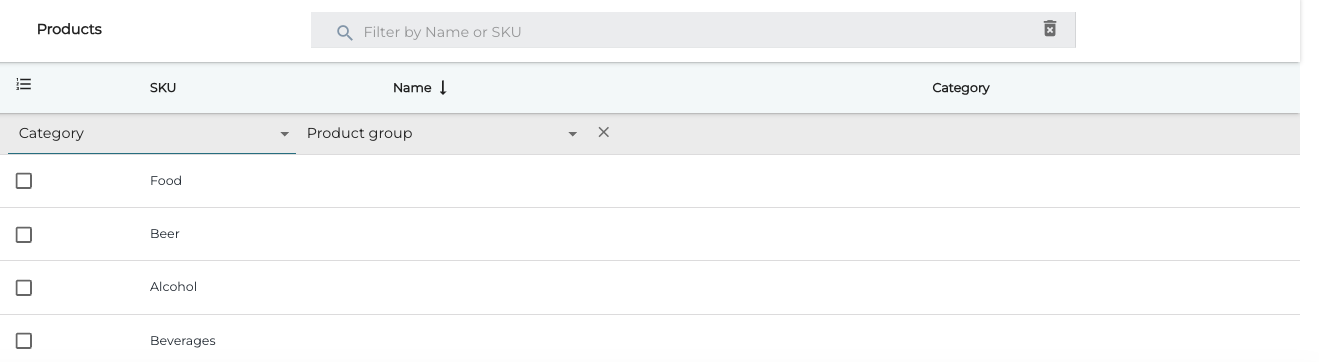
Category selection
-
-
Select the product(s) or category/categories to add them to the tab.
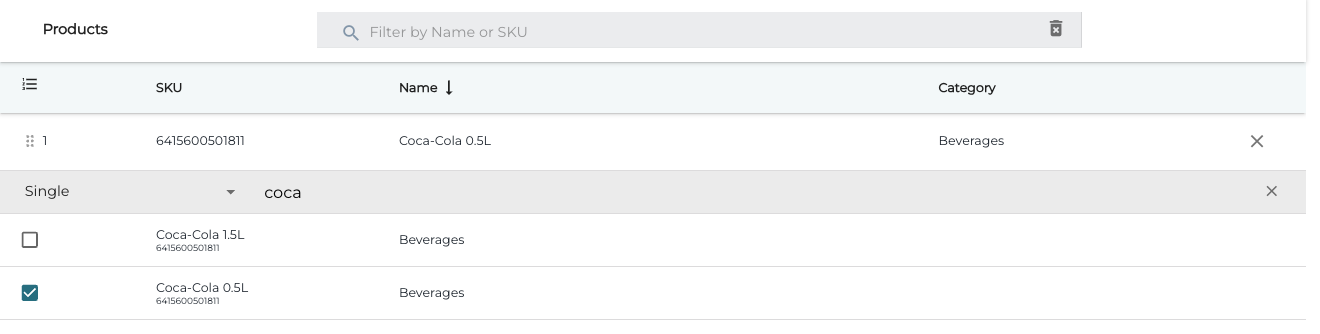
Product selected for the tab -
If you wish, you can rearrange the product order in the menu by dragging-and-dropping the product rows and/or changing the Product order in Tile options.
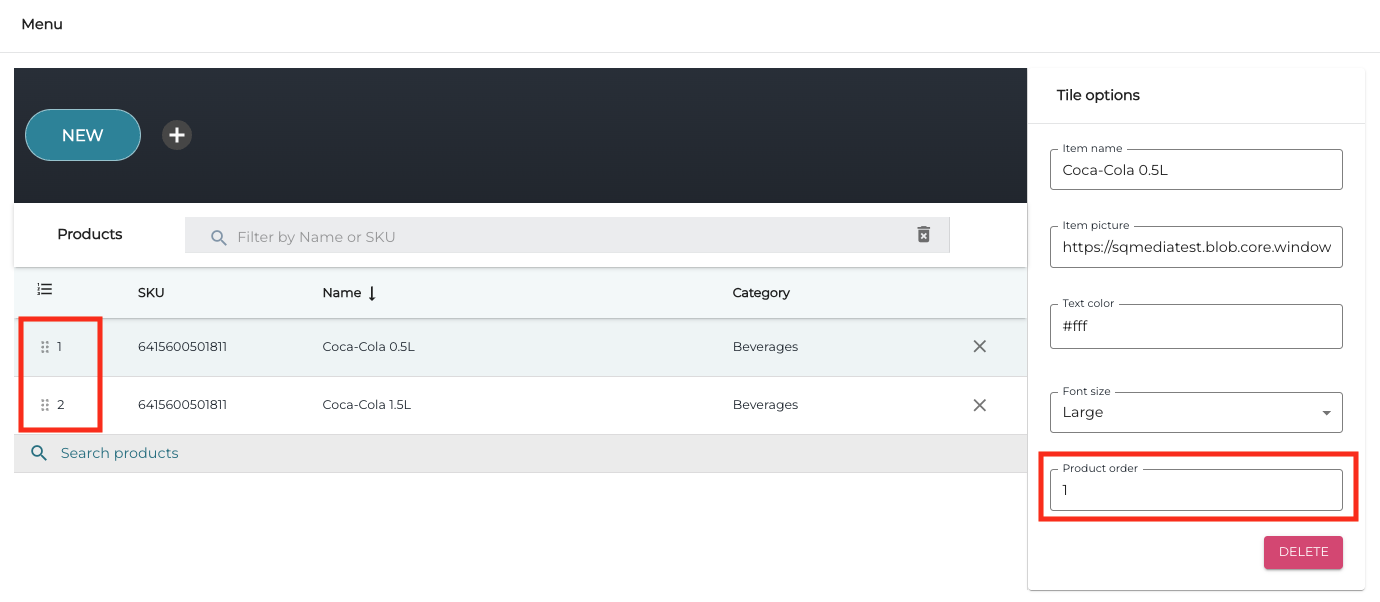
Product order in the menu
-
-
Enter/select the options for the product tile:
-
-
Item Name: Enter a name which will be displayed for the tile in Kiosk screen.
-
This name will override the product name defined in the product details
-
Click the Translations icon to enter (English/Finnish/Swedish/Danish) translations for the item name. These will override any translations defined in the product details.
-
-
Item Picture: Enter the web address of the image used for the item.
-
Text color: Enter of select the text color used for the tile.
-
Font size: Select Small, Medium, Large or Extra Large.
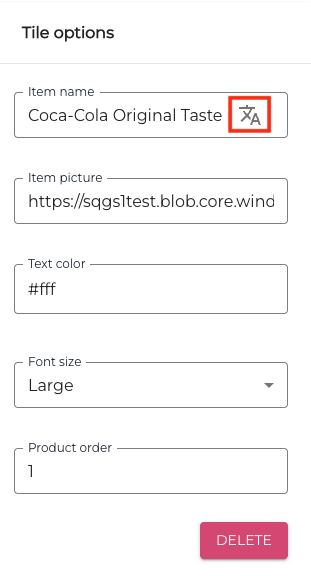
Tile options, with Translations icon highlighted
-
-
-
Click Save layout to save the your changes. Shut down and restart the Kiosk software on the workstation for the changes to take effect.
Custom Product Grid
If Custom Product Grid has been enabled, you can add tabs (A). as well as product tiles (B. ) to the tabs by clicking the Plus icons. You can freely define the product images which will be visible in the Kiosk screens in the product tile settings.
If you do not define an image in the tile settings, the default image displayed for product on Kiosk screen will be the image defined in product details. If the product details do not contain a product image, a placeholder image will be displayed.
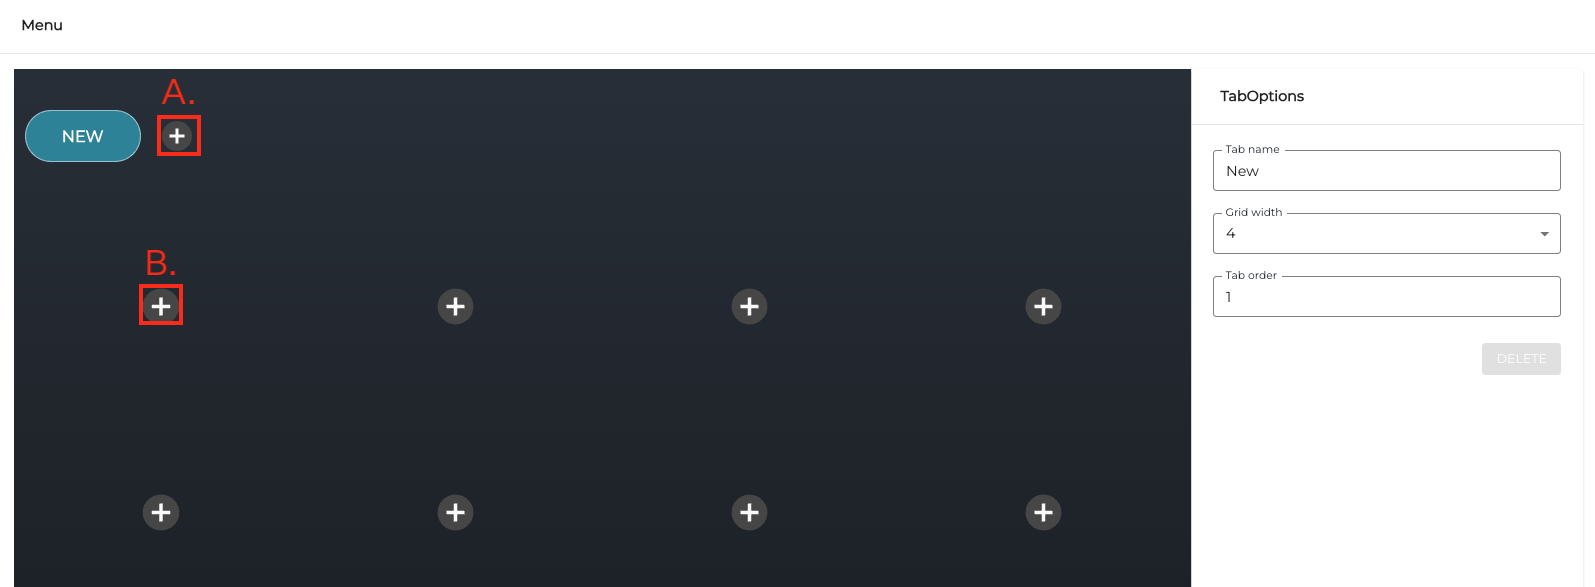
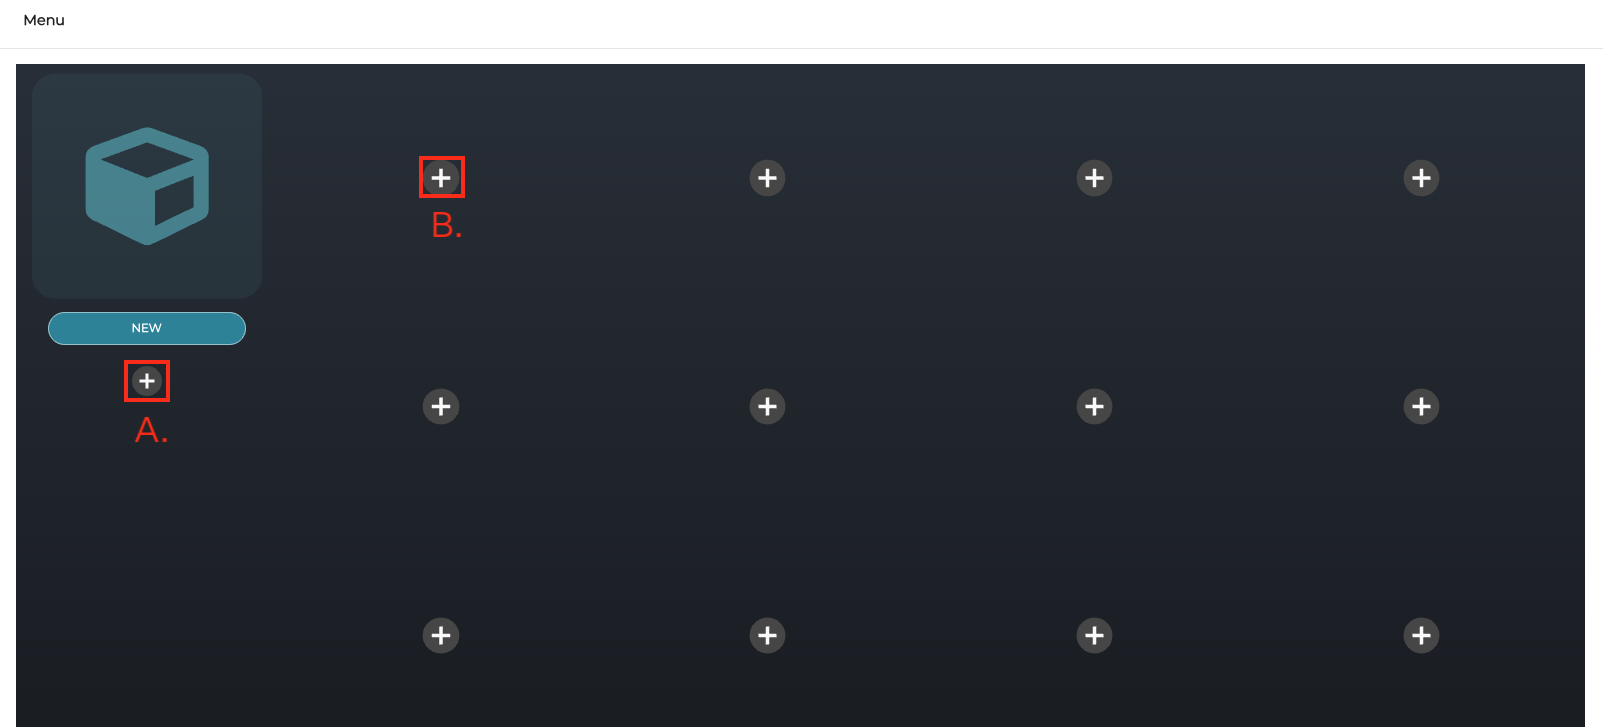
Add Product Tiles to the Custom Product Grid
-
Select the tab you want to add a product tile into, and click the Plus icon.
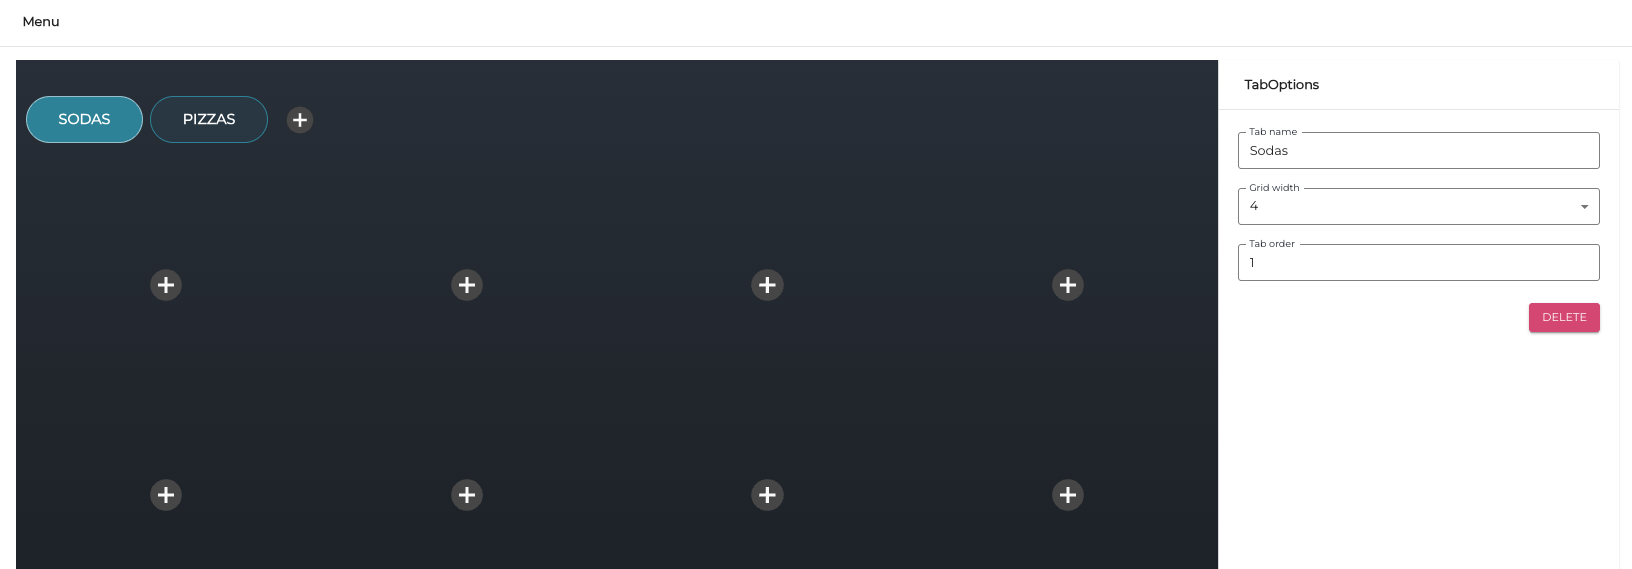
Tab selected (horizontal menu) 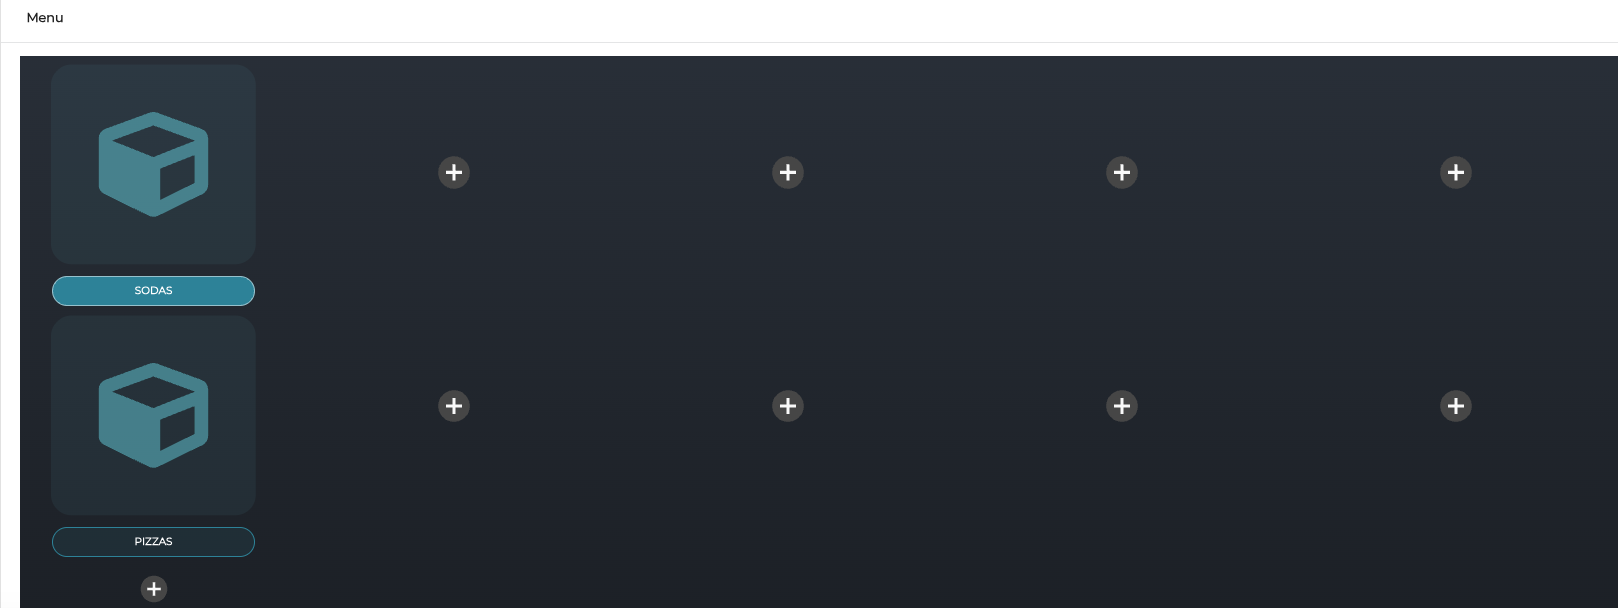
Tab selected (vertical menu) -
Enter/select the options for the product tile:
-
Item Name: Enter a name which will be displayed for the tile in Kiosk screen.
-
Click the Translations icon to enter (English/Finnish/Swedish/Danish) translations for the item name. These will override any translations defined in the product details.
-
-
Product: Select the product for the tile.
-
Item Picture: Enter the web address of the image used for the item.
-
Text color: Enter of select the text color used for the tile.
-
Font size: Select Small, Medium, Large or Extra Large.
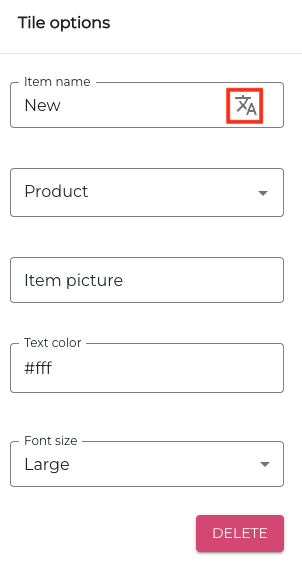
Tile options when using a Custom Product Grid, with Translations icon highlighted
-
-
Click Save layout to save the your changes. Shut down and restart the Kiosk software on the workstation for the changes to take effect.
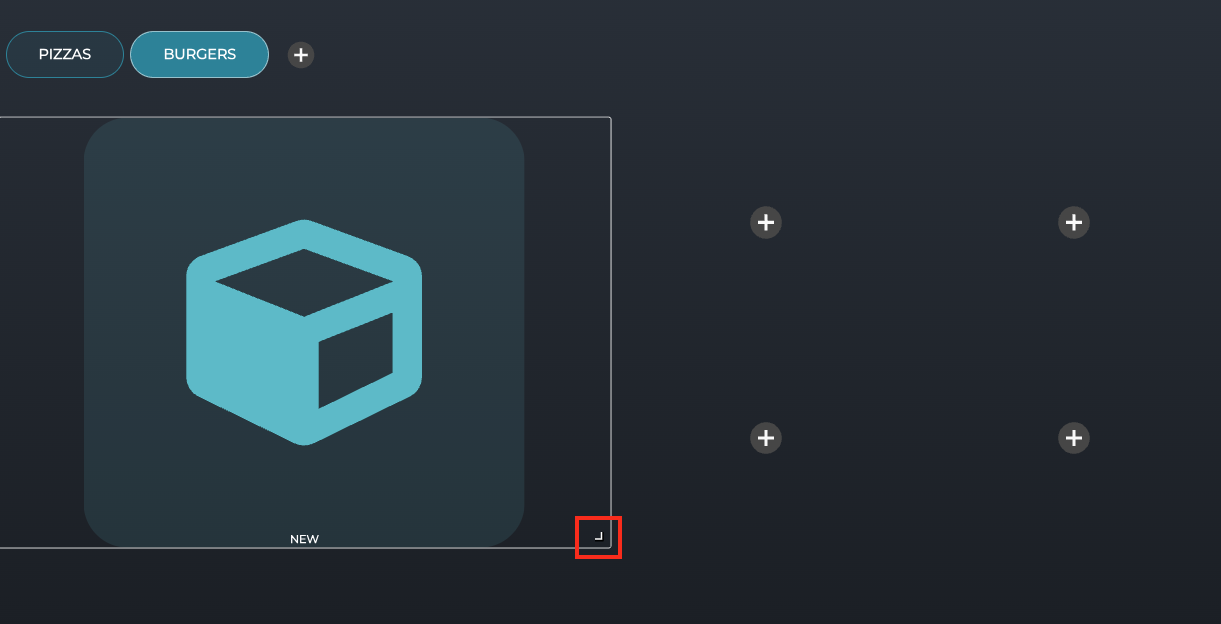
You can create larger product tiles by dragging the tile from its bottom right corner to the wanted size.