
In the Customer Groups view of the Back Office you can view the current customer groups, as well as modify individual group settings and create new groups.
To access the view, click Customers and select Customer Groups in the Back Office menu.
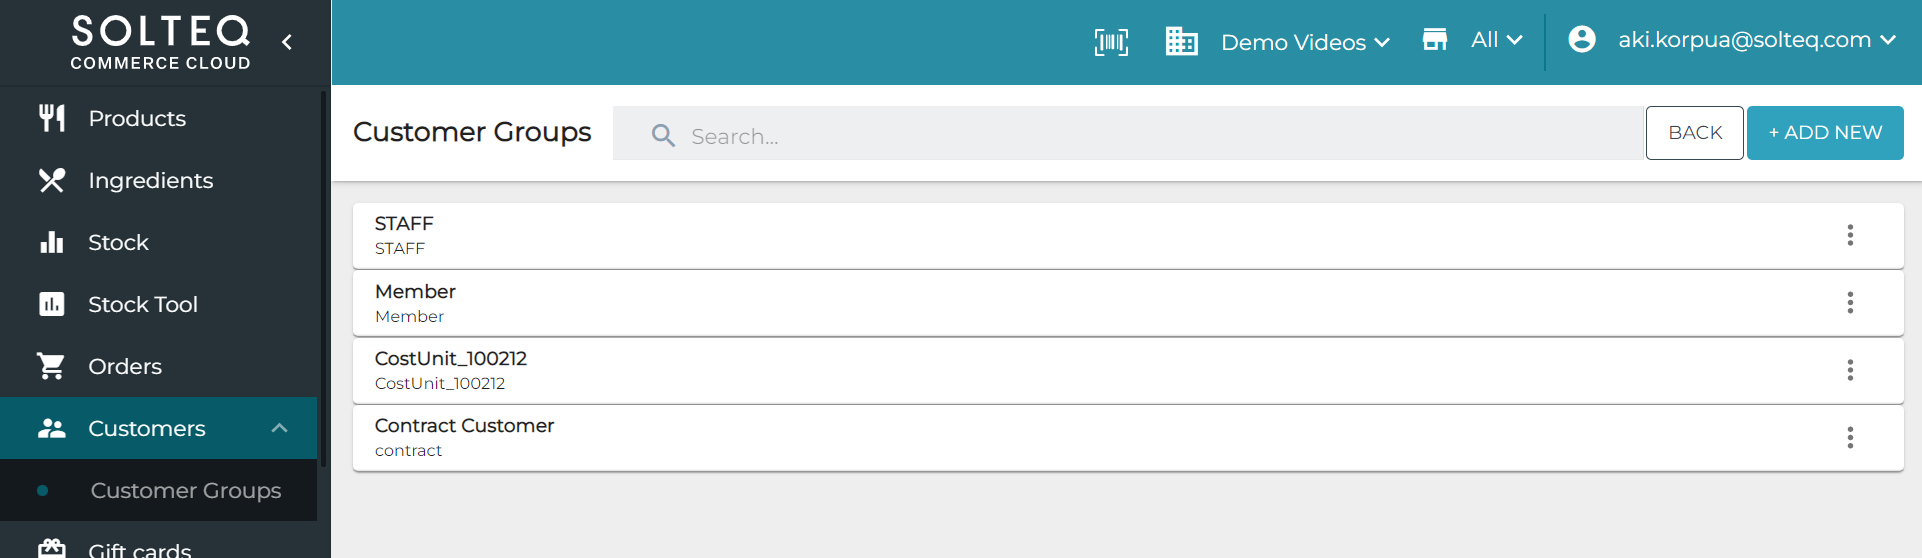
Add a New Customer Group
-
Click +Add new.
-
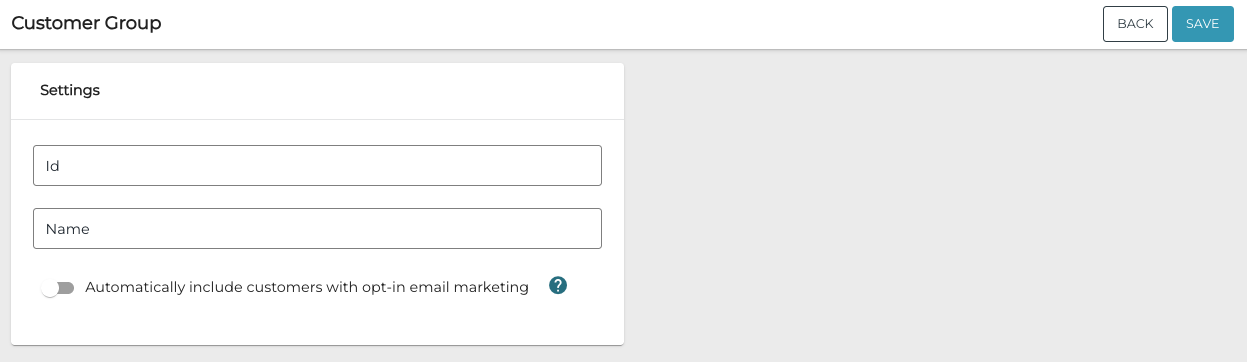
Enter the following information for a customer group:
-
Click Save to save your changes.
Modify Existing Customer Group’s Settings
-
Click a group from the list. Group settings are displayed.
-
You can modify the following information:
-
Id
-
Name
-
Automatically include customers with opt-in e-mail marketing
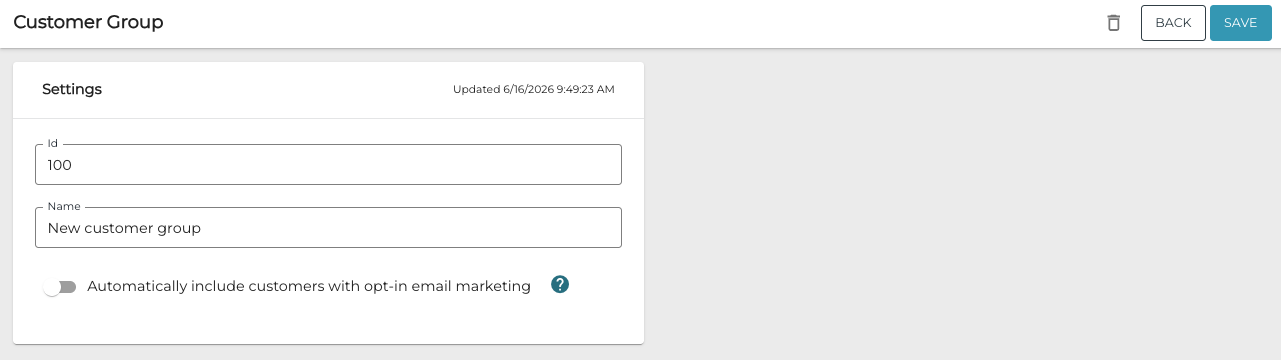
Customer group settings
-
-
Click Save to save your changes.
Delete a Customer Group
-
You can delete a customer group in two ways:
-
In the Customer Groups view, click the three dots on the row of the group and select Delete.
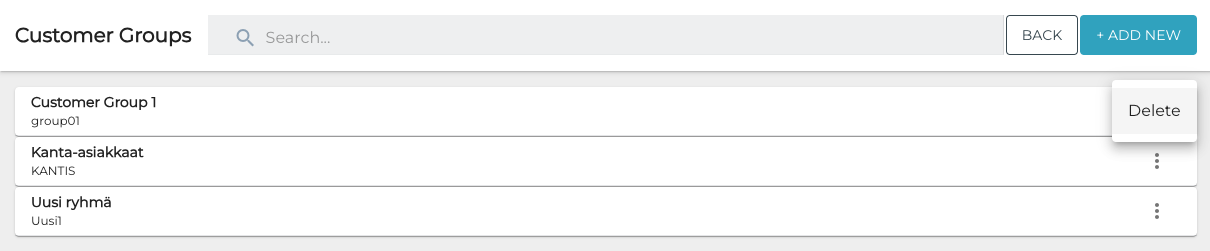
Deleting a customer group in the Customer Groups view -
In the Customer Group view, click the Delete icon in the upper right-hand corner.
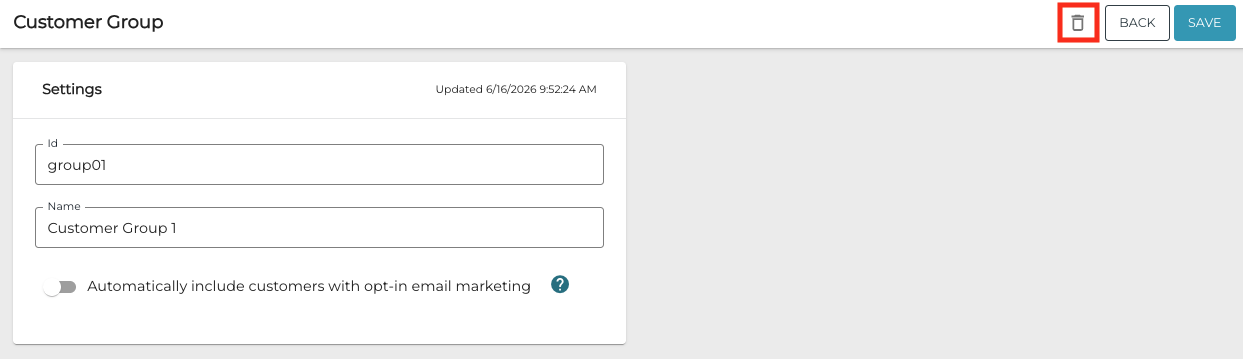
Deleting a customer group in the Customer Group view
-
-
A confirmation window is displayed. Click Delete to confirm the deletion.
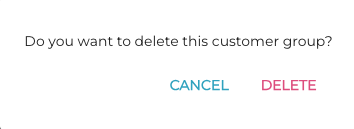
Confirm customer group deletion