
Customer Display is a separate screen that can be used to display marketing material and Basket contents to the customer.
In problem situations, contact Solteq Customer Service:
-
Tel. 09 5422 5421, or
-
send e-mail to asiakastuki@solteq.com
In addition, customer price display requires separate configurations for using Scandinavian alphabet. Contact Solteq Customer support for setting the required configurations.
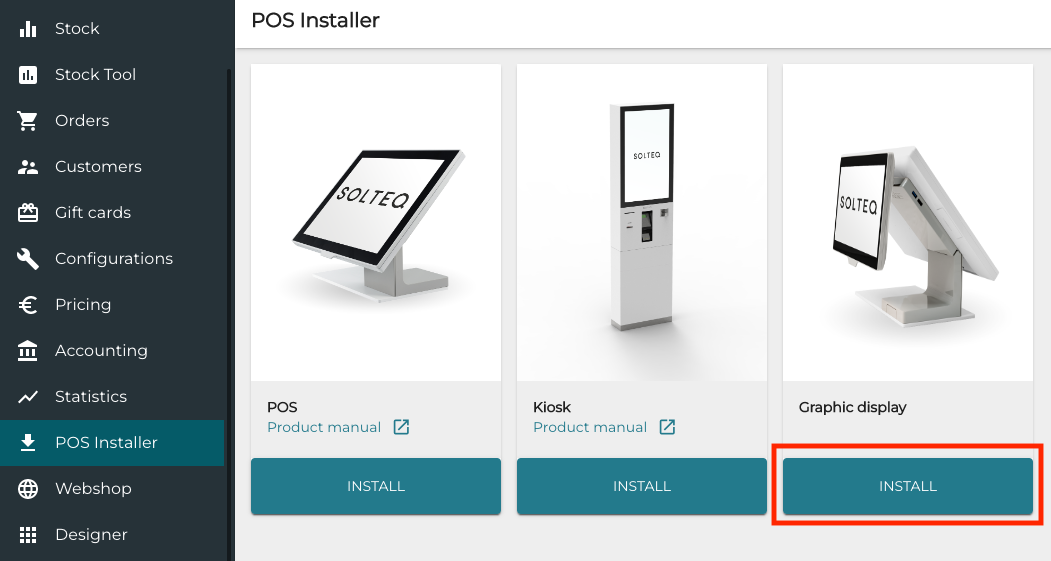
Install Graphics Display from Back Office
Customer Display program is automatically run in the second Windows display; configure Windows to use two screens first.
-
Click POS Installer in the Back Office menu.
-
Under Graphic Display, click Install. SolteqGraphicDisplayAppInstallerStage.exe file is downloaded to your computer.
Install tile in the POS Installer view -
Run the SolteqGraphicDisplayAppInstallerStage.exe program.
Configure the Display
-
Click Configurations and select the Workstation you want to use with the customer display.
-
In the Workstation Configurations, go to Interaction Service and click New.
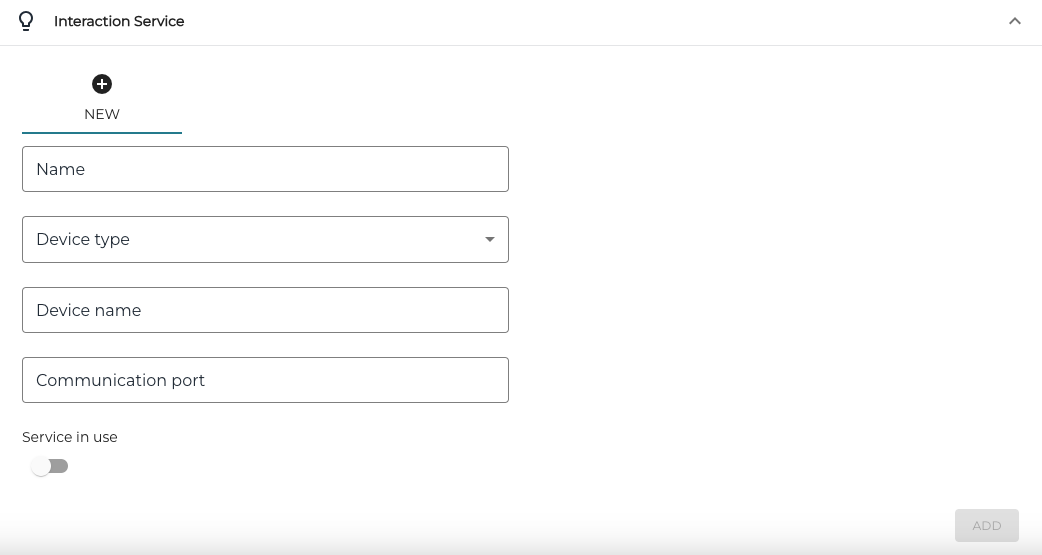
New Interaction Service Settings -
Enter the following information:
-
Name: Name of the display (for example, Customer Display)
-
Device type: Select device type GraphicDisplay
-
Device name: Leave this field empty.
-
Communication Port: Leave this field empty.
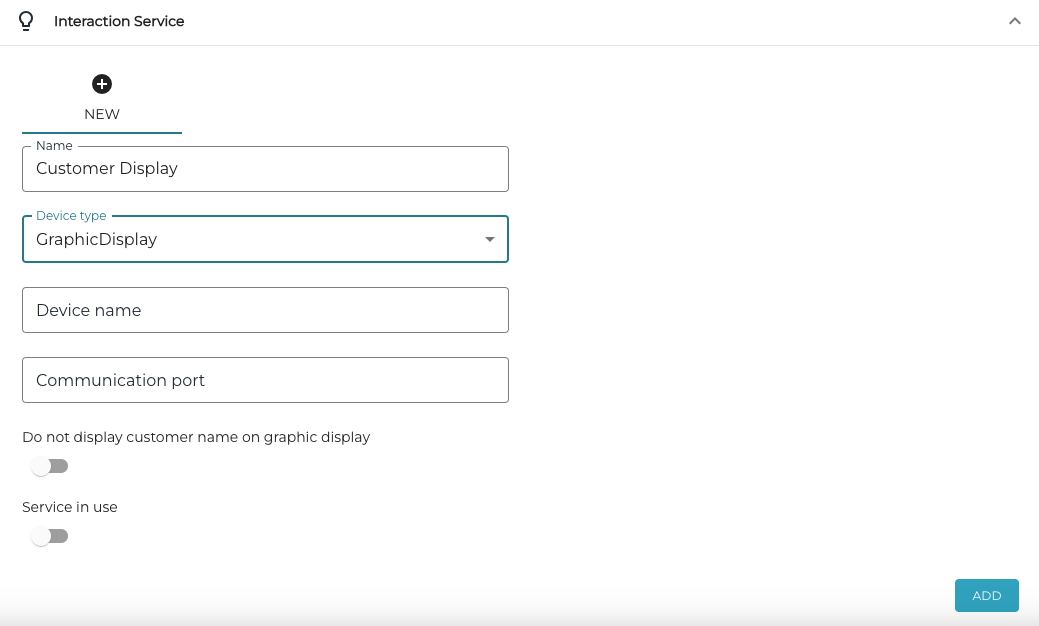
New Customer Display settings
-
-
If you do not want customer names to be displayed in Customer Display when a customer has been added to the Basket, click the Do not display customer name on graphics display switch to ON position.
-
Click the Service in use switch to ON position.
-
Click Add to add the new configuration to the workstation
-
Click Save to save your changes.
Add a Media Library for the Customer Display
After configuring the display, select the media folder whose images will be rotated in turns in the display:
-
Click the media icon in the Media library folder field.

Media icon in the Media library folder field -
In the Choose file window, either select an existing folder (A.) or add a new one (B.)
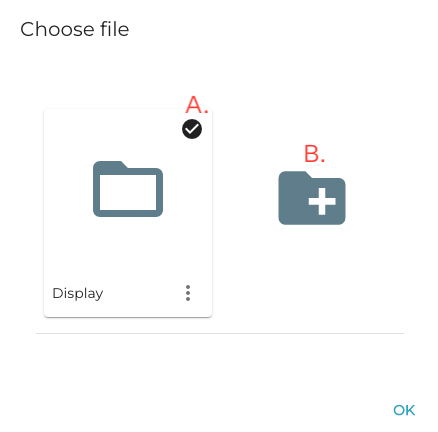
Select an existing folder or add a new one -
Click OK to save your changes.
-
Refresh the data in the workstation. After this the customer display is in use.