
Selecting and Customizing Products
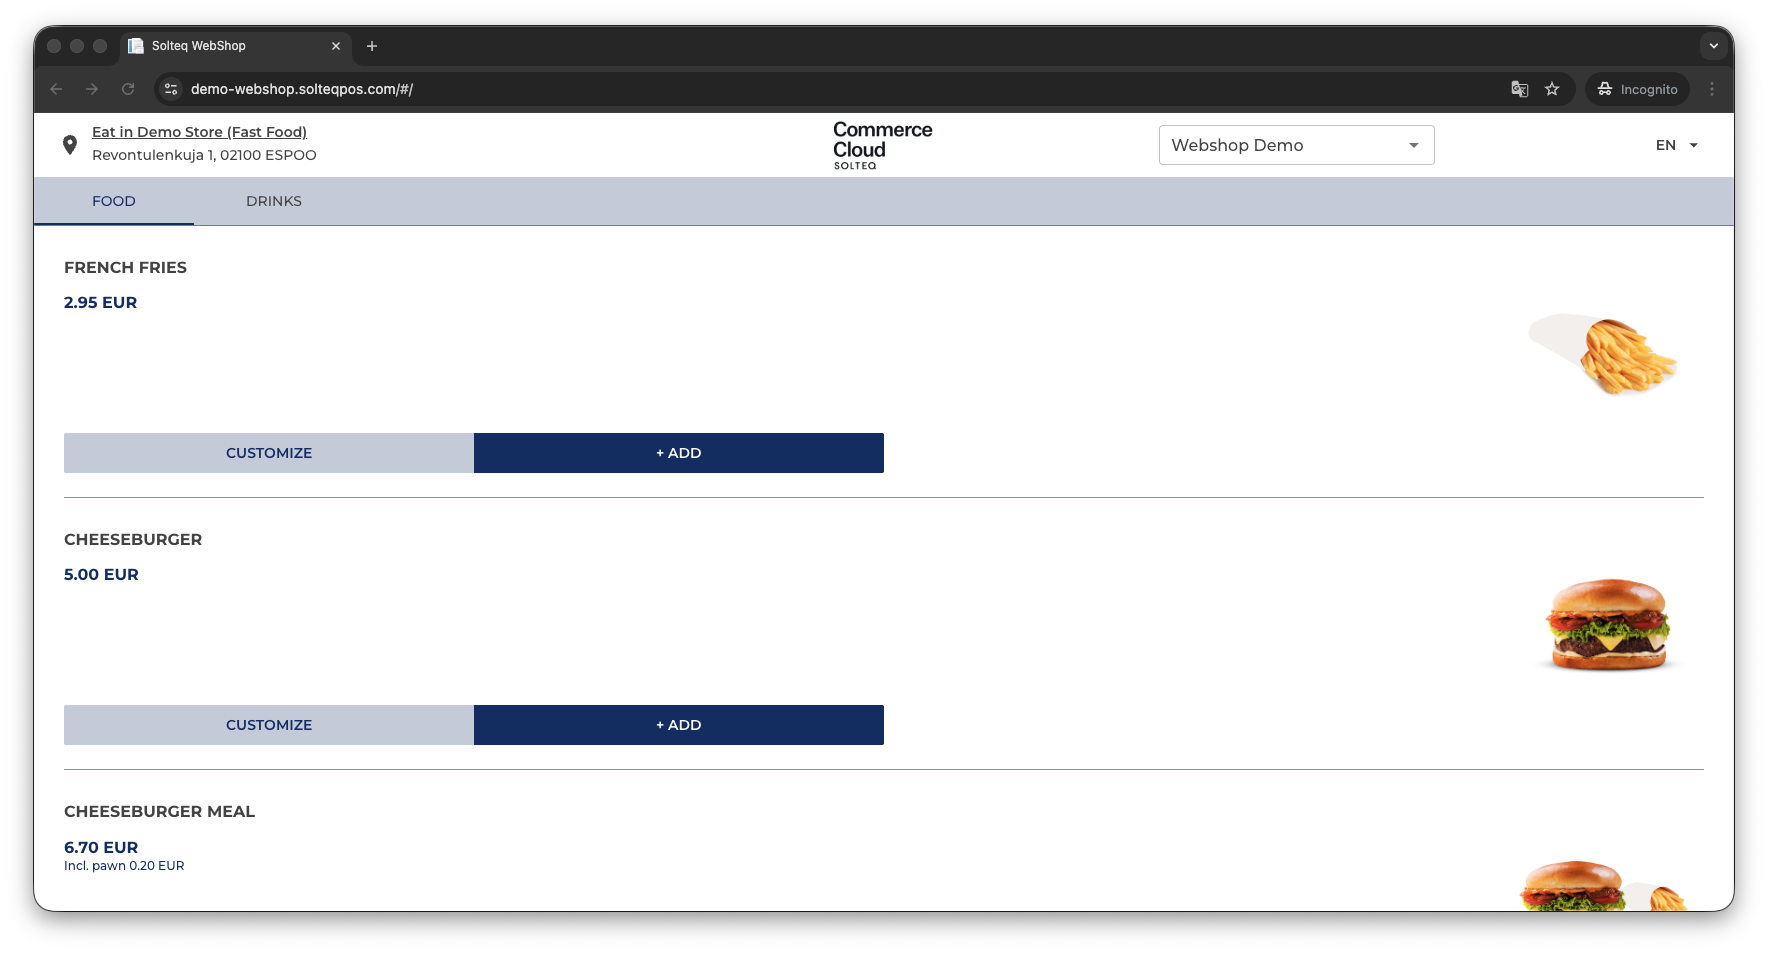
The webshop customer can add products to the Basket by pressing the +Add button on the row of the product, and switch between the various product category tabs.
The Customize button is also displayed on the product row if it has been enabled in Webshop Details; otherwise it is displayed when a custom product has been added to the Basket.
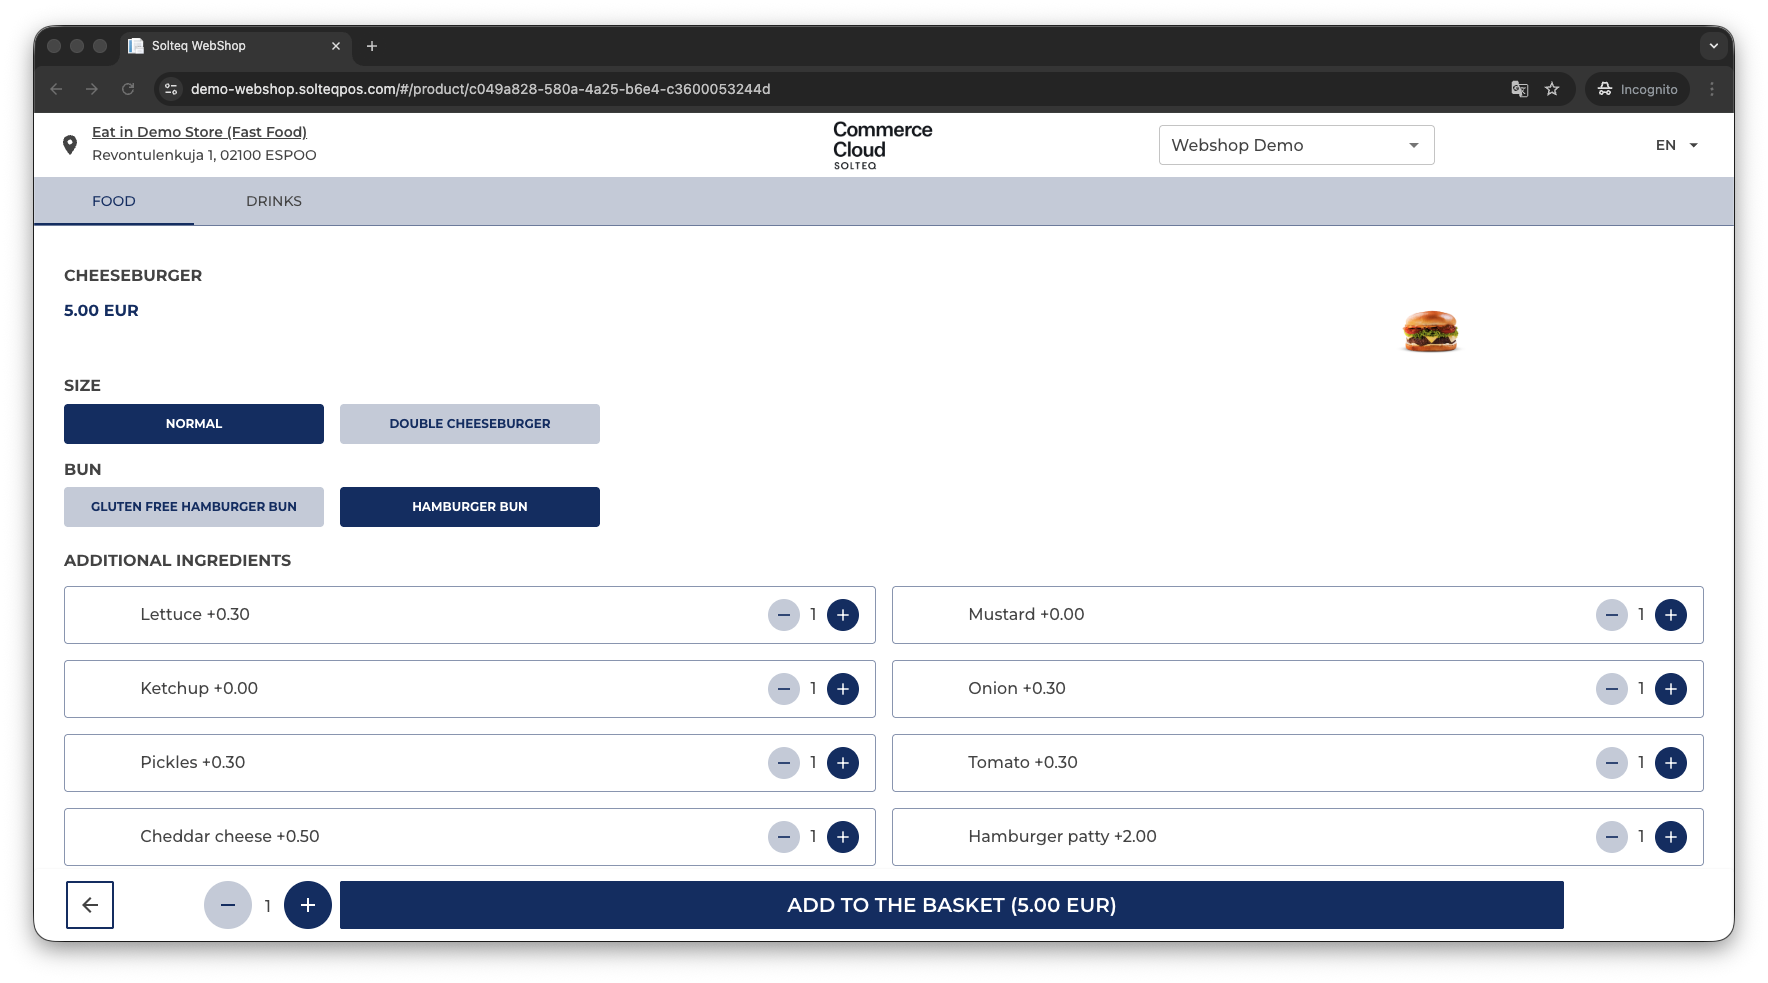
Pressing the Customize button displays the product customization screen which contains all the Sizes, Ingredient Options, Product Options, Ingredients, Products, and Extra Ingredients defined for the custom product. The customer can then modify the product, and its price will be updated accordingly.
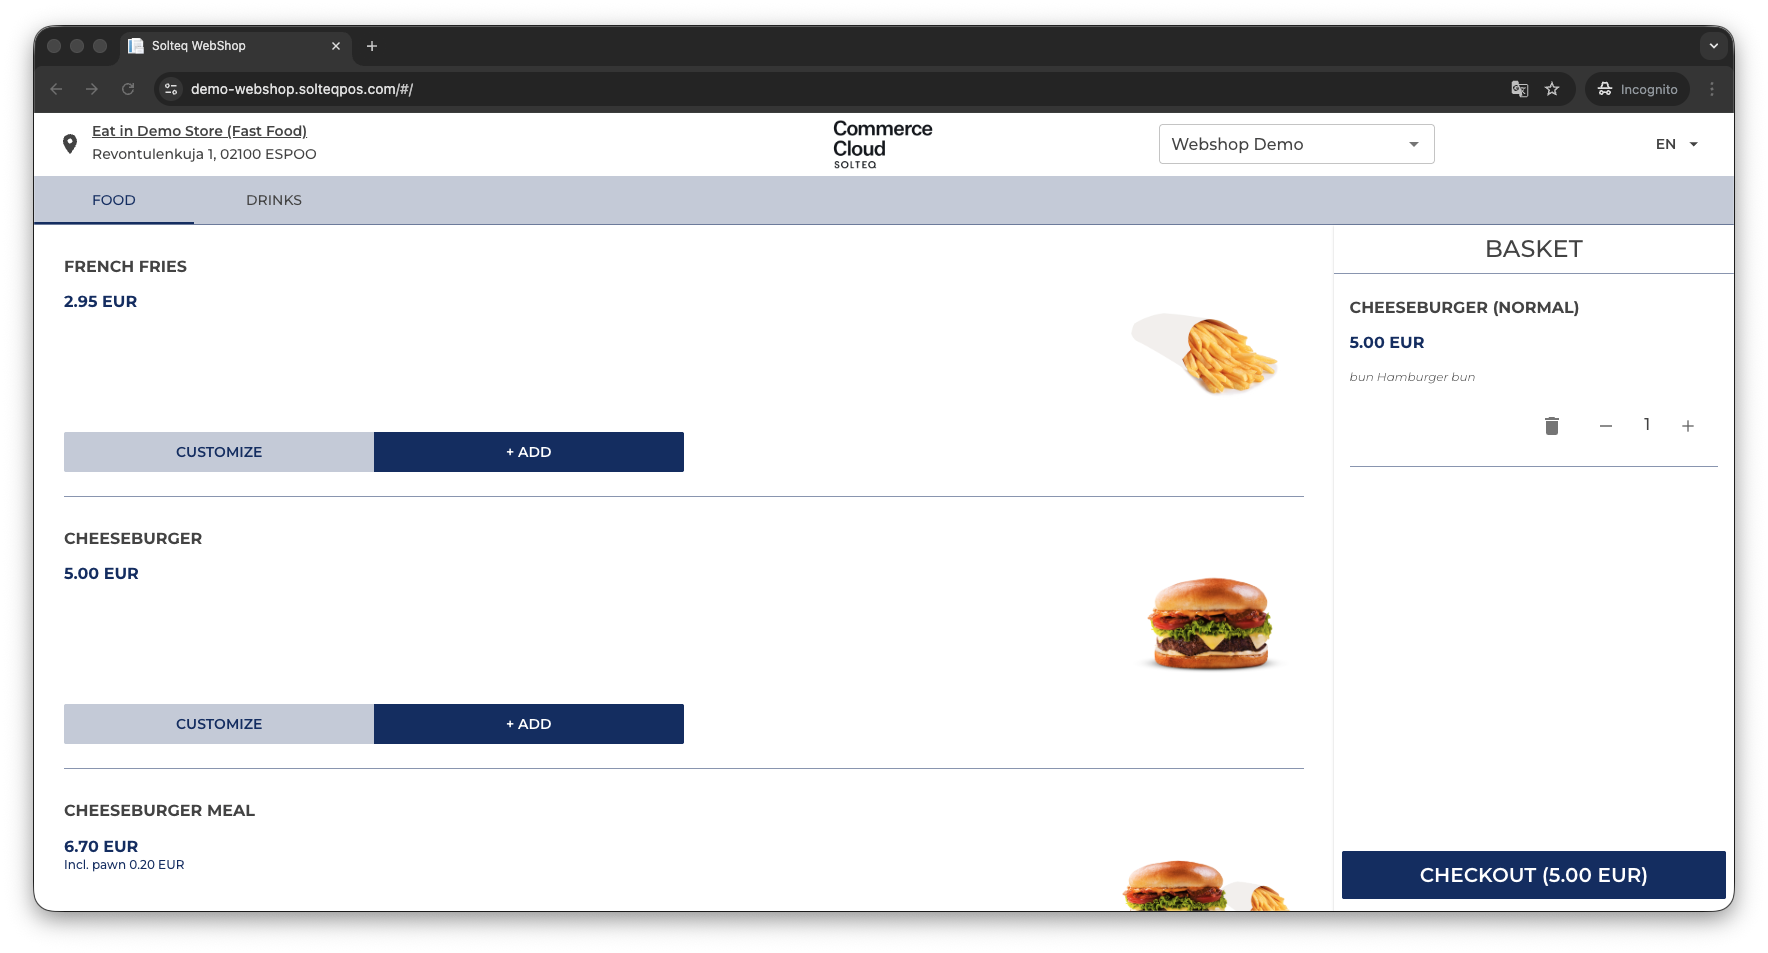
When products have been added to the Basket, the customer can change their amounts and/or proceed to checkout.
Order Details
In the next screen, the customer needs to select/enter the order details. Email address and Phone number are mandatory information. The screen also contains location information for the selected Store.
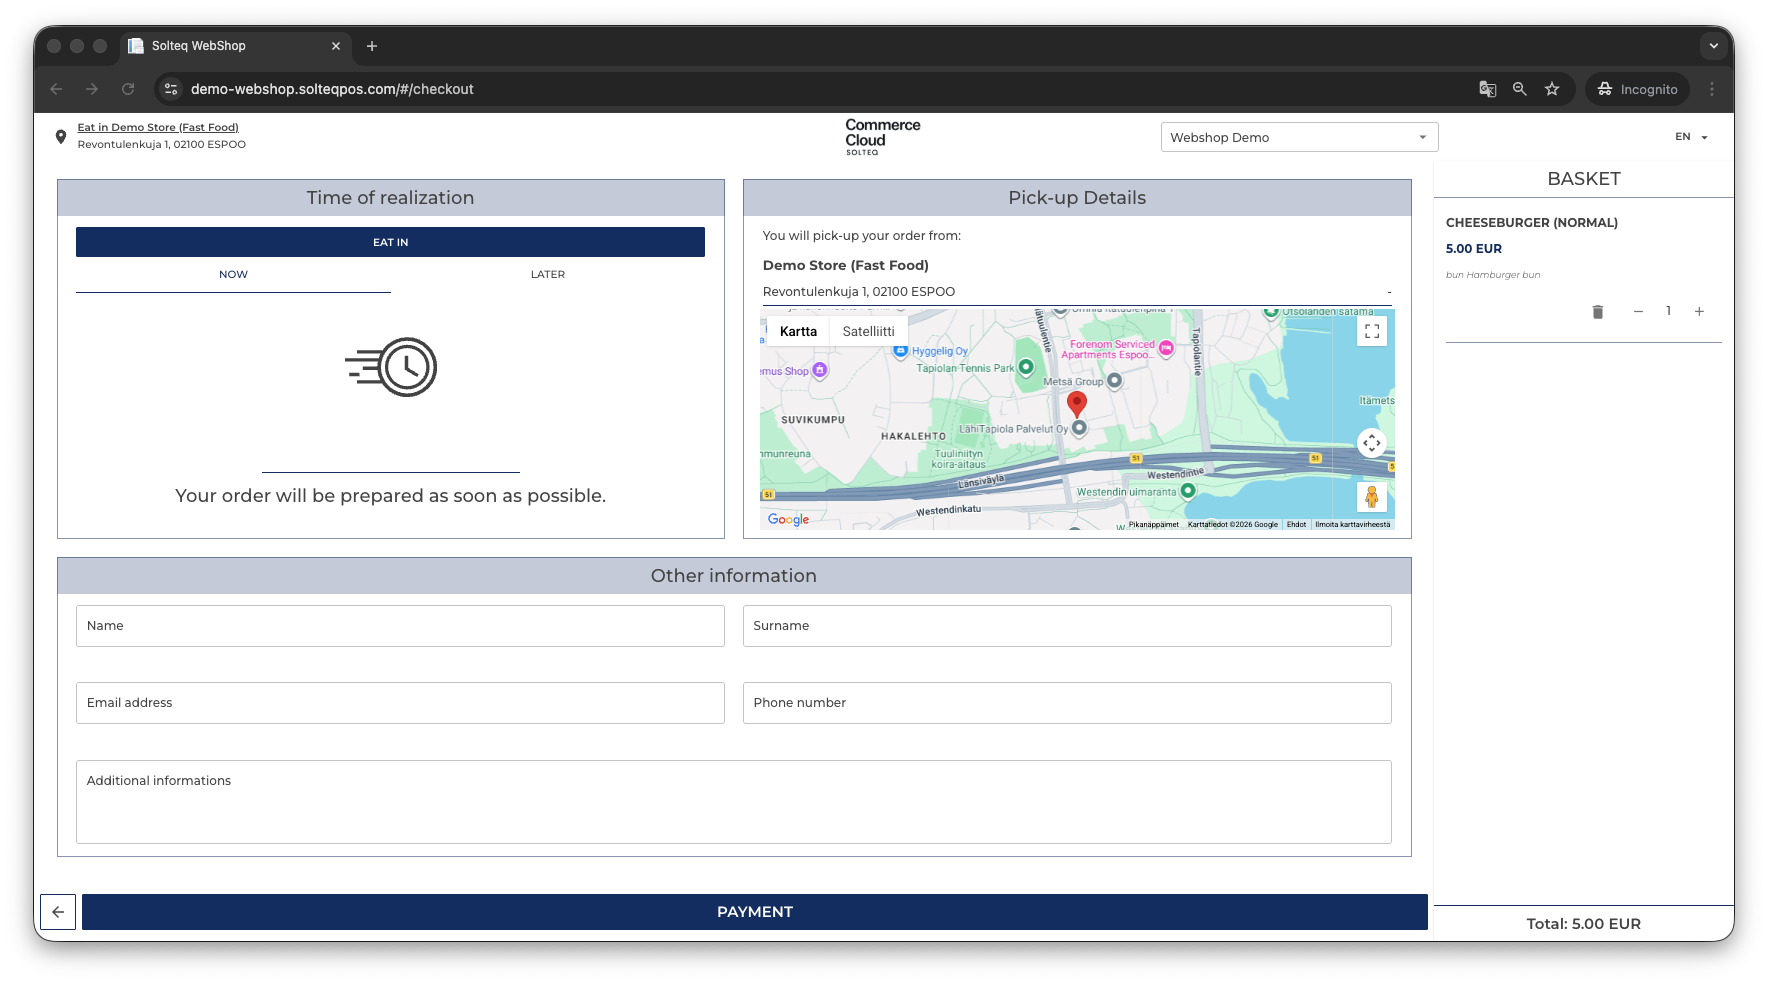
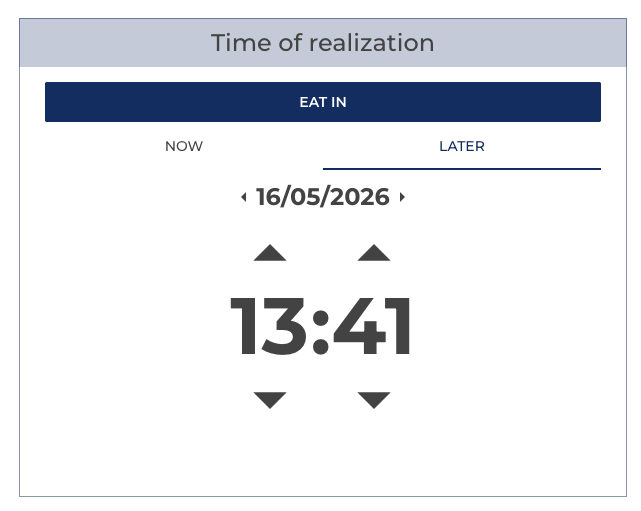
If the customer wants the order to be prepared later than as soon as possible, it is possible to define the date and time (using five-minute intervals) in the Later tab.
To proceed to the payment, the customer then presses the Payment button.
Payment
Solteq Commerce Cloud Webshop supports Paytrail online payments. The customer is presented with a variety of payment options, including bank payment, mobile payment, credit card, and invoice and instalment payment methods.
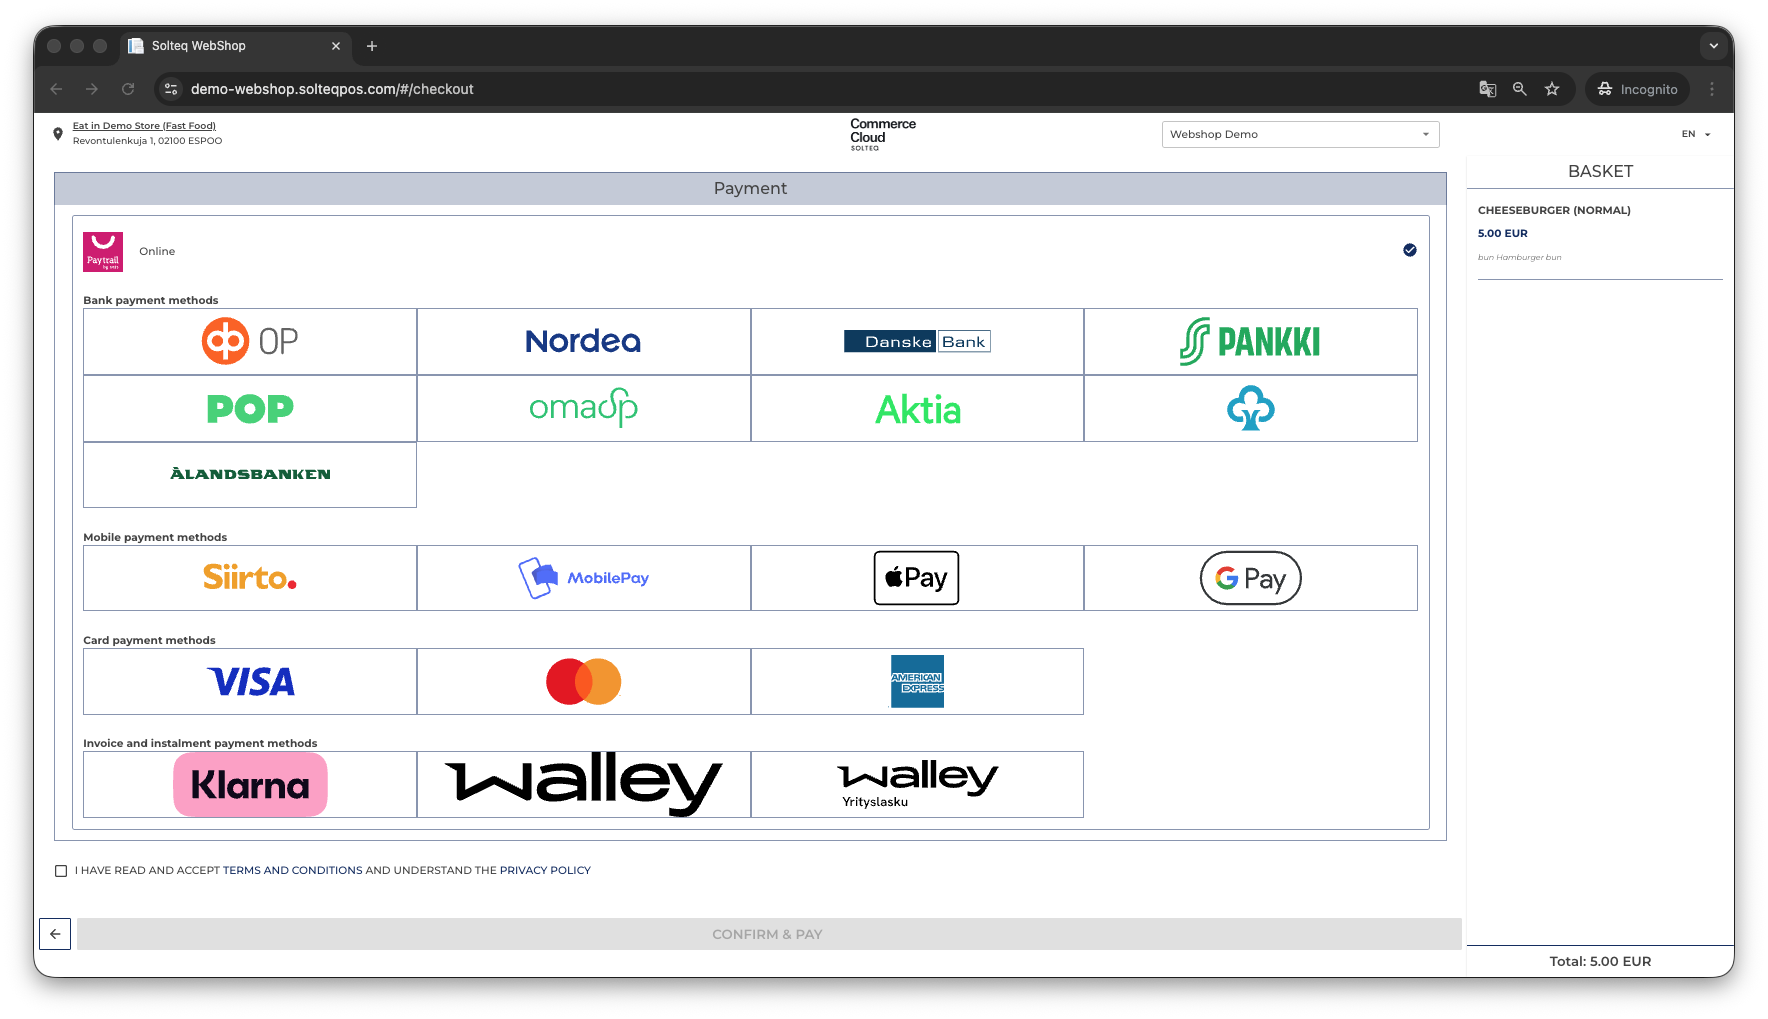
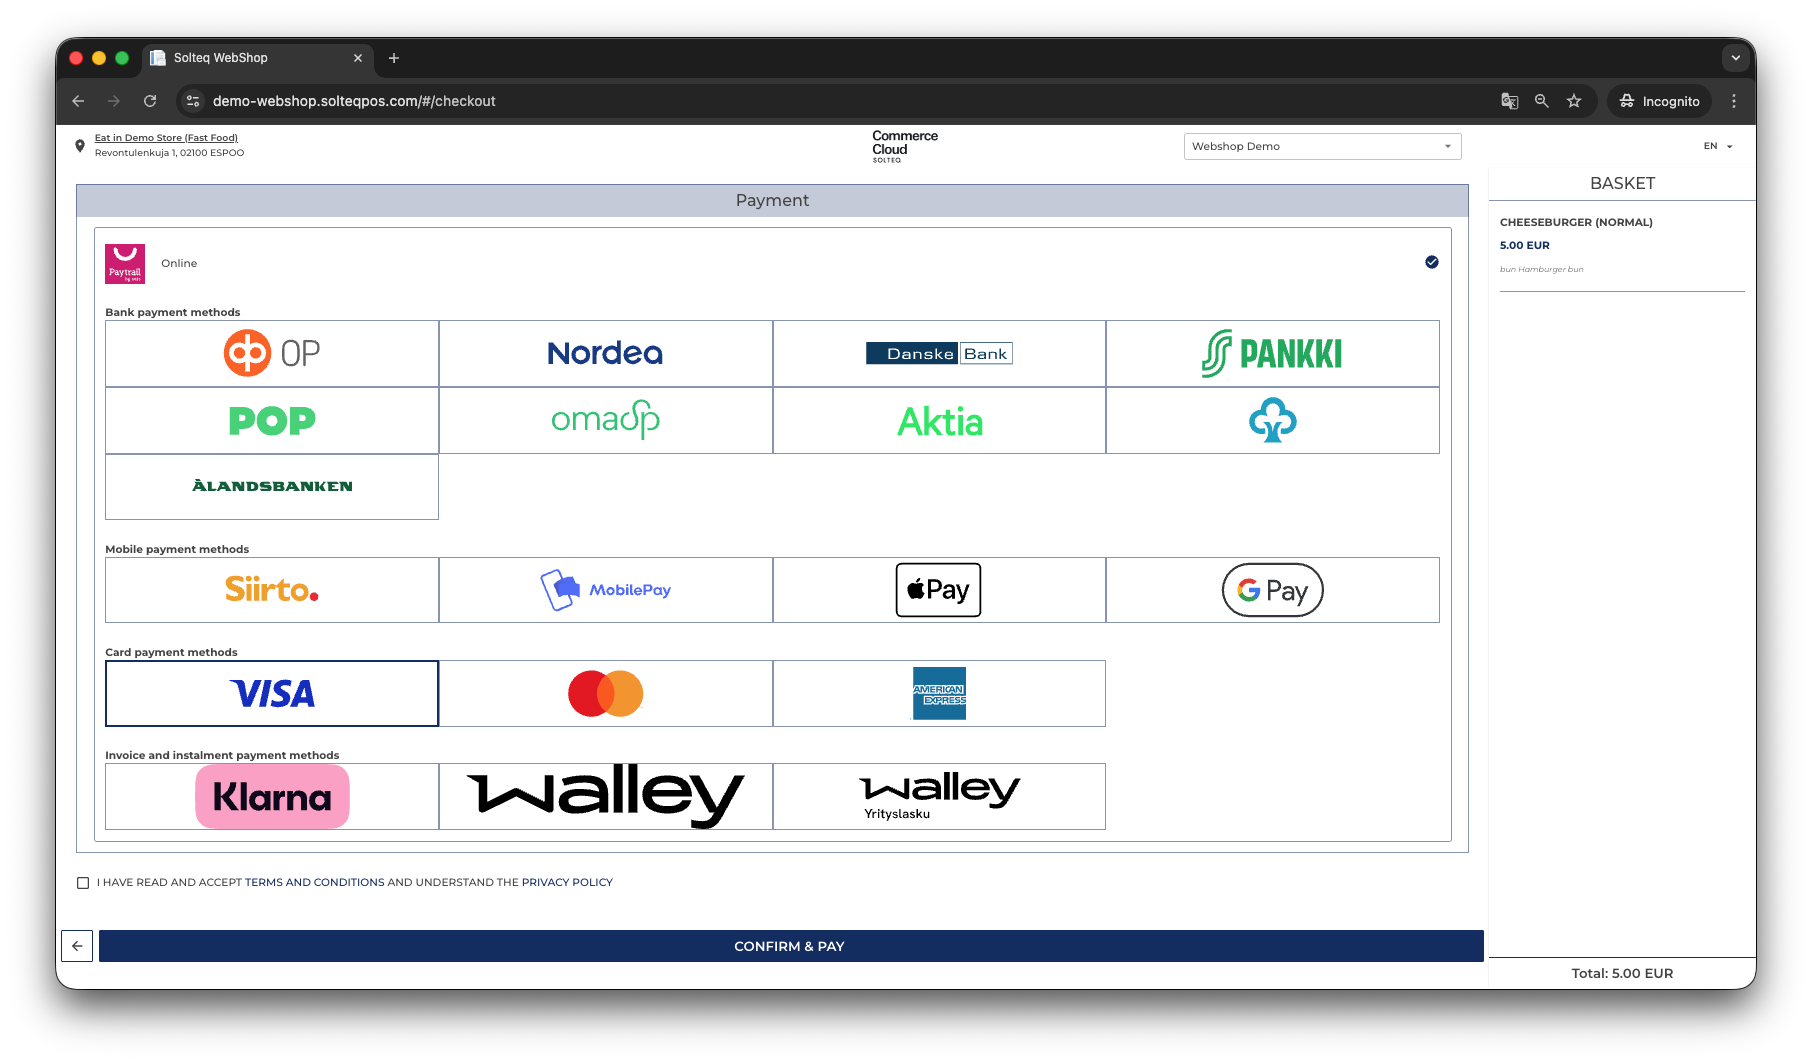
The customer can select the payment method by pressing its tile.
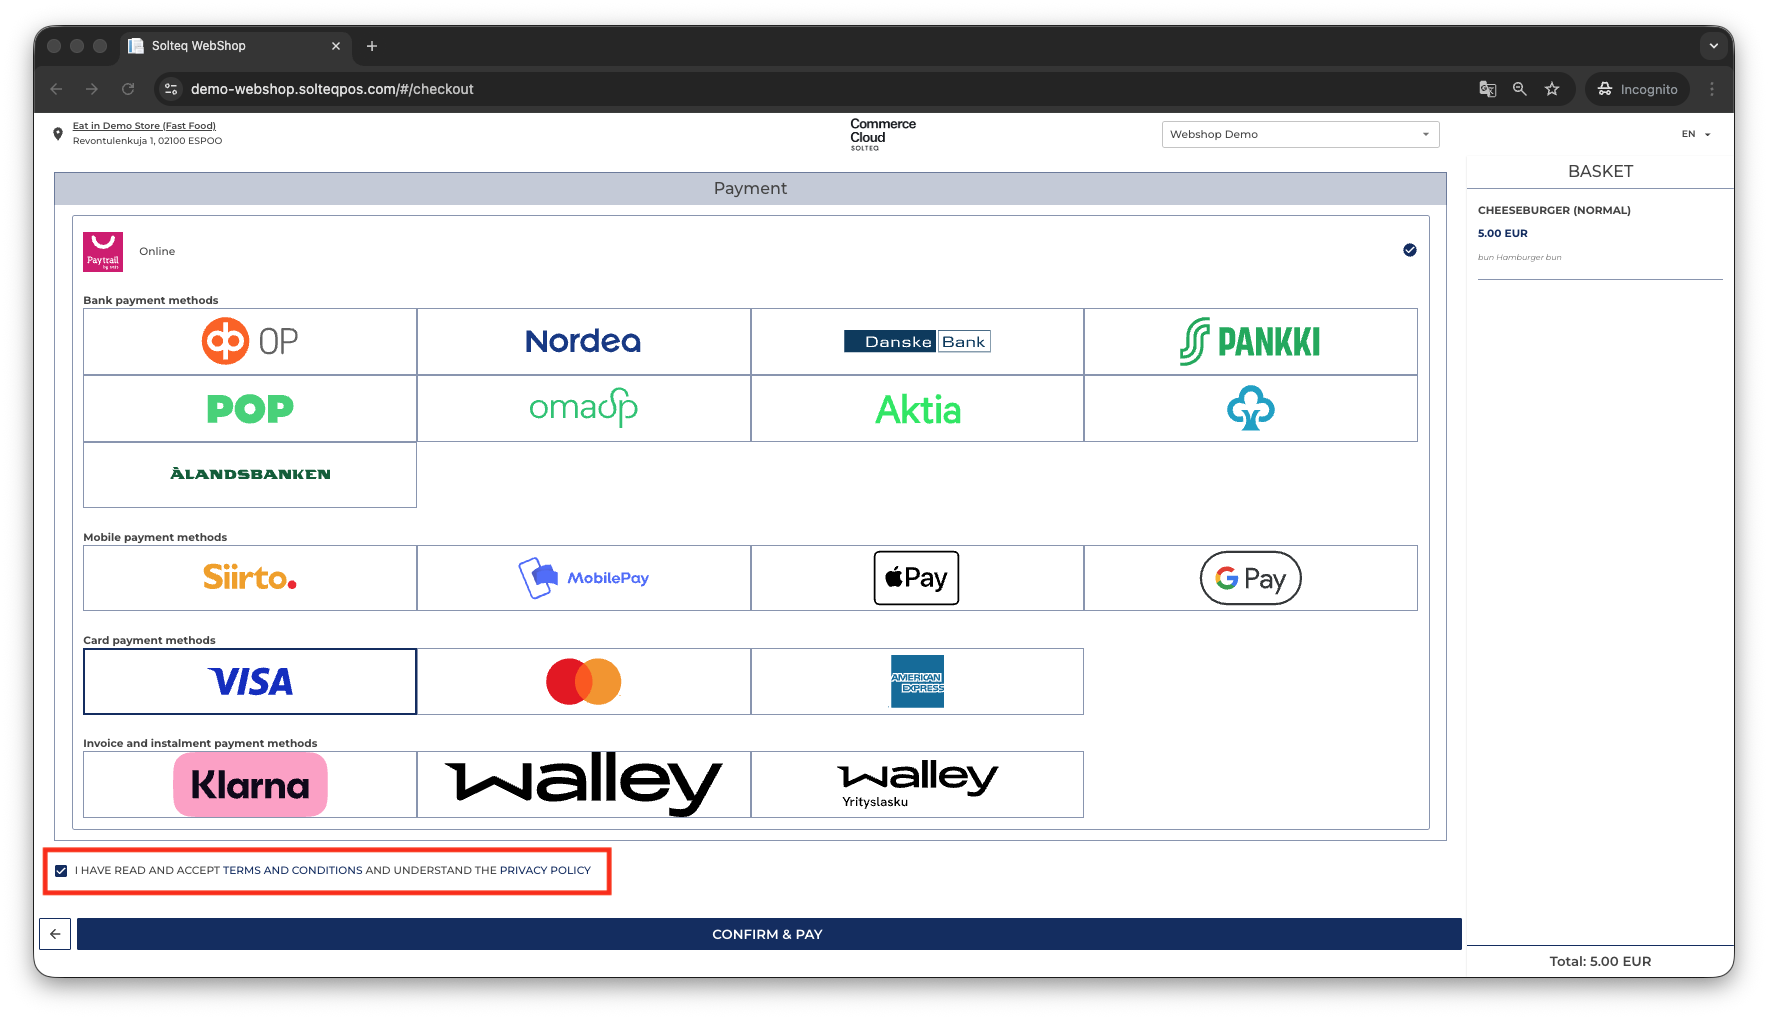
Before proceeding, the customer needs to accept the webshop terms and conditions, and approve the privacy policy.
When the customer then presses the Confirm & Pay button, the customer can then proceed to giving the payment details.
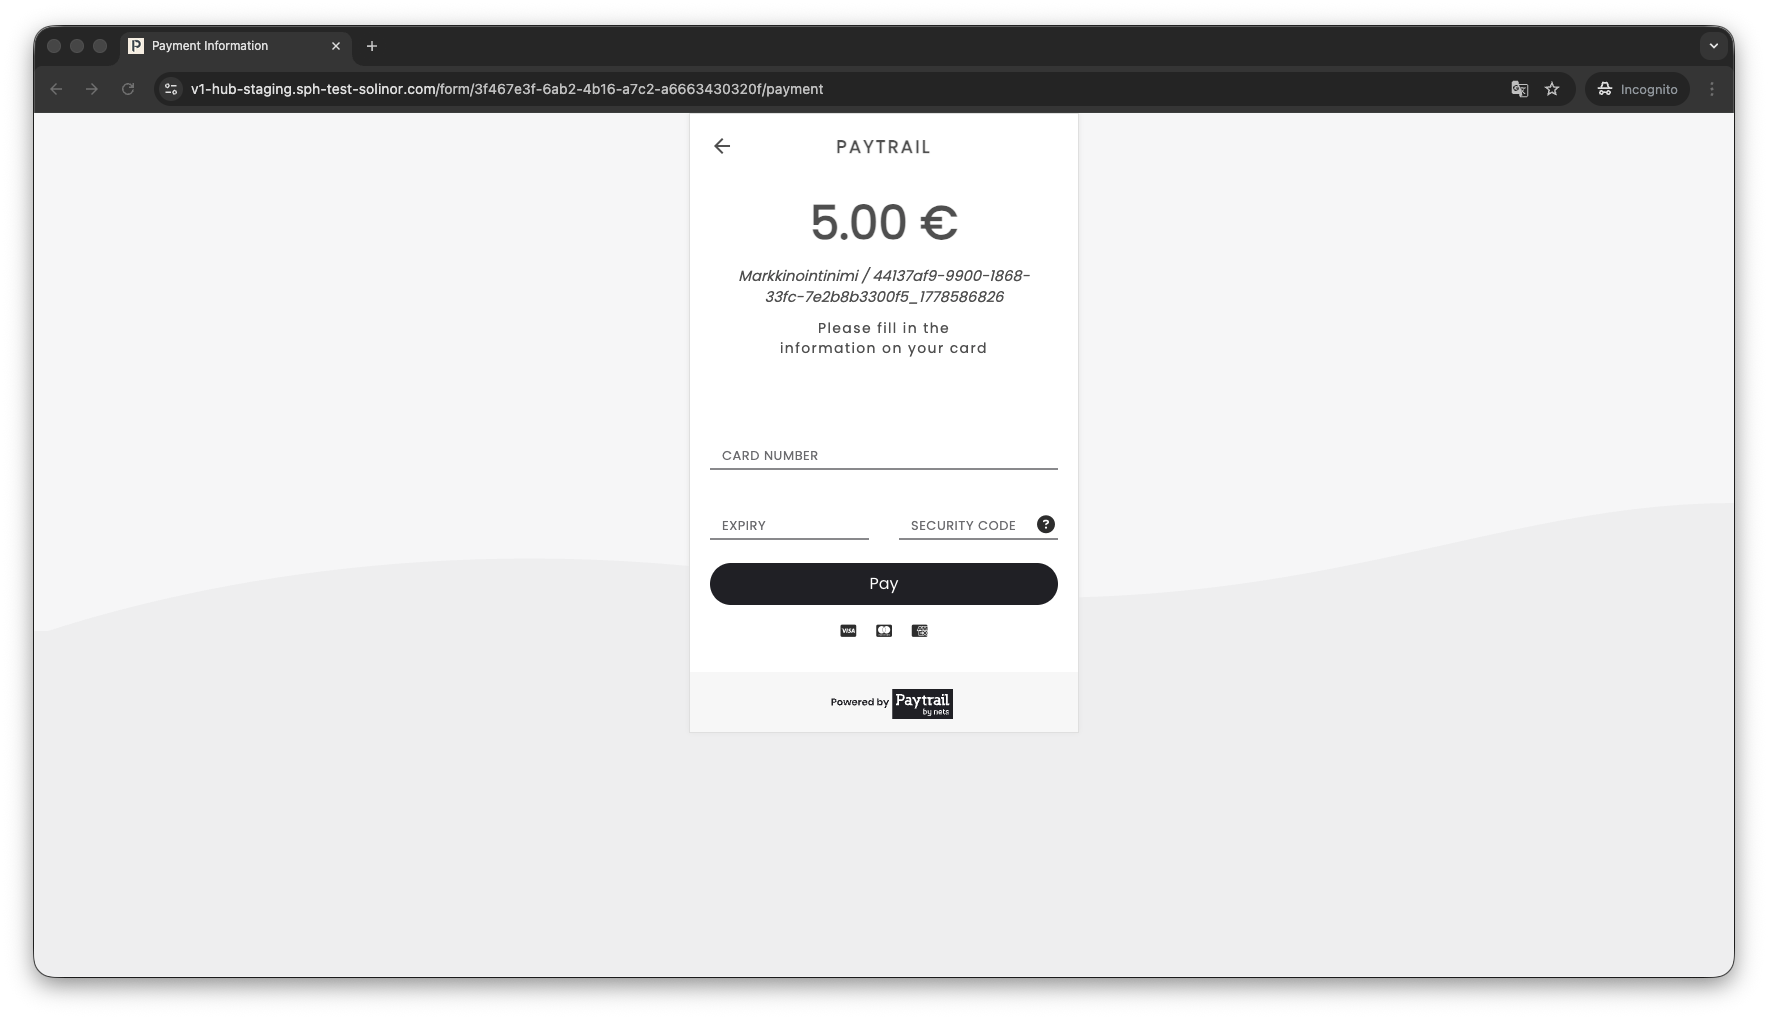
After the payment has been succesfully made, the webshop displays the order details; the customer also gets an e-mail confirmation of the order.