
To perform this action, you must be logged in to the POS as a user with Product creation on POS permission.
When you scan the barcode of a product which does not yet exist in the system, the process starts automatically, and the following steps depend on the combination of two variables: having GS1 data and Stock Handling status. Once the process starts, it is not possible to switch between these different product creation flows; however, the required steps will adapt automatically, depending on the data which needs to be filled out.
-
Scan the barcode of the product.
-
If the product was not found in GS1, the Product Creation wizard will guide you through the product creation process. Click OK to start the product creation process.

-
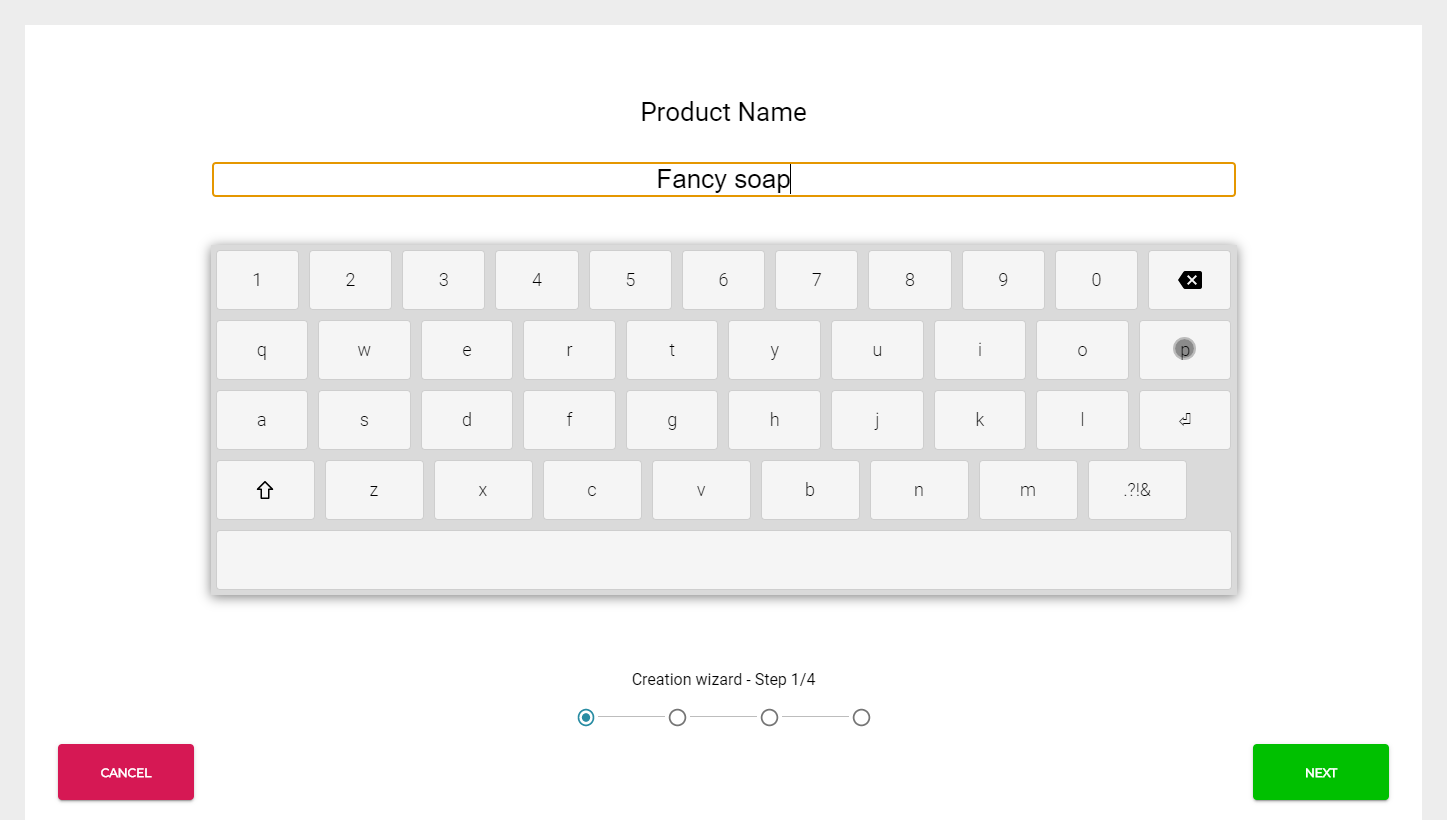
Enter the Product Name.
-
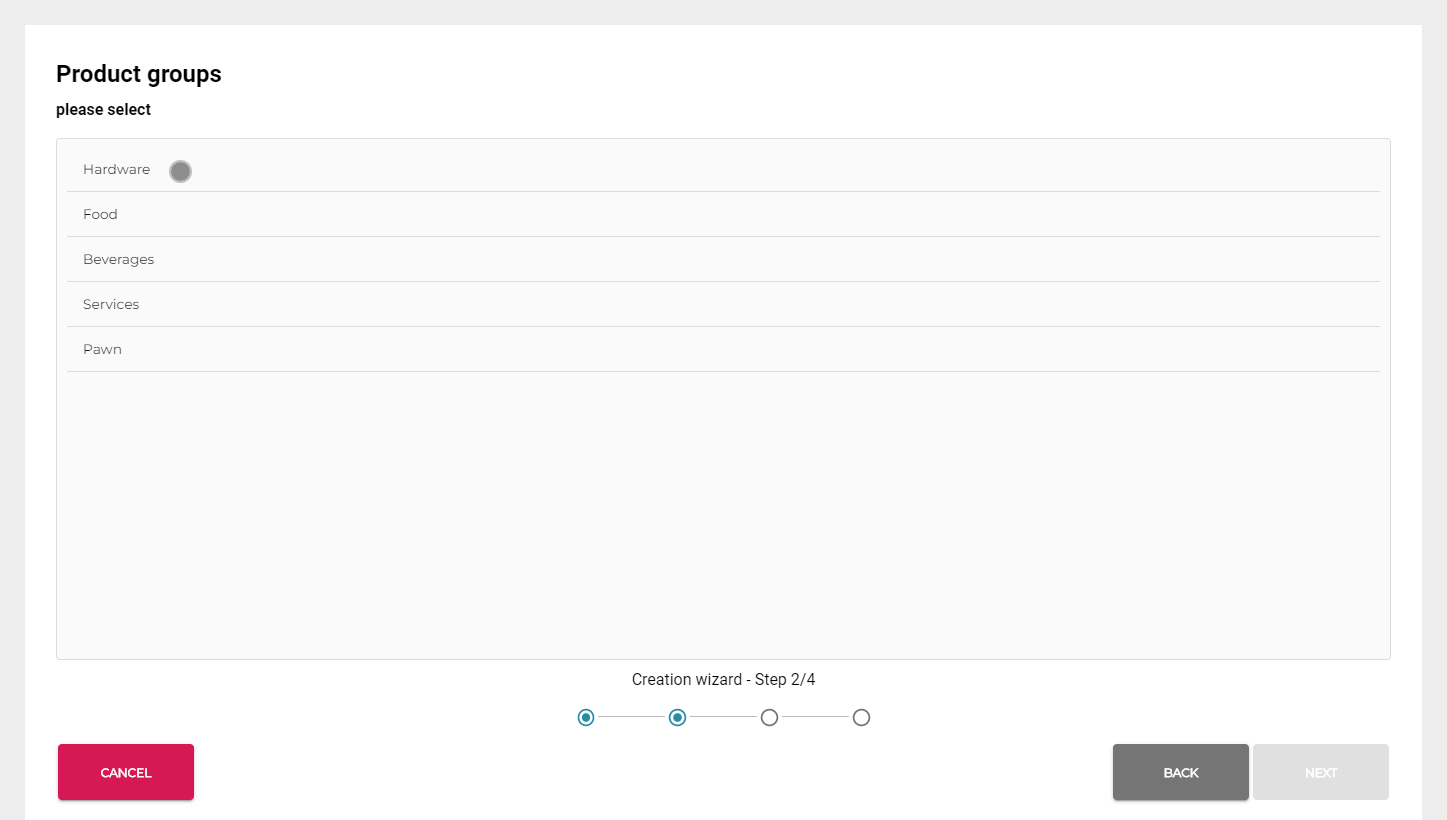
Select the Product groups (categories) for the product and click Next.
-
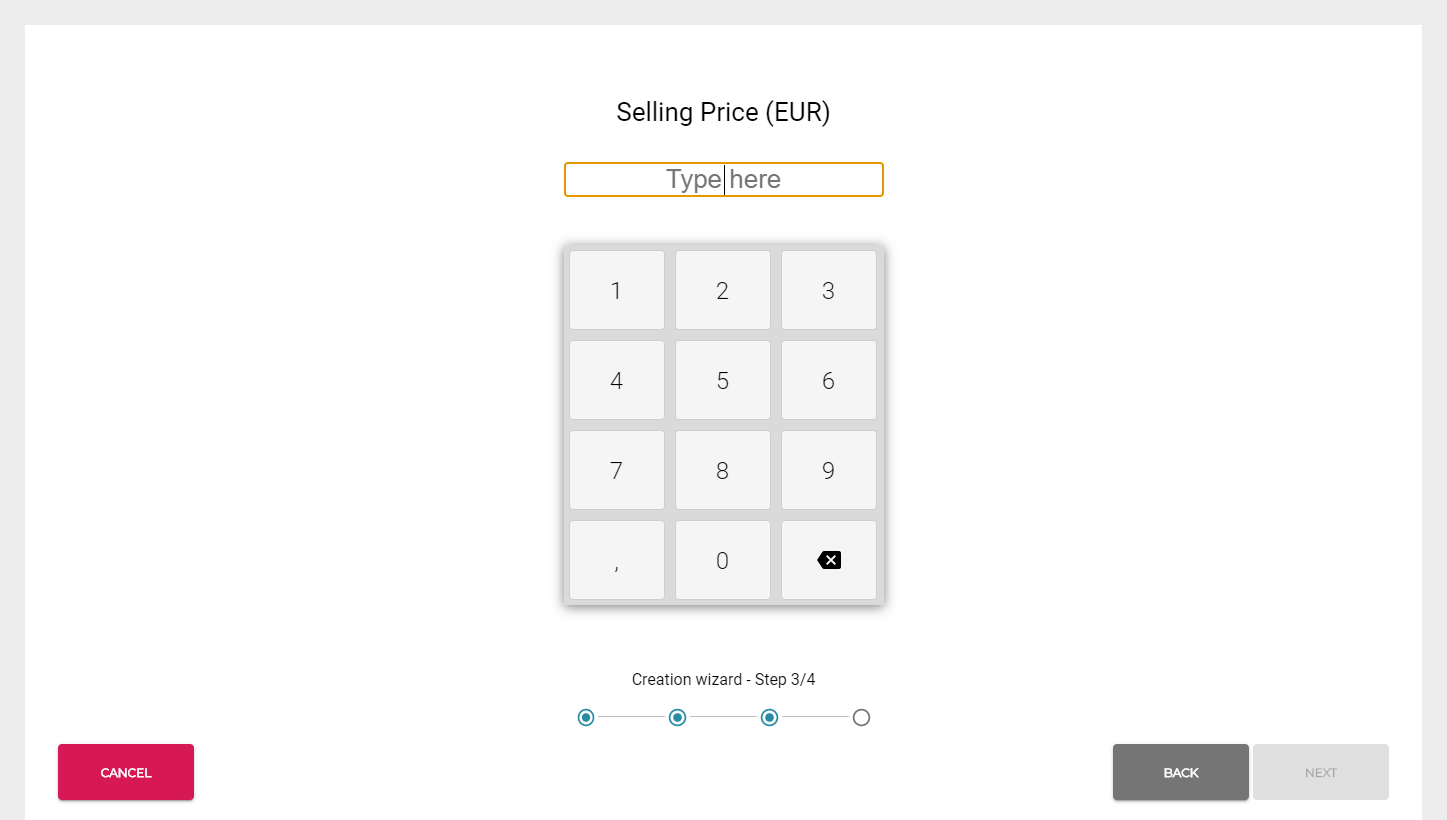
Enter the Selling Price for the product and click Next.
-
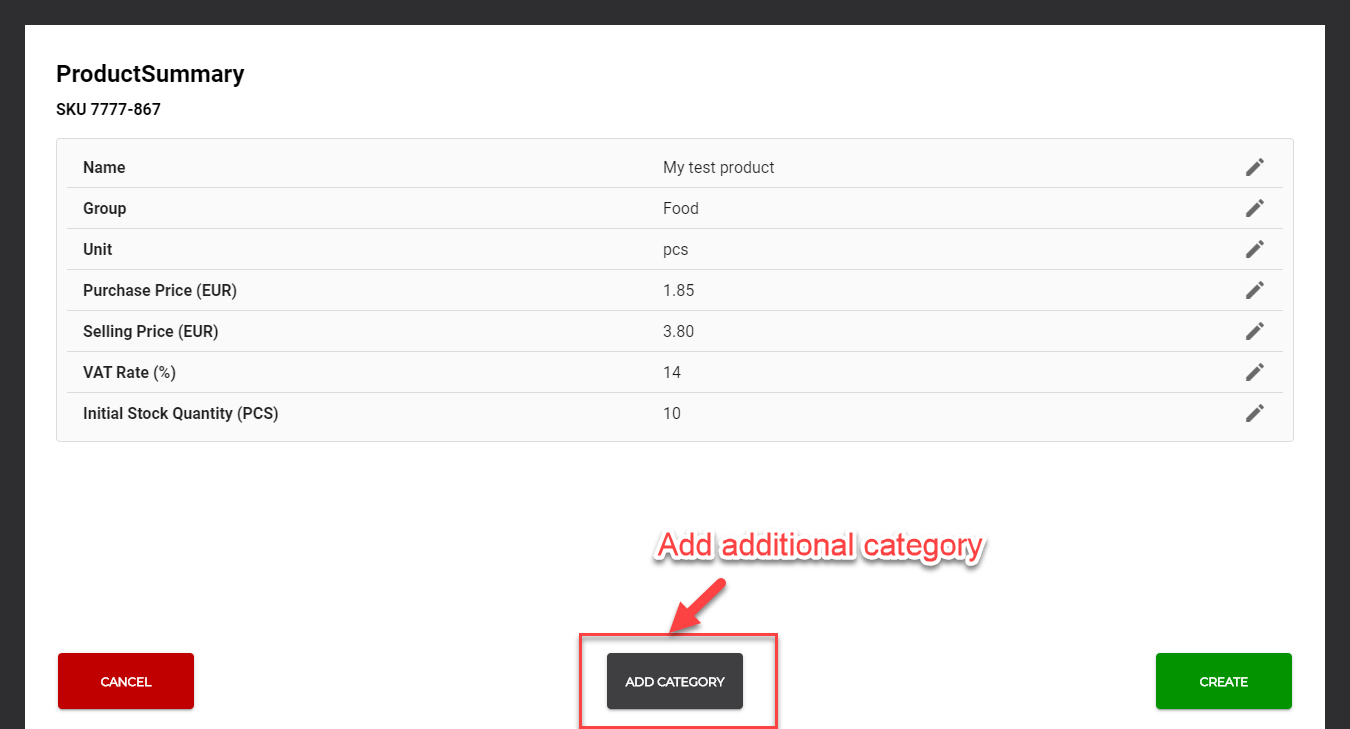
After you have completed all the required steps, a Product Summary page is displayed.
-
If you want to edit the items on the list, click on the row of the item.
-
If needed, you can also add additional categories for the product in Product Summary.
-
-
Click Create to send the request for creating the product to Commerce Cloud.
-
When the product creation is successful, the notification Product has been created is displayed in the POS notification area.
-
After the success notification is displayed, the synchronization of the product list starts. This may last for a short period of time (1 to 5 seconds, depending on the Internet connection).
-
You can now scan the barcode again and proceed with the payment.
-
If the success notification was displayed, but scanning the same product barcode again triggers the Product Creation Wizard, click Cancel action and wait a bit longer.
-