
When Seat Handling has been enabled in Store Configurations and Fine Dining Kitchen Flow is used, seats (with each seat representing one customer sitting at a table) can be added to tables.
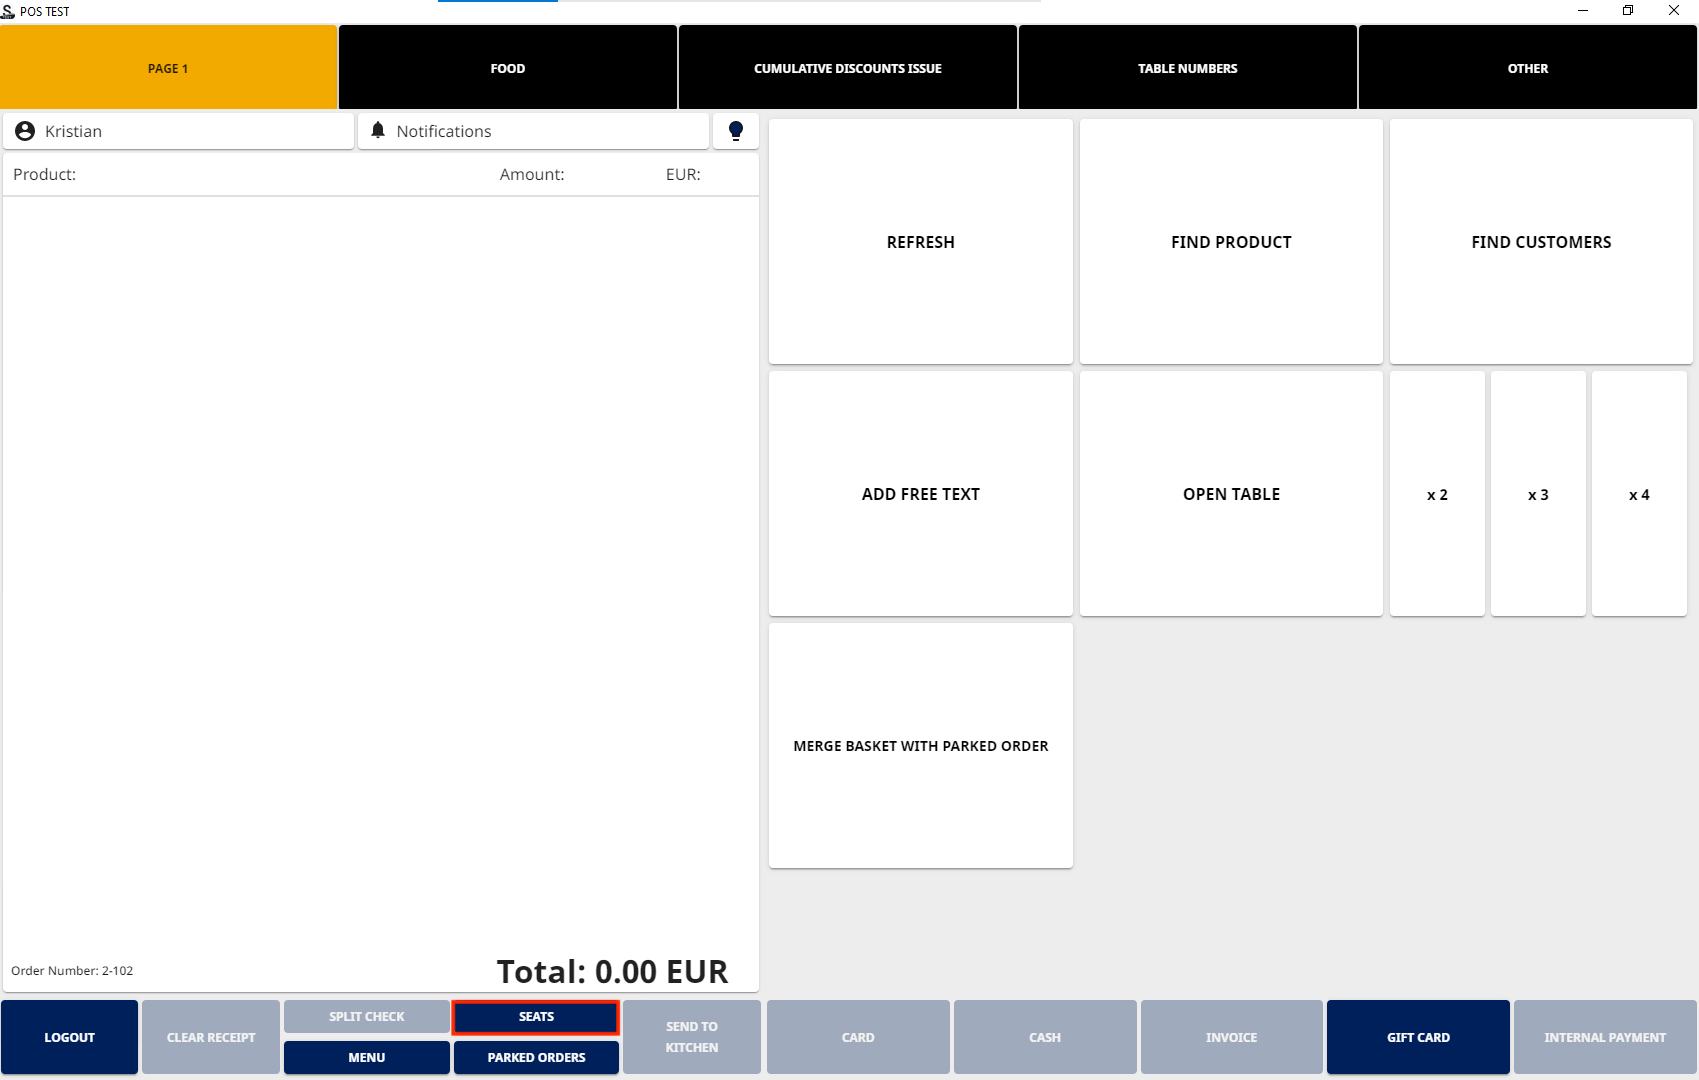
After Seat Handing has been enabled, the default footer in POS layout contains a Seats tile. You can also create a separate Seats action tile to the POS layout.
See also Using Seat Handling: Video Tutorials for usage examples.
Adding Seats to a Table and Products for Seats
You can either open a table first and then start adding seats to it, or start adding seats without opening a table; if you use the latter option, you will be prompted to select a table when parking the order.
-
Press the Seats tile to add a required number of seats (= customers) to the table. A separate How many seats at the table? window is displayed.
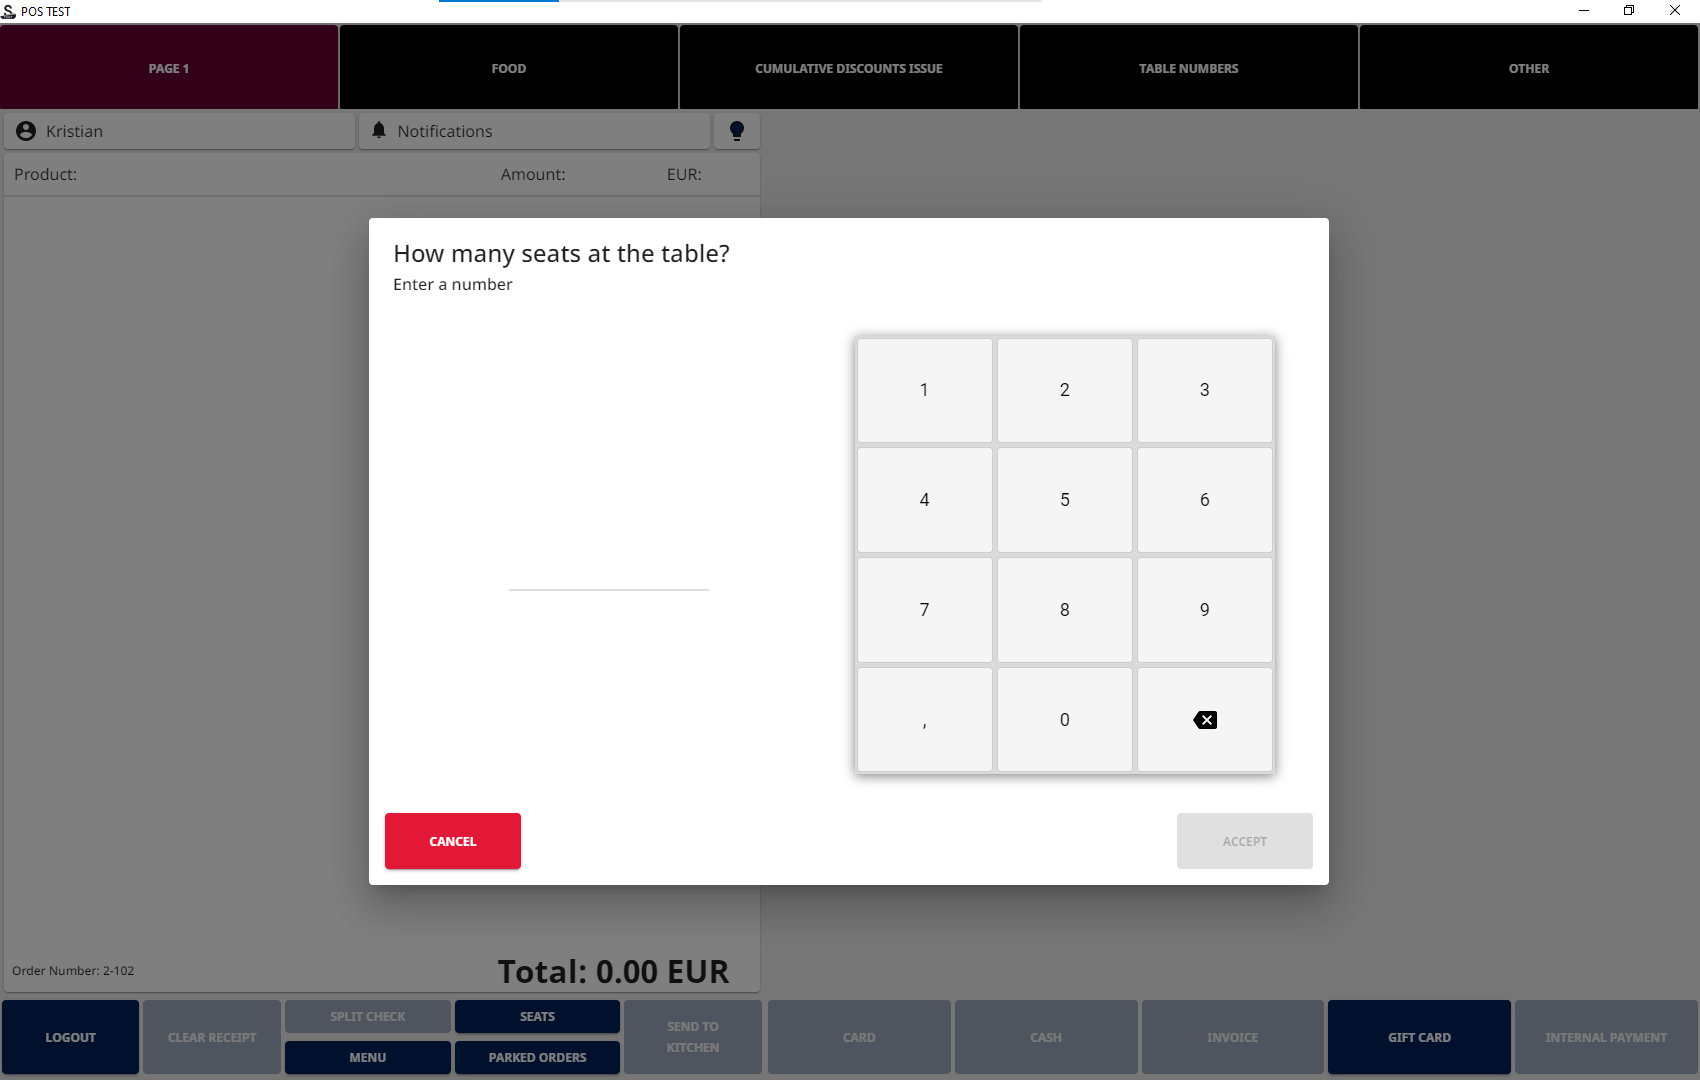
How many seats at the table? window -
Enter the number of seats and press Accept.
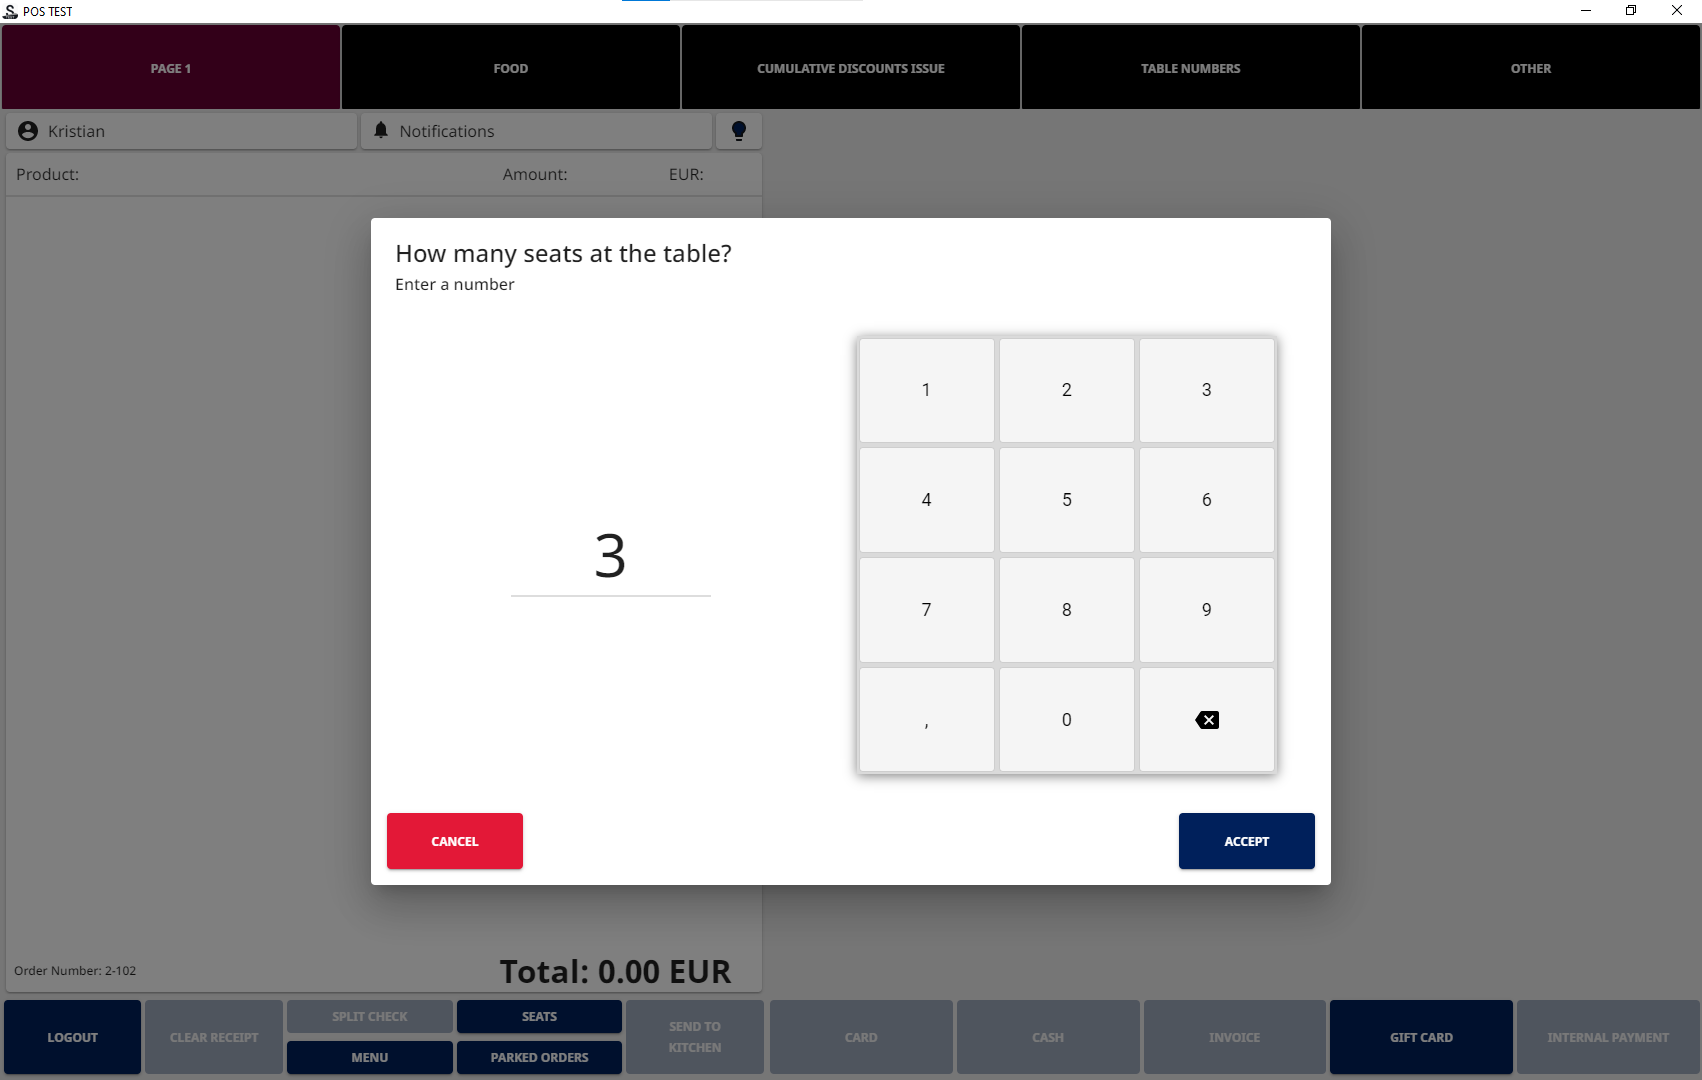
Entering the amount of seats -
The Basket for is now divided into the number of seats you entered.
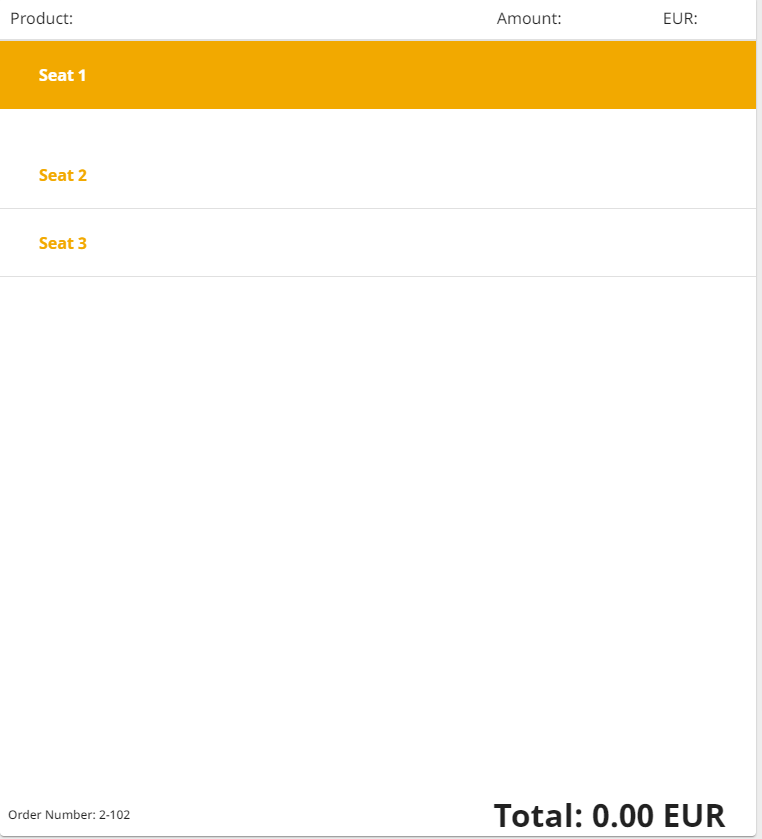
Basket with seats added -
You can now select a seat by pressing it, and then add products to it.
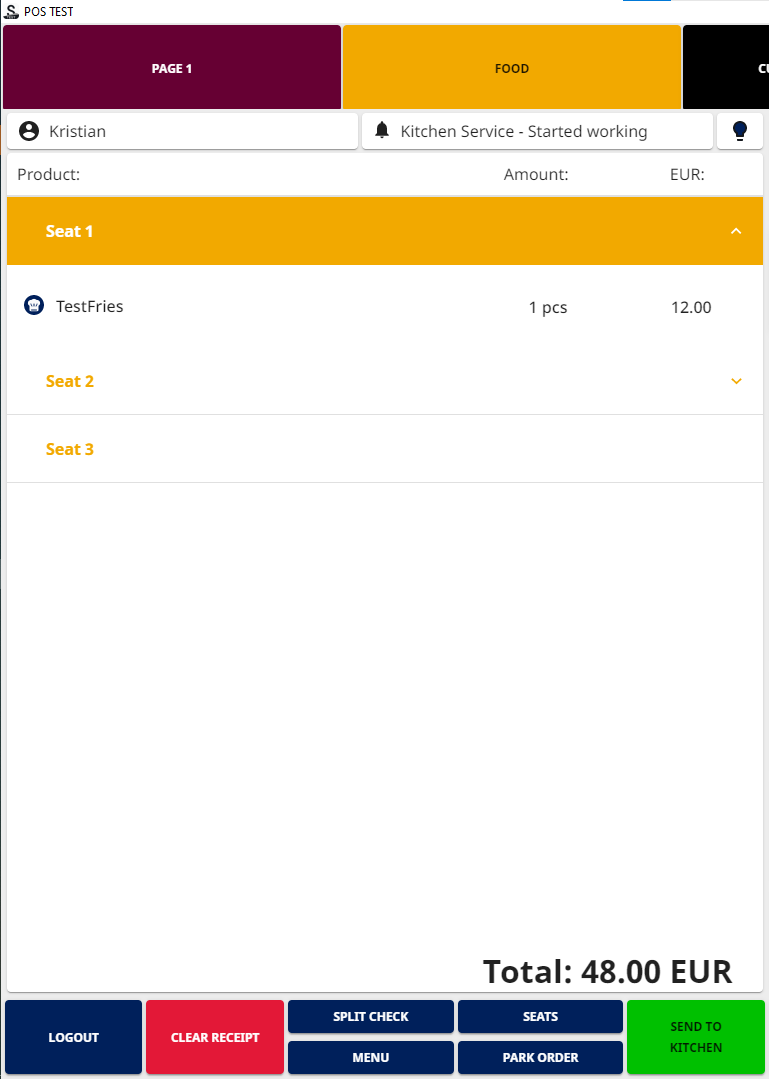
Basket with a products added to seats
-
When all products have been added to the Basket and their respective seats, you can send them to Kitchen and park the order (if needed).
-
If you did not open a table before parking the order, you will be prompted to select a table when parking the order.
-
-
To proceed to payment:
-
If one customer pays for all the orders, just select the appropriate payment method and proceed to payment.
-
If the customers want to pay separately for their orders, press the Split Check tile. The contents of the Basket are automatically split into separate orders based on the seats.
-
If needed, you can still modify the orders by moving/splitting the products between the seats, as well as add new orders.
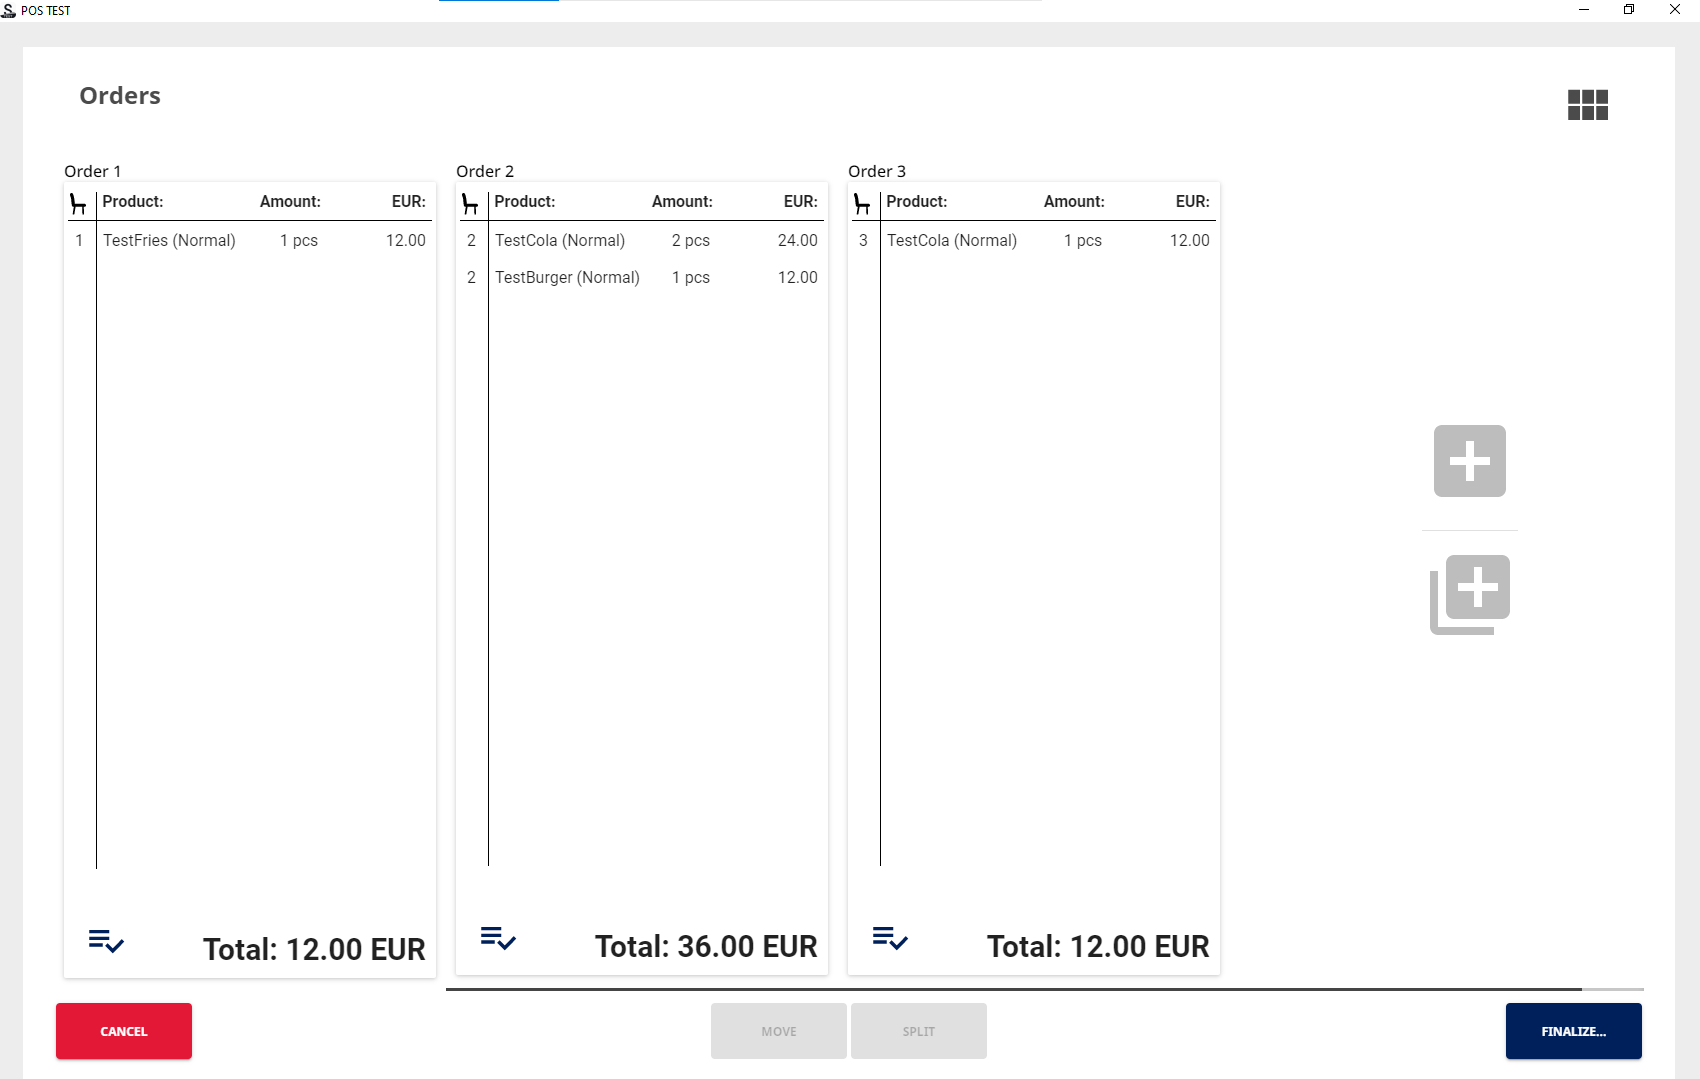
A table with seats split into separate orders for each seat
Next, finalize the splitting of the order: -
Park Only
-
Unpark one of the orders to proceed to with payment.
-
-
Park & Print
-
Set All Paid
-
Cancel
-
-
Splitting Products Between Seats
If needed, you can split products between seats (in cases where several customers want to share one dish, for example):
-
Press the product row in the Basket, and press then the Seat tile in the product details.
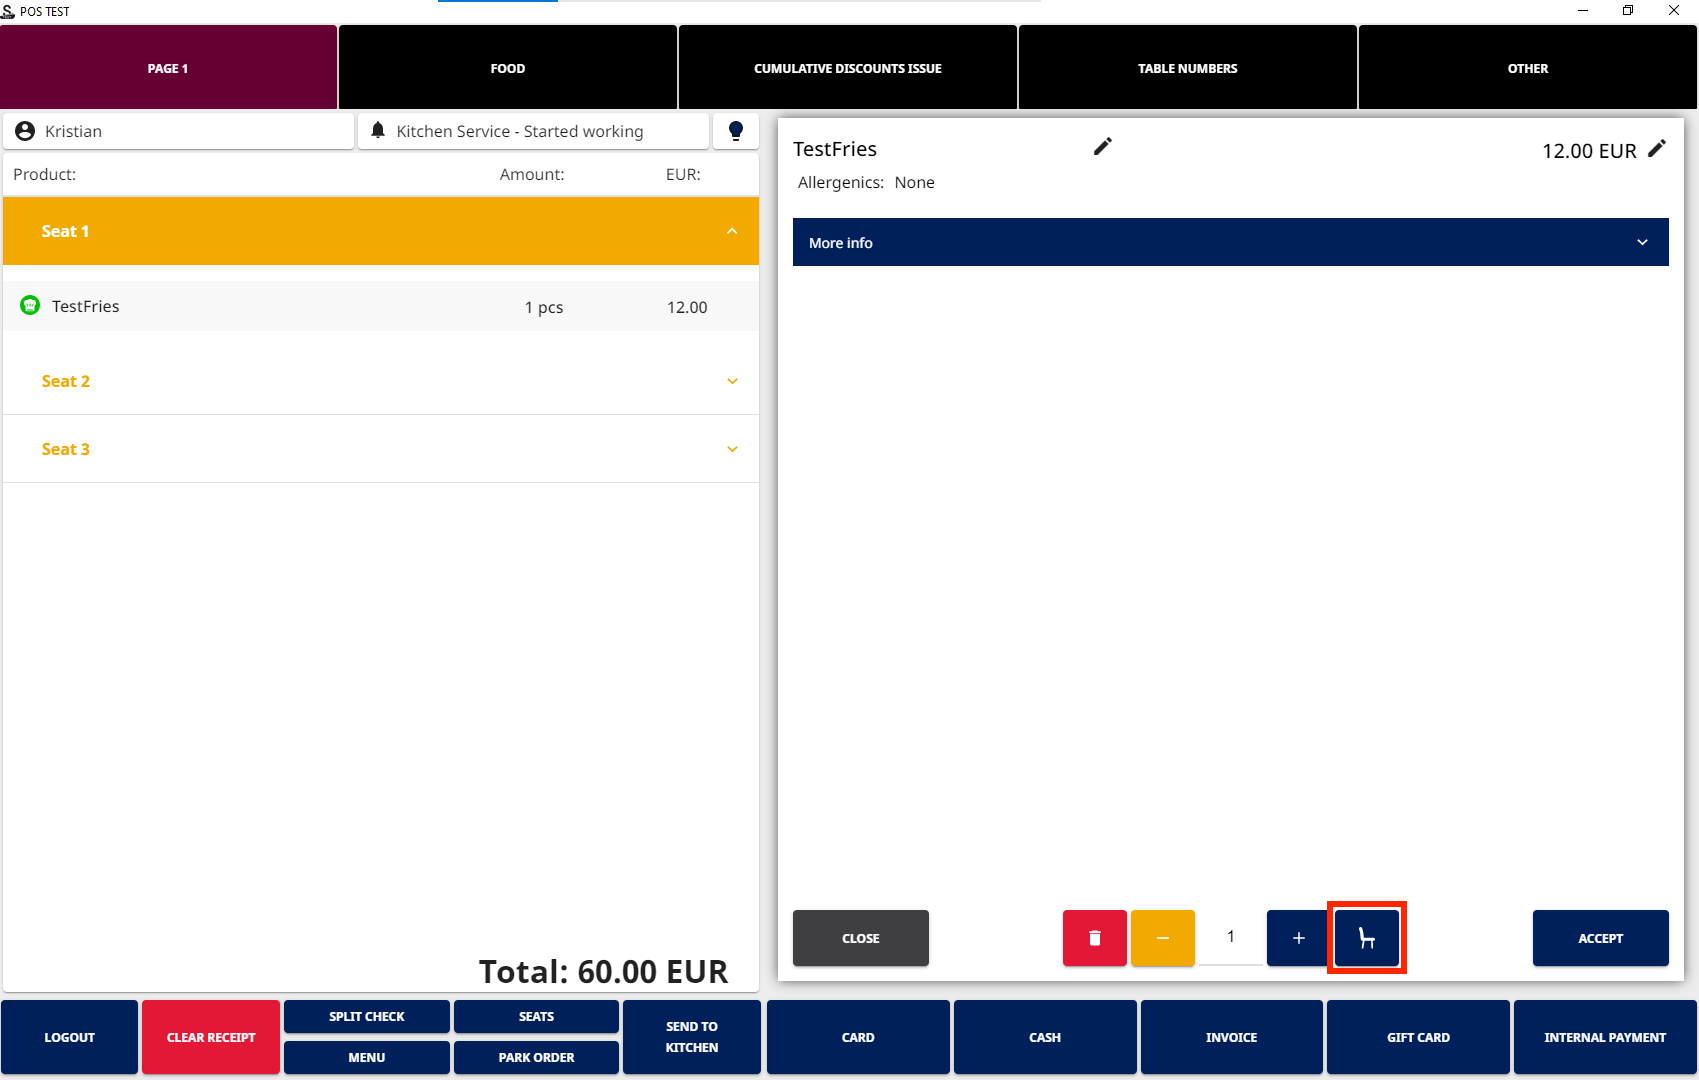
Seat tile in the product details -
Enter the amount of seats who will split the product into the Split field, and then select the seats.
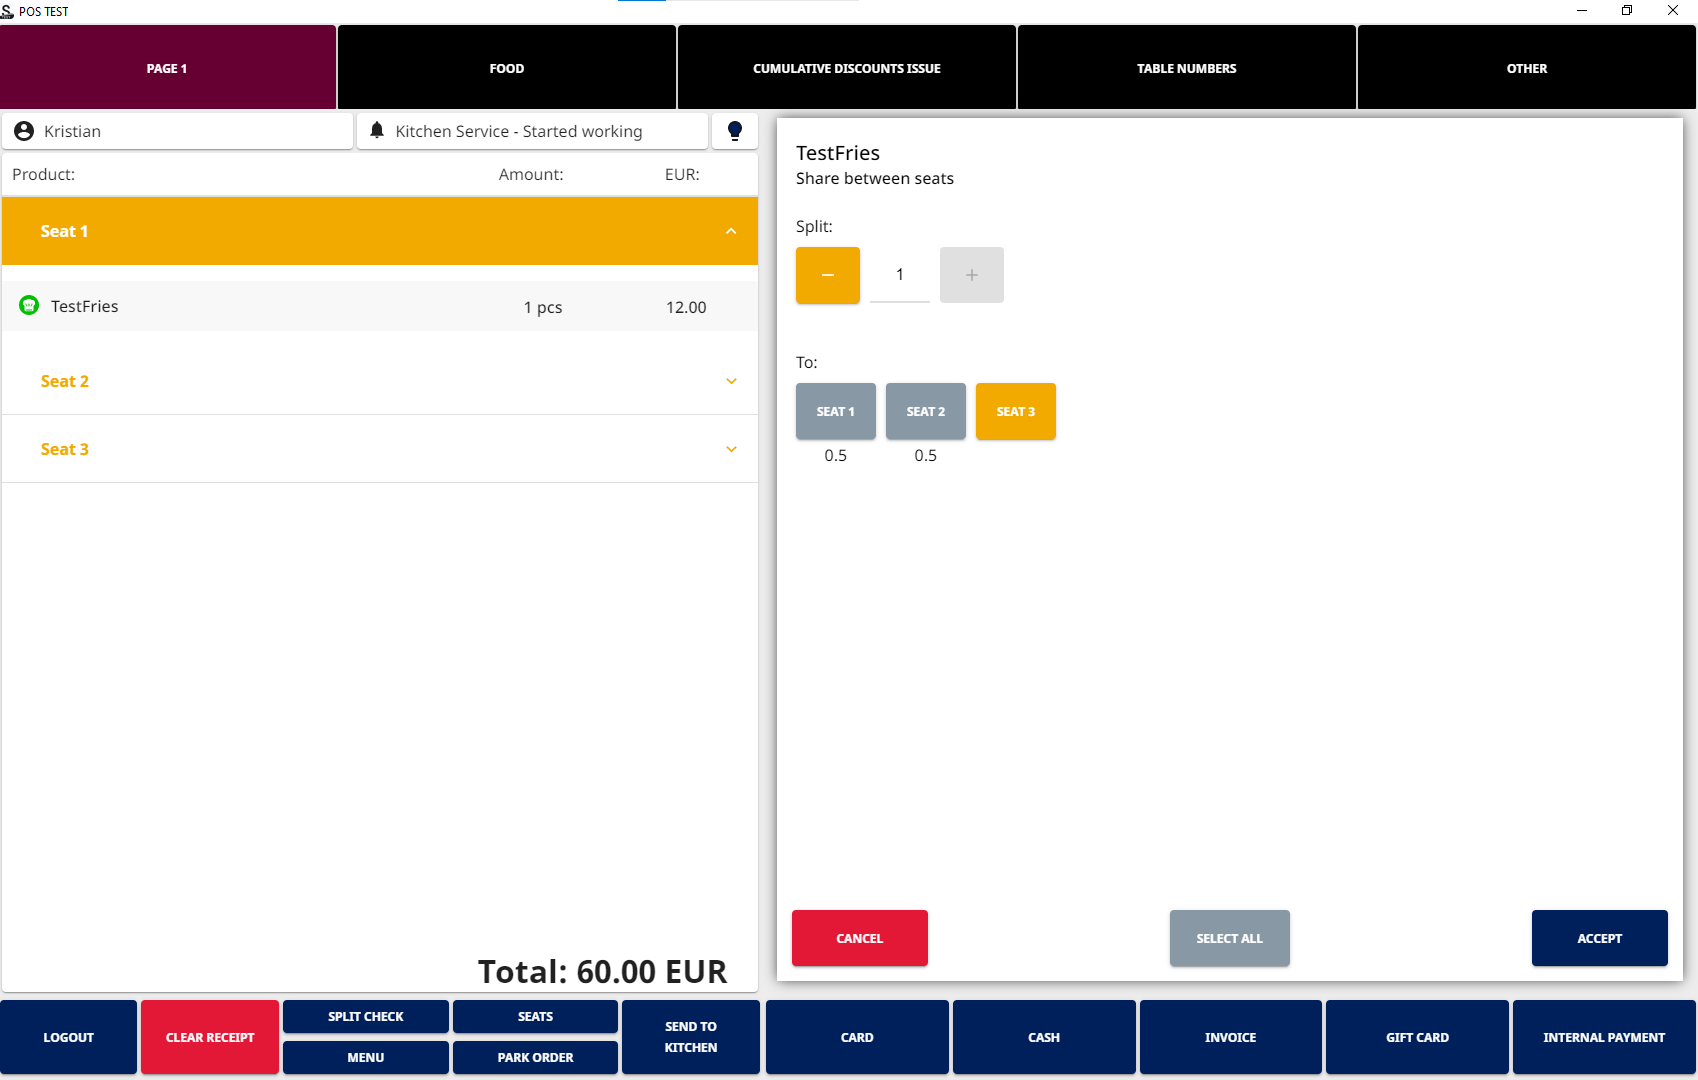
-
Press Accept to finalize the splitting.