
Viva Wallet Integration
Viva Wallet payments can now be used with Solteq Commerce Cloud in all Nordic countries. A wide range of payment terminals are supported for this solution.
Card payments can also be made by using an Android phone with the Viva payment app as a payment terminal, connected to a POS workstation.
To enable Viva payments in your company, contact Solteq Customer Support.
Customer Management Related Updates
This software release contains a number of improvements on various features related to customer management in Solteq Commerce Cloud.
Preventing Duplicate Phone Numbers for Private Customers
You can now prevent several private customers from having the same phone number in Solteq Commerce Cloud, by enabling the Prevent duplicate phone numbers for private customers setting in Company Configurations.
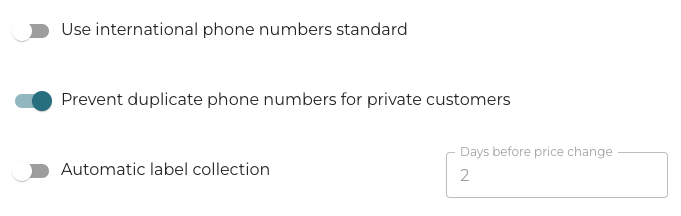
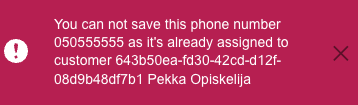
When the setting has been enabled and a private customer is assigned a phone number which already is assigned to another customer, an error message is displayed when attempting to save the customer profile information.
Mass Anonymizing/Restricting Customers
You can anonymize/restrict a number of customers at once, if needed. Both of these actions remove all GDPR Personal Data from the customer information.
-
Performing either one of these operations requires that you belong to an user group with Allow Customer Mass Restriction permission.
-
Anonymizing/restricting all customers at once is not possible; you need to first at least one of the following filters in the Customers view to filter the customers:
-
Updated
-
Group
-
Before last purchase date
-
After last purchase date
-
-
It is not possible to anonymize/restrict all private or company customers at once; you need to use more refined filtering.
-
If you have both private and company customers filtered, you can only use the Restrict option, as company customers cannot be anonymized.
-
Customers cannot be anonymized or restricted if they have been assigned to an open order; these customers will be skipped in the operation (see step 5 below)
If needed, you can retrieve anonymized customer’s data by using the Excel export/import function of the Back Office. Note that customer’s Id is required for this operation. See Retrieving Anonymized Customer Data.
Restricted customer data cannot be retrieved.
-
In the Customers view, select the filters you want to use, and click Apply Filters.
-
Next, click either
-
Anonymize icon to anonymize the filtered customers.
-
Restrict icon to restrict the filtered customers.
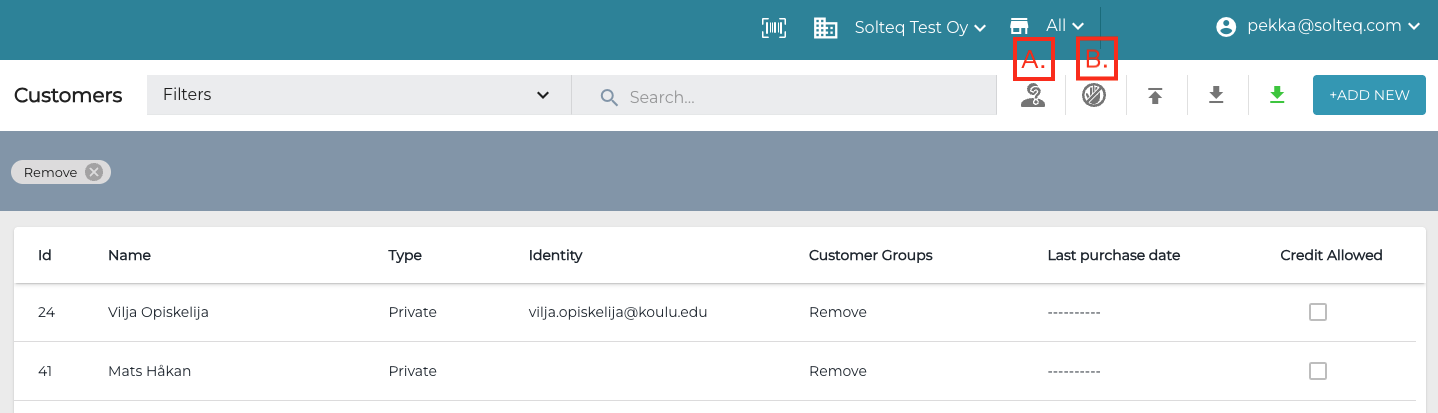
Anonymize (A.) and Restrict (B.) icons
-
-
A confirmation window is displayed. Click Anonymize/Restrict (or Back to cancel)
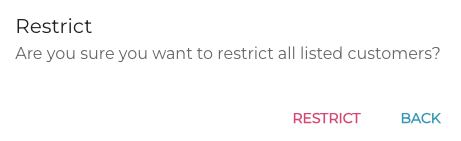
Confirmation window -
A separate information window is displayed. Click OK to proceed.
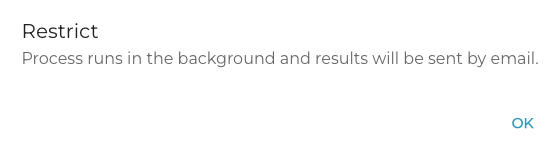
Confirmation window -
When the anonymize/restrict operation has been applied to all the selected customers, you will receive an e-mail notification about this. The notification contains information about updated and skipped customers; if any errors were encountered during the process, the e-mail will also include information about them.
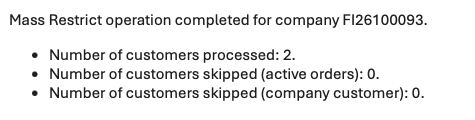
Example of the mass restrict operation e-mail notification
Deleting Company Customers
You can delete (restrict in this context) company customers from Solteq Commerce Cloud, if needed.
Restricted customer data cannot be retrieved.
Customers cannot be restricted if they have been assigned to an open order.
-
Go to the Customers view of the Back Office.
-
Select the private customer who you want to restrict. Customer’s profile information is displayed.
-
Click the Restrict icon in the toolbar.
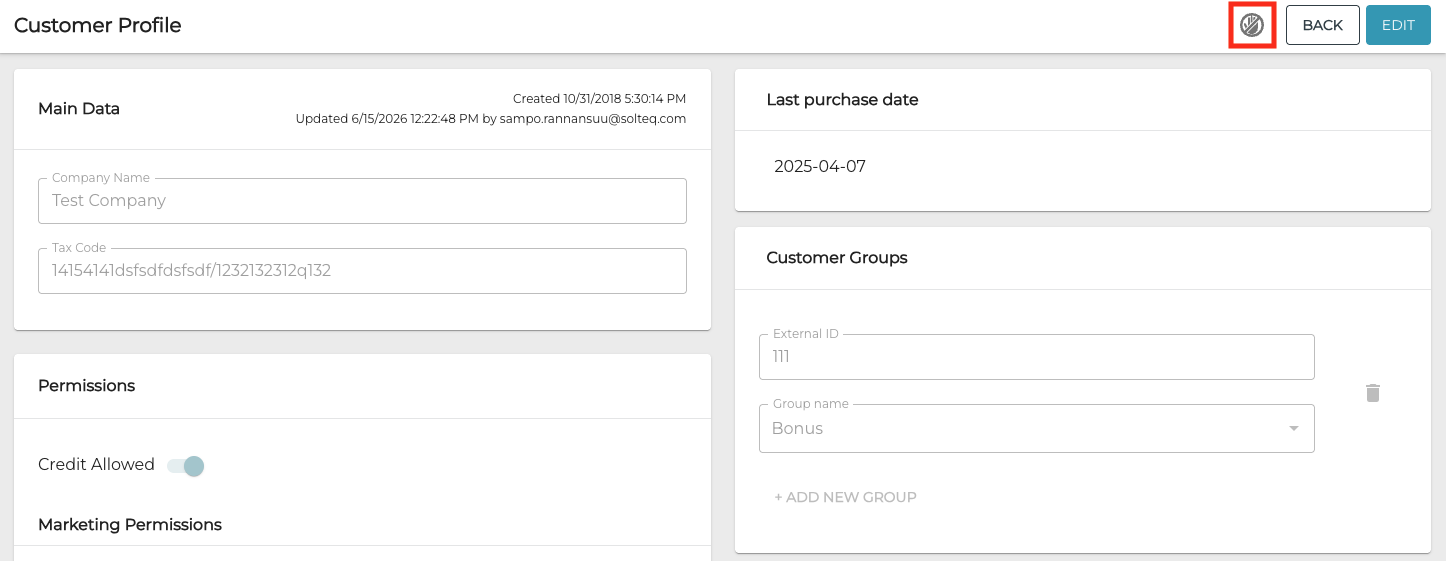
Restrict icon in the customer details toolbar
-
Restrict window is displayed. Click Yes to complete the restriction.
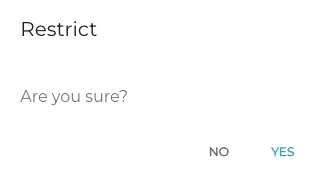
Restrict window
Automatically Adding Customers with E-Mail Marketing Permission to a Customer Group
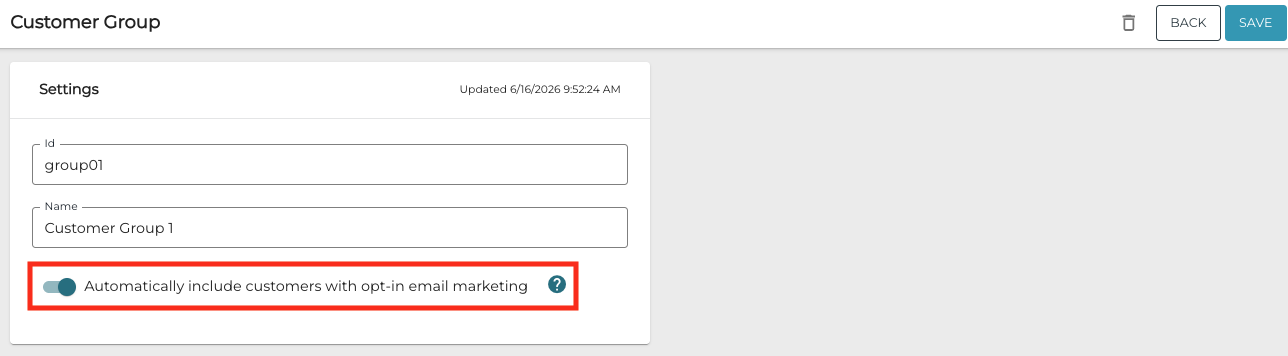
You can now automatically add (both private and company) customers with Marketing: Email permissions activated in their profile information to a certain customer group/groups: Enable the Automatically include customers with opt-in e-mail marketing setting in the customer group settings to activate this feature.
Change in Mandatory Address Details for Private Customers
Only Postal Code and City are now mandatory address details in private customer’s profile information.
Increase in Customer Identifier Maximum Length
The maximum length of the Regular Expression type customer identifier has been changed to 500 characters.
The change only affects the Back Office functionality; the maximum customer identifier length when importing customer data via Excel import or API is still 99 characters.
Searching for Orders Using Table Number
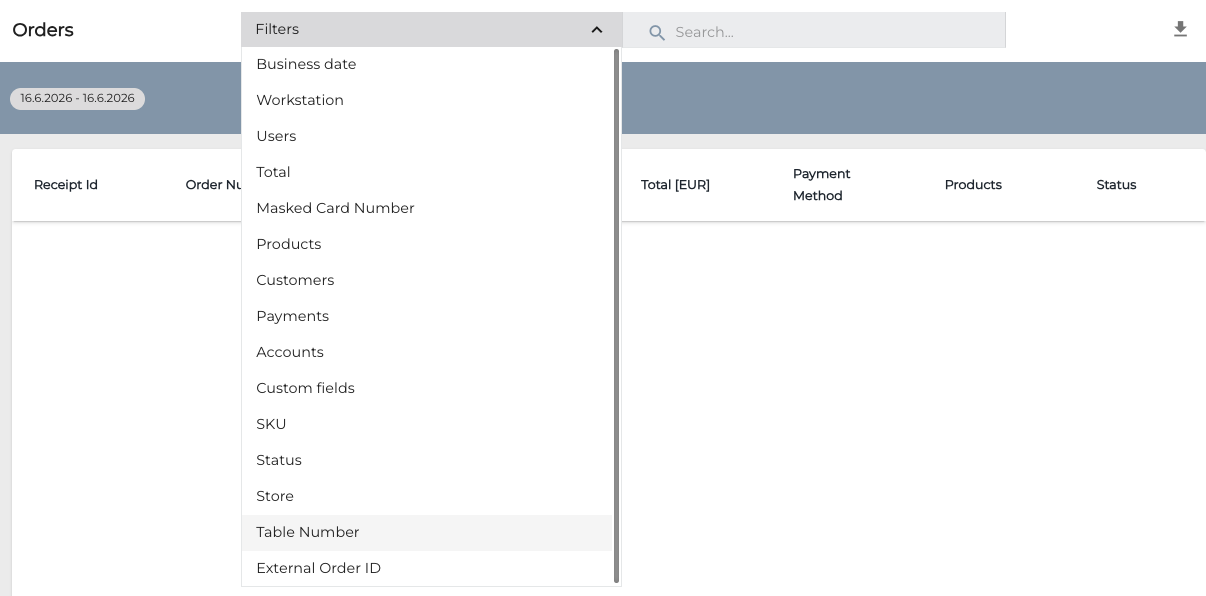
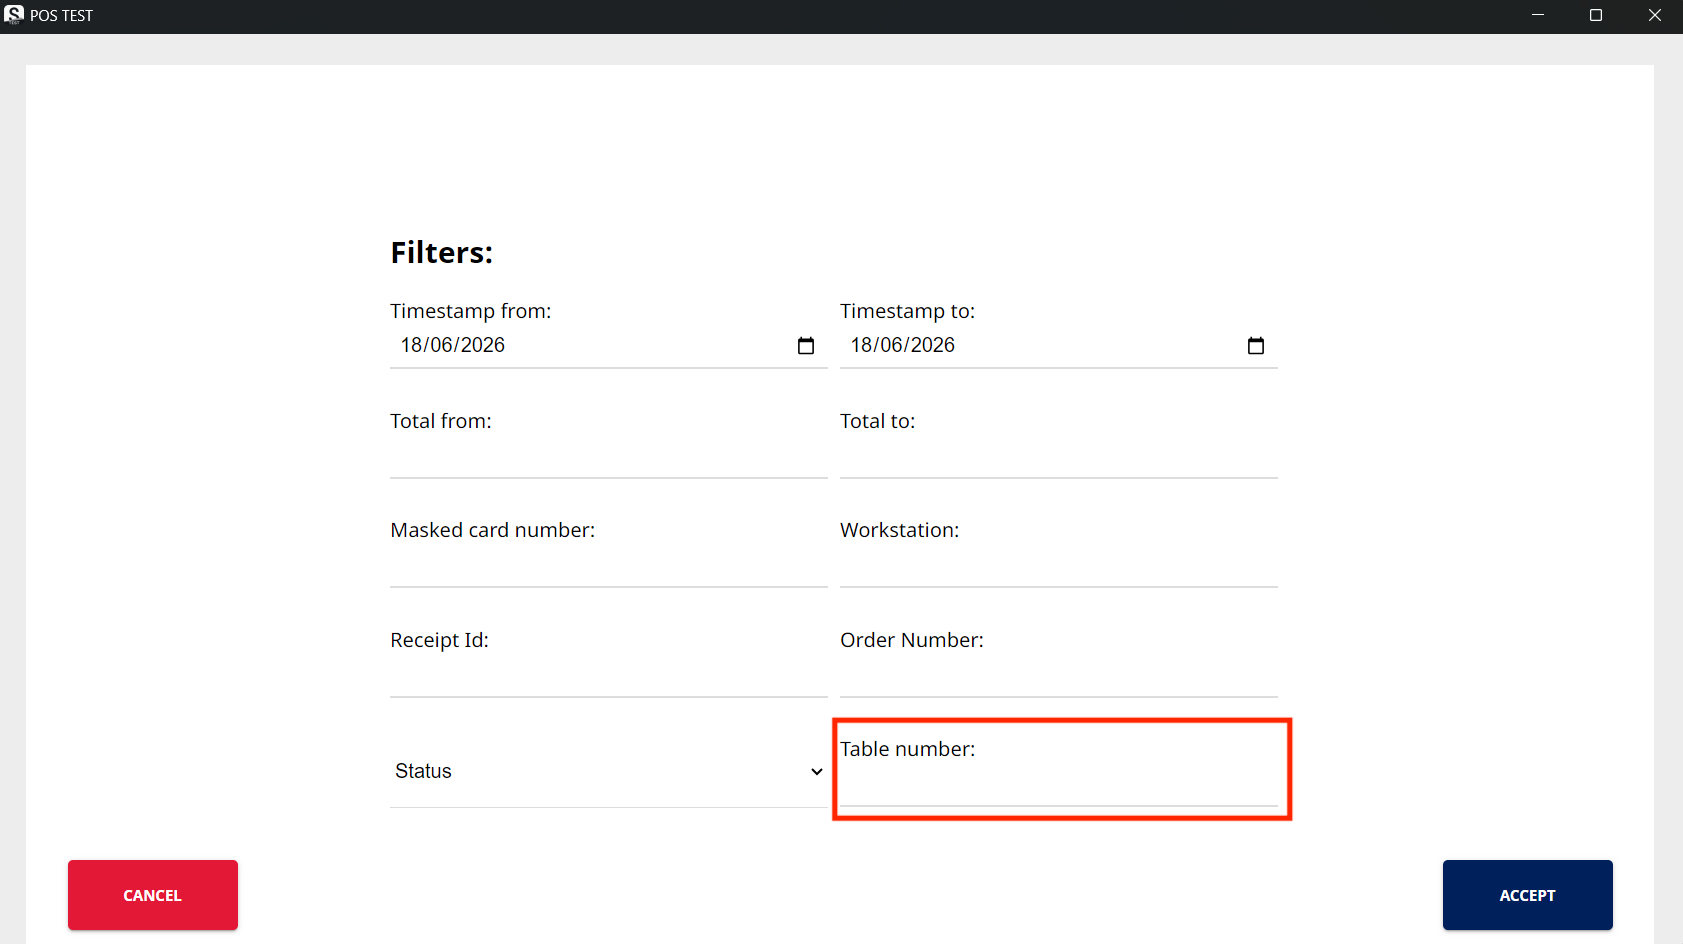
It is now possible to search for orders by using the table number (Reference) as search criteria in both Back Office and POS.
This requires that Table Planner has been taken into use in a Store; otherwise the filter name is Reference.
In the Back Office, you can select Table Number as one of the filters, and enter the table number in the Orders view.
In the POS, Table Number replaces Reference in order search filters if Table Planner has been enabled.
Overriding the Kitchen Area Defined for a Product by Using a POS Product Tile
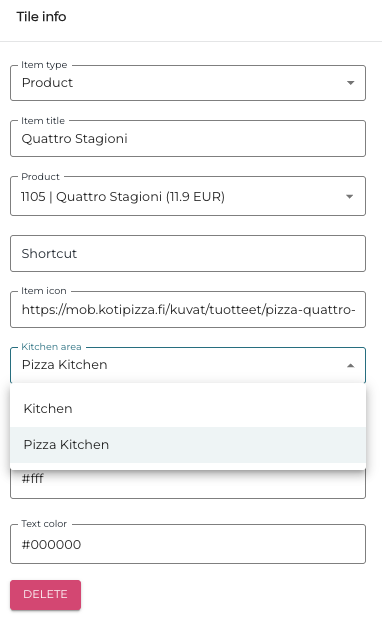
If any Store in your company has Kitchen Areas enabled, you can define a Kitchen Area for a product. The Kitchen Area selected in the product details indicates to which Kitchen Area that product should be sent, if the Store has such Kitchen Area configured.
Now it is possible to override the defined Kitchen Area for a product in Product Tile settings: When you create/modify a product tile, select the Kitchen area which will be used for the product instead.
Improvements to Back Office and POS UI
A number of updates have been made to the technology affecting both Back Office and POS user interface visuals, improving the look and response time of various icons, buttons and the calendar picker tool.
Price List Handling Related Changes
A number of new features have been added to facilitate updating prices using price lists.
Updating Product Prices Using Percentages
You can now enter new regular prices for products in a Price List using percentages (in addition to the price in currency) of the Company Price: Enter the new price to the Price% column.
If you want to increase the price, enter the price in percentages above 100, for example: 120.

Bulk Price Change for Price Lists
You can increase/decrease the prices of all products in a price list or several price lists at once, if needed.
Performing this operation requires that you belong to an user group with Bulk Price Change permission.
Any custom product prices will not be updated when using this feature; custom products will be listed as Skipped products in the bulk change e-mail notification (see step 7 below).
-
In the Regular Prices view, click the Select price lists to edit all their prices icon in the toolbar.
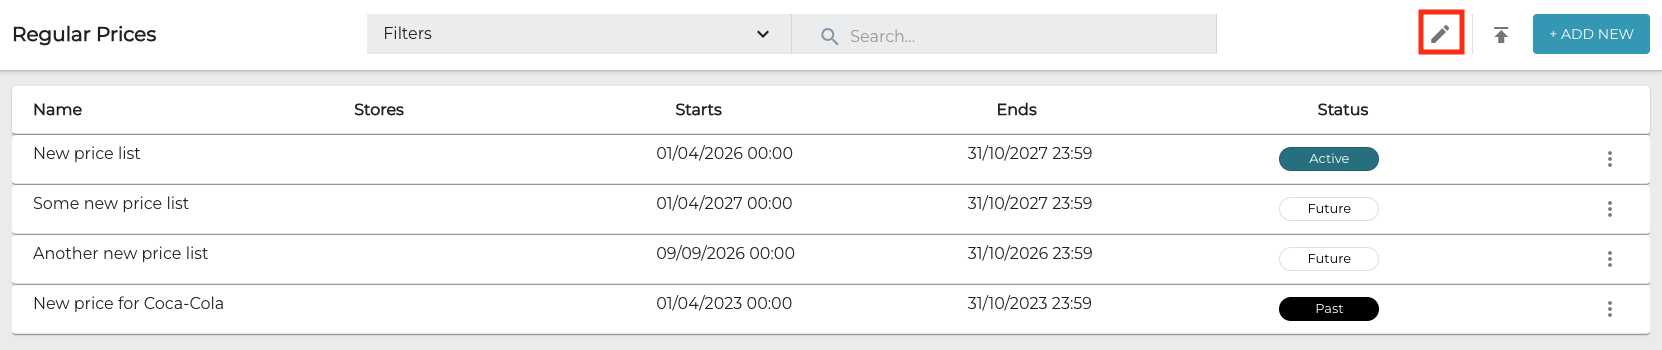
Select price lists to edit all their prices icon in the toolbar -
Use the checkboxes to select the price lists whose prices you want to edit.
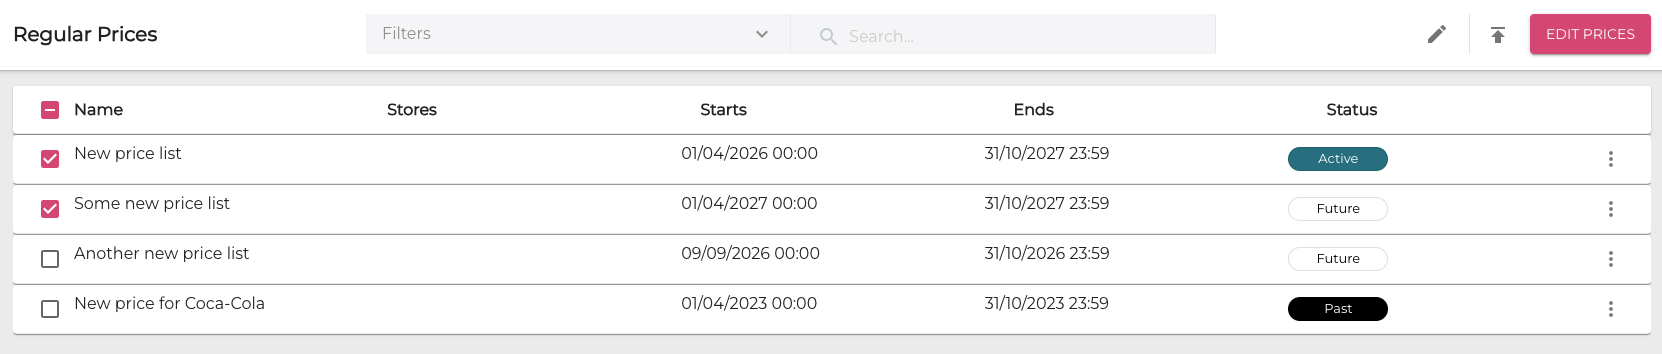
Selecting the price lists -
Click Edit Prices.
-
In the Edit prices – change all prices on selected lists window, enter the price decrease or increase in percentages.
-
To enter a price increase in percentage, use the format 110 (for example, for 10 percent increase).
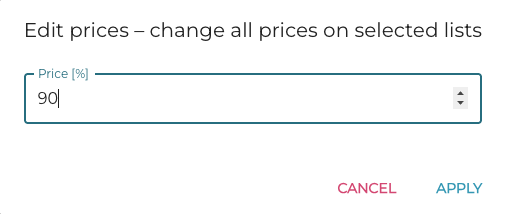
Entering the new price percentage
-
-
Click Apply to proceed (or Cancel to cancel the price change).
-
The notification below is displayed. Click Apply to proceed (or Cancel to cancel the price change).
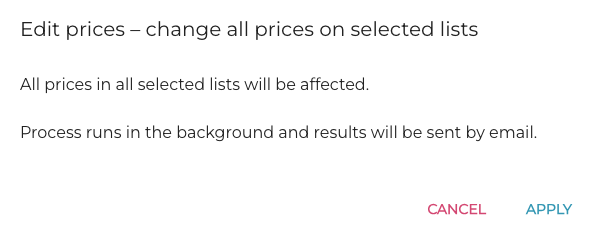
Notification about the price change -
When the price change has been applied to all the selected price lists, you will receive an e-mail notification about this. The notification contains information about updated and skipped products; if any errors were encountered during the price change process, the e-mail will also include information about them.
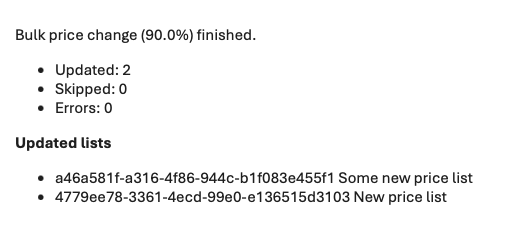
Example of the bulk price change e-mail notification
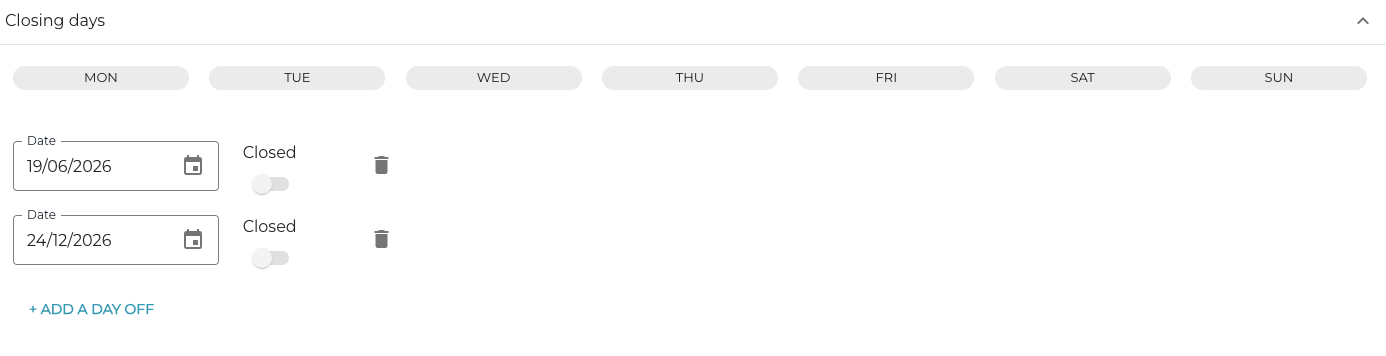
Defining Company-Level Closing Days
You can now define closing days (such as national holidays) for the whole company in Company Configurations; these will override any opening hours defined for individual stores.
Improvements to Tagging POS UI
Improvements have been made to the Tagging feature UI in the POS: the Enter tags window now displays a scrollable list of tag numbers in an ascending order.
If needed, you can a tag number by pressing on the trashcan icon on its row.
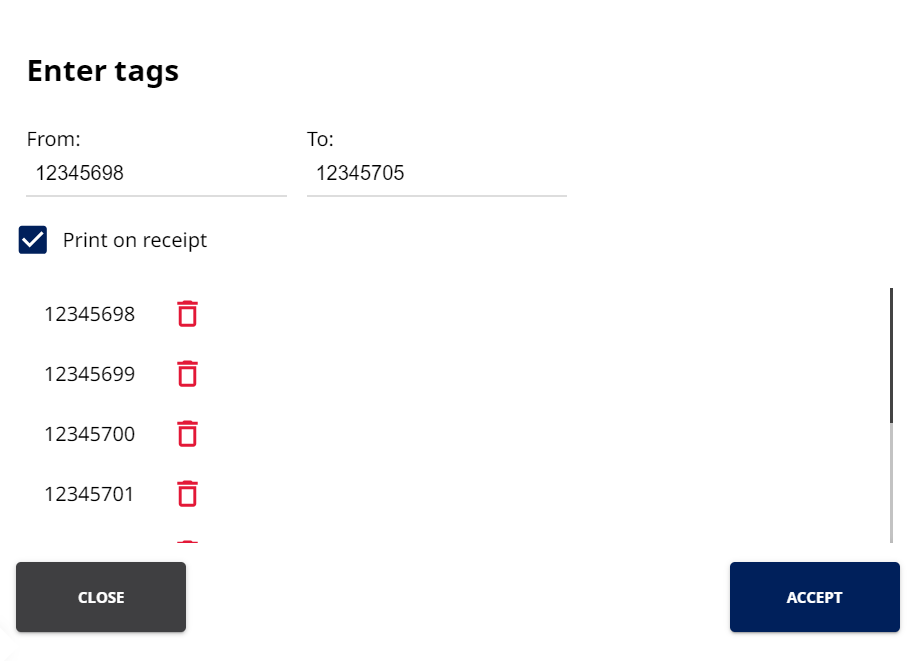
You can add more tags to an order after pressing Accept for the initial range: Just enter a new From/To tag number range, and the new tag numbers are added to the list.
Other Improvements and Fixes
-
Orders from external APIs can be linked to existing Solteq Commerce Cloud customers (customer ID and credit allowed information); POS and invoicing can now consistently use the same customer across online and on-site purchases, and manual customer matching is not needed anymore.
-
When using the delivery times defined in Place Codes, the date format for delivery times displayed in POS is now dd.MM.yyyy HH:mm.
-
Corrected the problem in which appeared in some cases when receiving stock transfers: Marking a product row received by clicking on the ✔️ icon on the row caused that the transaction order data was updated incorrectly.
-
Corrected the problem which caused a white screen to appear when Excel was used to create a Stock In: Purchase transaction order. Import itself was successful, and refreshing the view allowed the user to proceed with completing the order.
-
Corrected the problem which caused that SKU filter did not work when searching for orders in the Orders view of the Back Office.
-
Corrected the problem in which appeared when two sizes of the same custom product which contained additional Products were sent to Kitchen: In the Kitchen App, additional products' quantities were summed up under first custom product in the order